Category: crafts

Easy Firework Finger Painting for Toddlers and Preschool Kids

fireworkfingerpainting

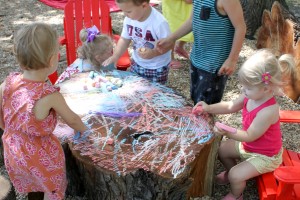
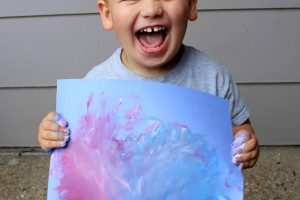
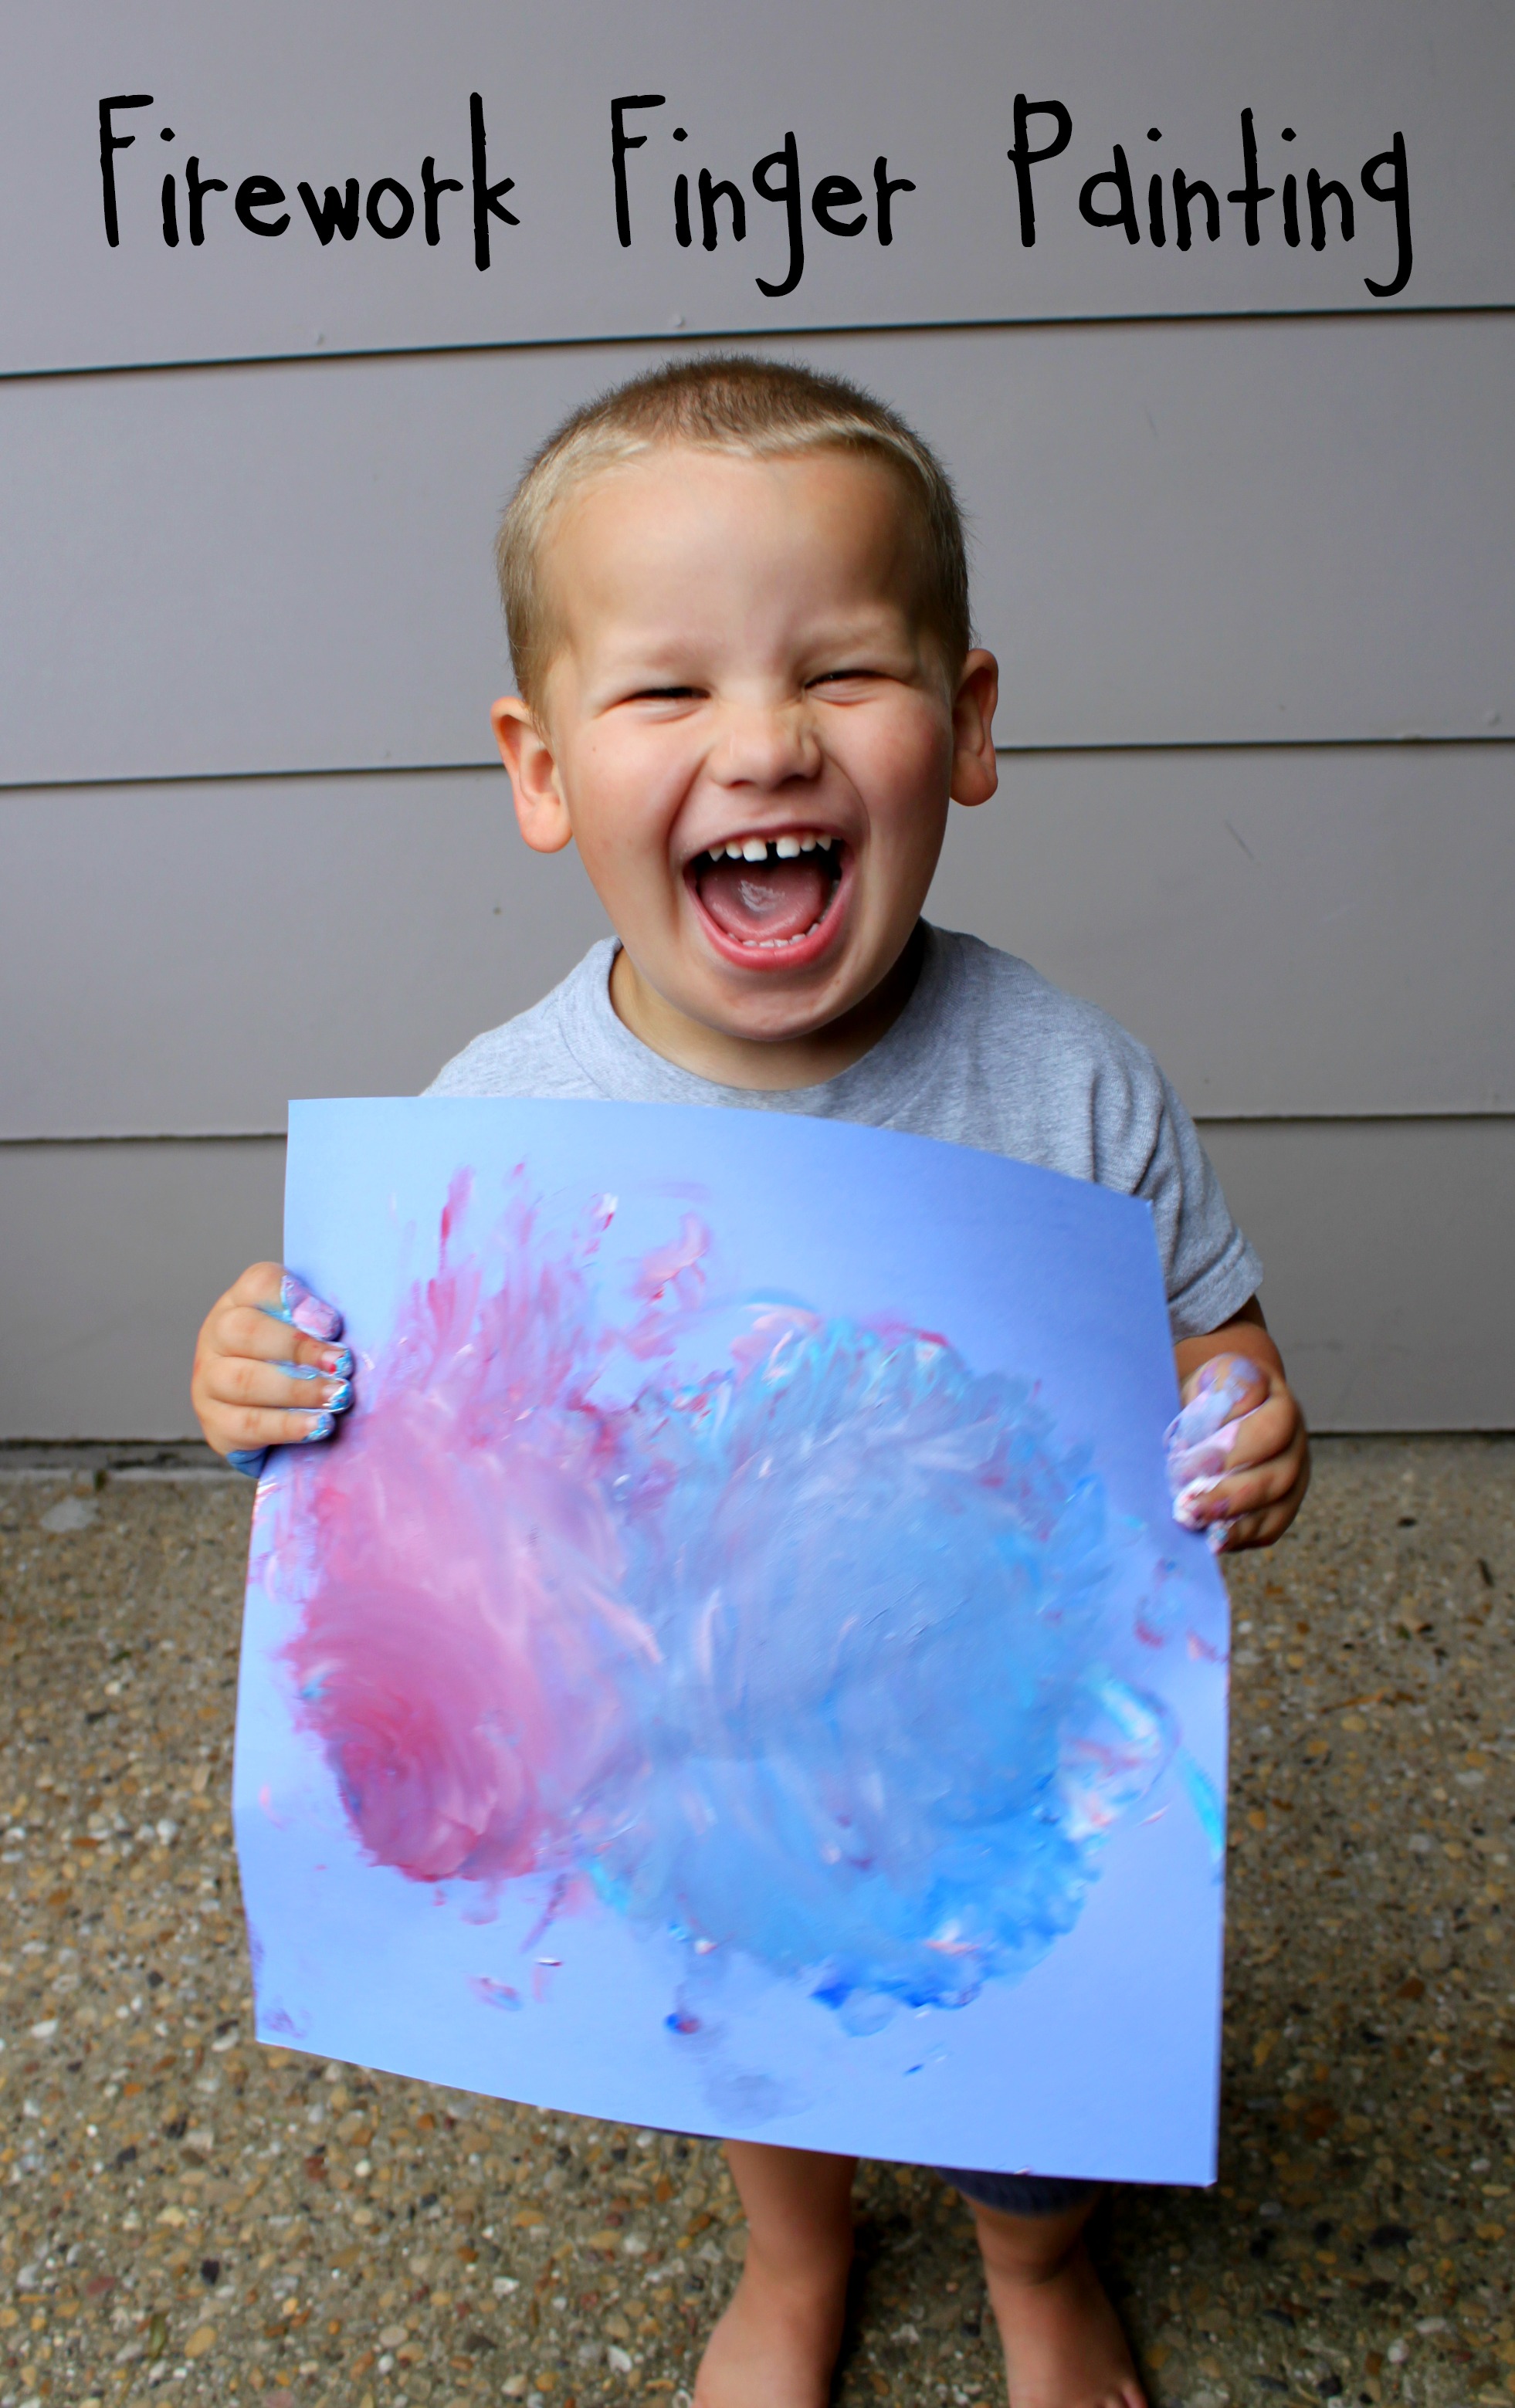
Finger painting with toddlers and little kids may sound like a total disaster waiting to happen, but I promise it can be fun and painless. All you need is construction paper and washable paint. For this project, I offered the kids a red, white, and blue palette and asked them to create fireworks. Pearl girl obviously had no idea what I was talking about, but Bear knows what they are and went for it immediately. You can read more about stress free finger painting with toddlers here, and read on to learn how we made this project flow with minimal chaos and only a minor mess. 🙂

toddlerfingerpainting

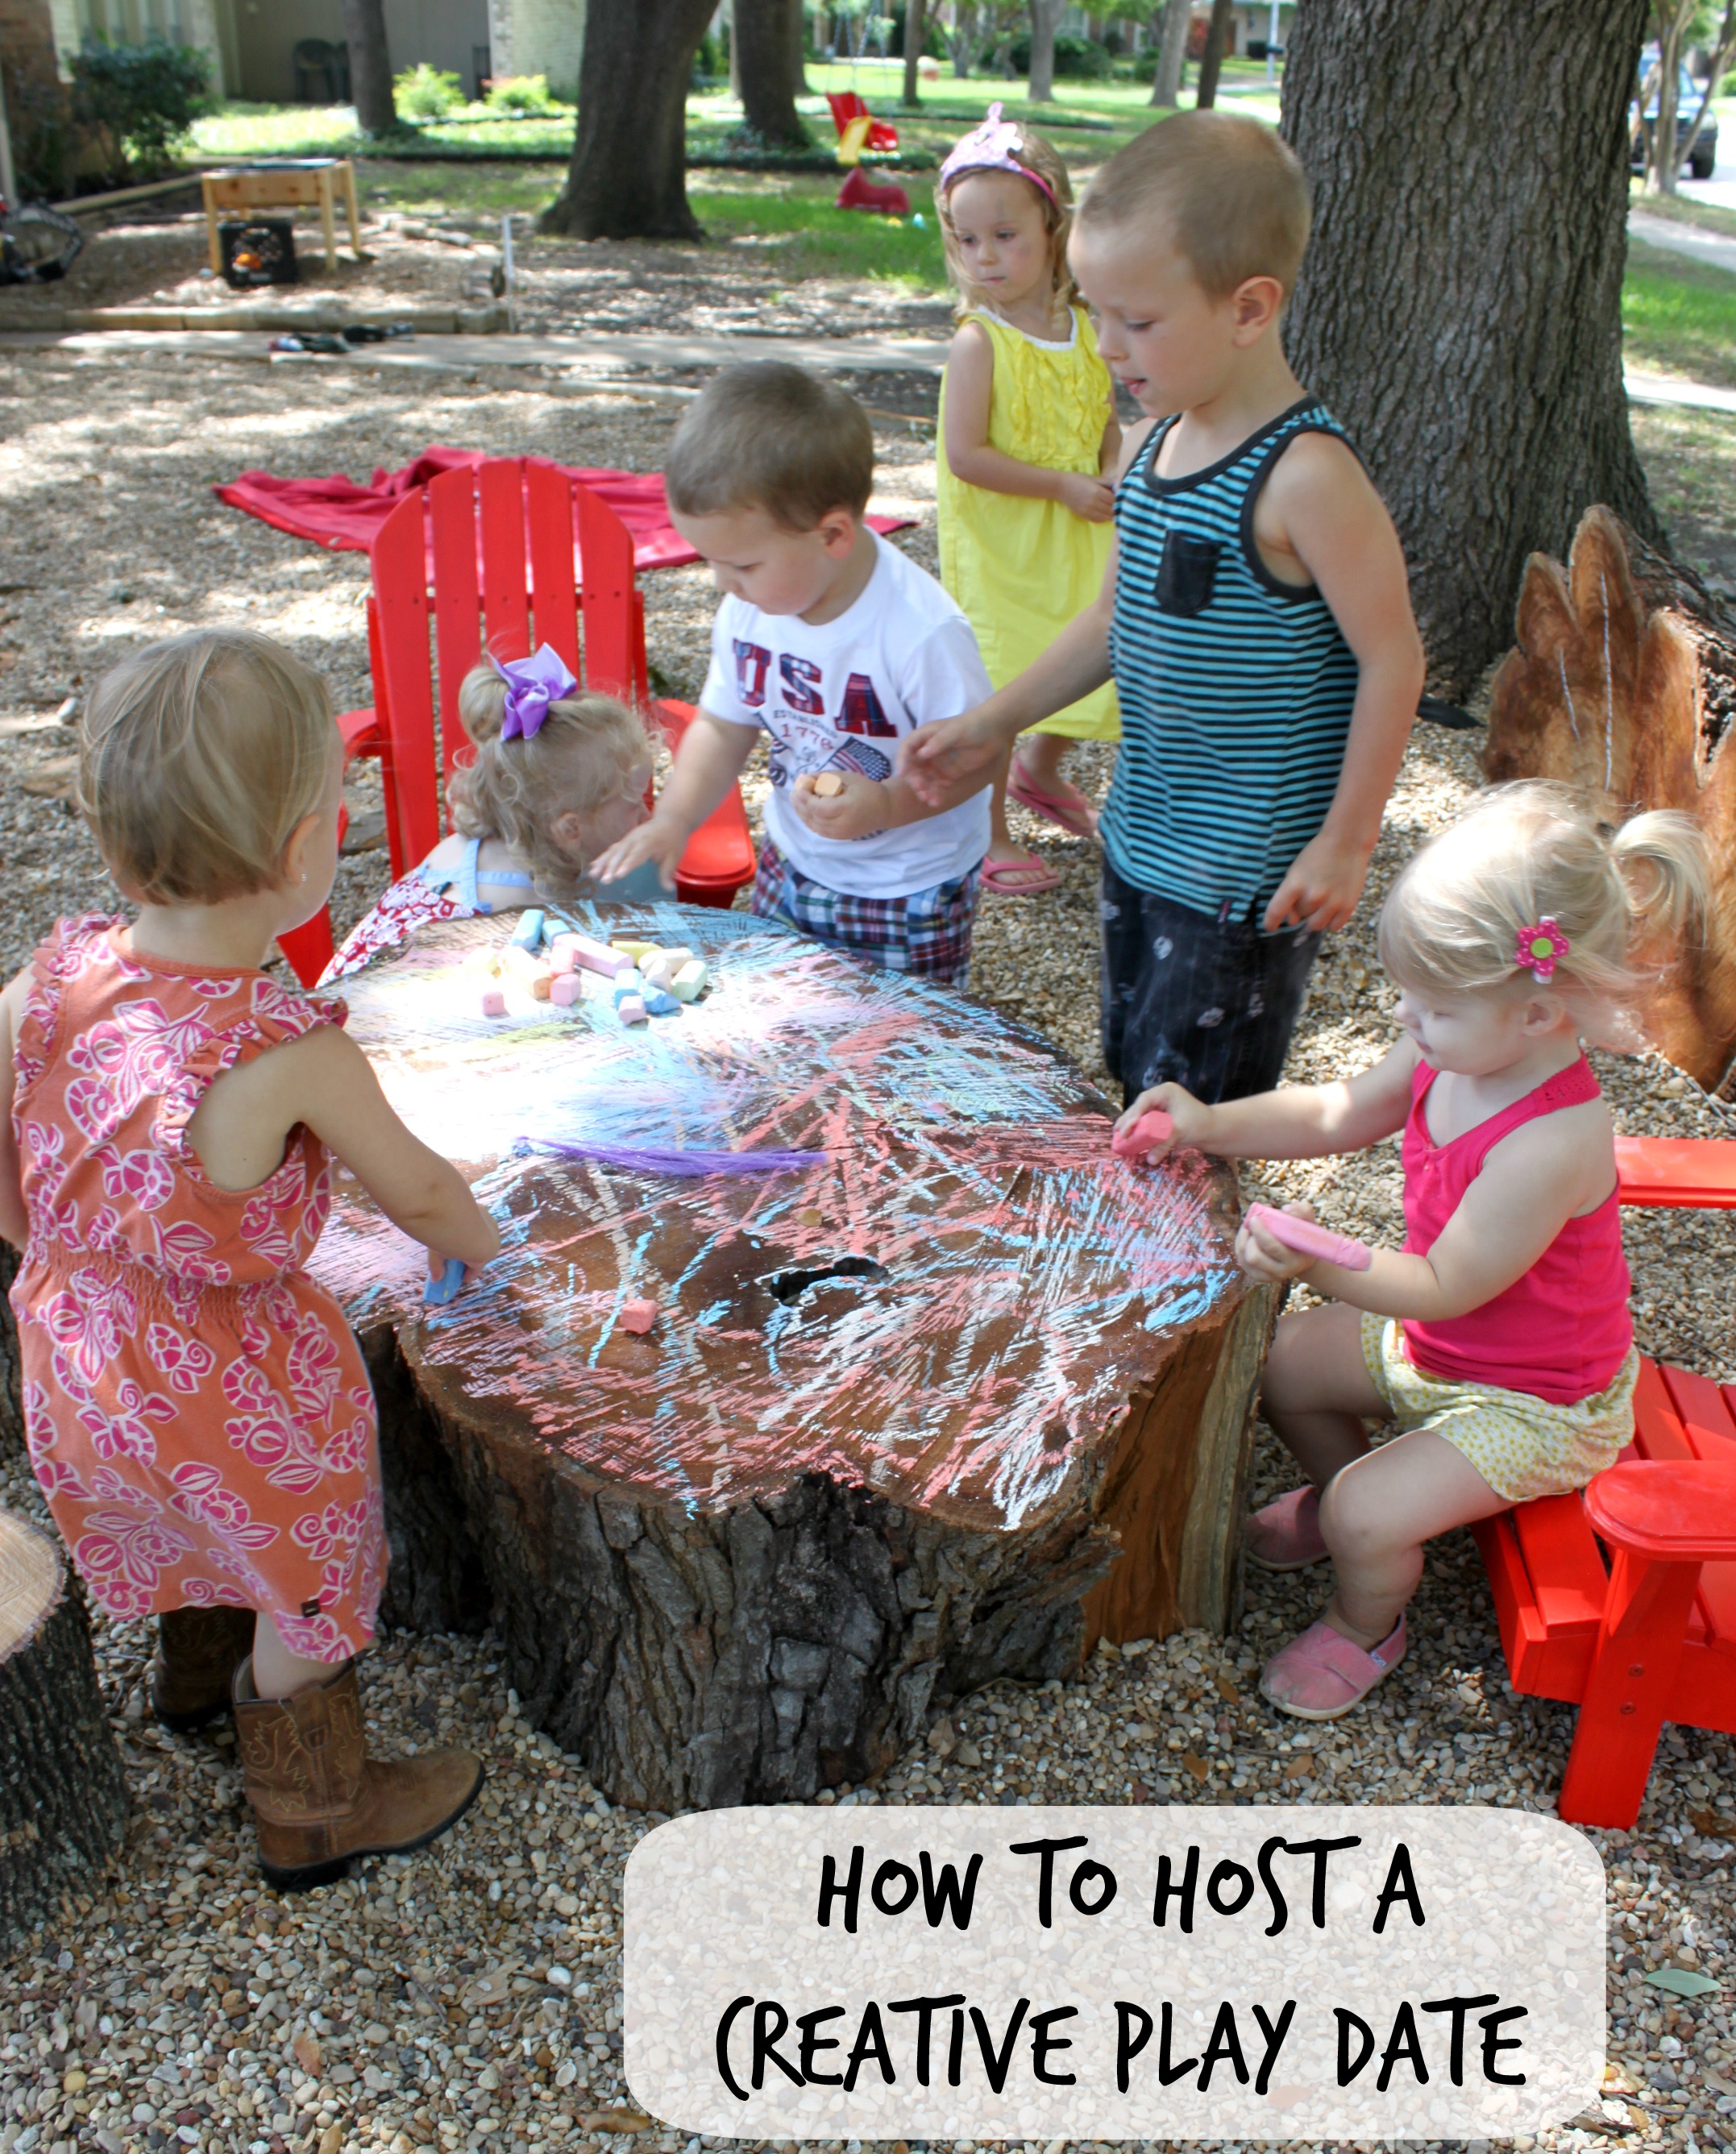
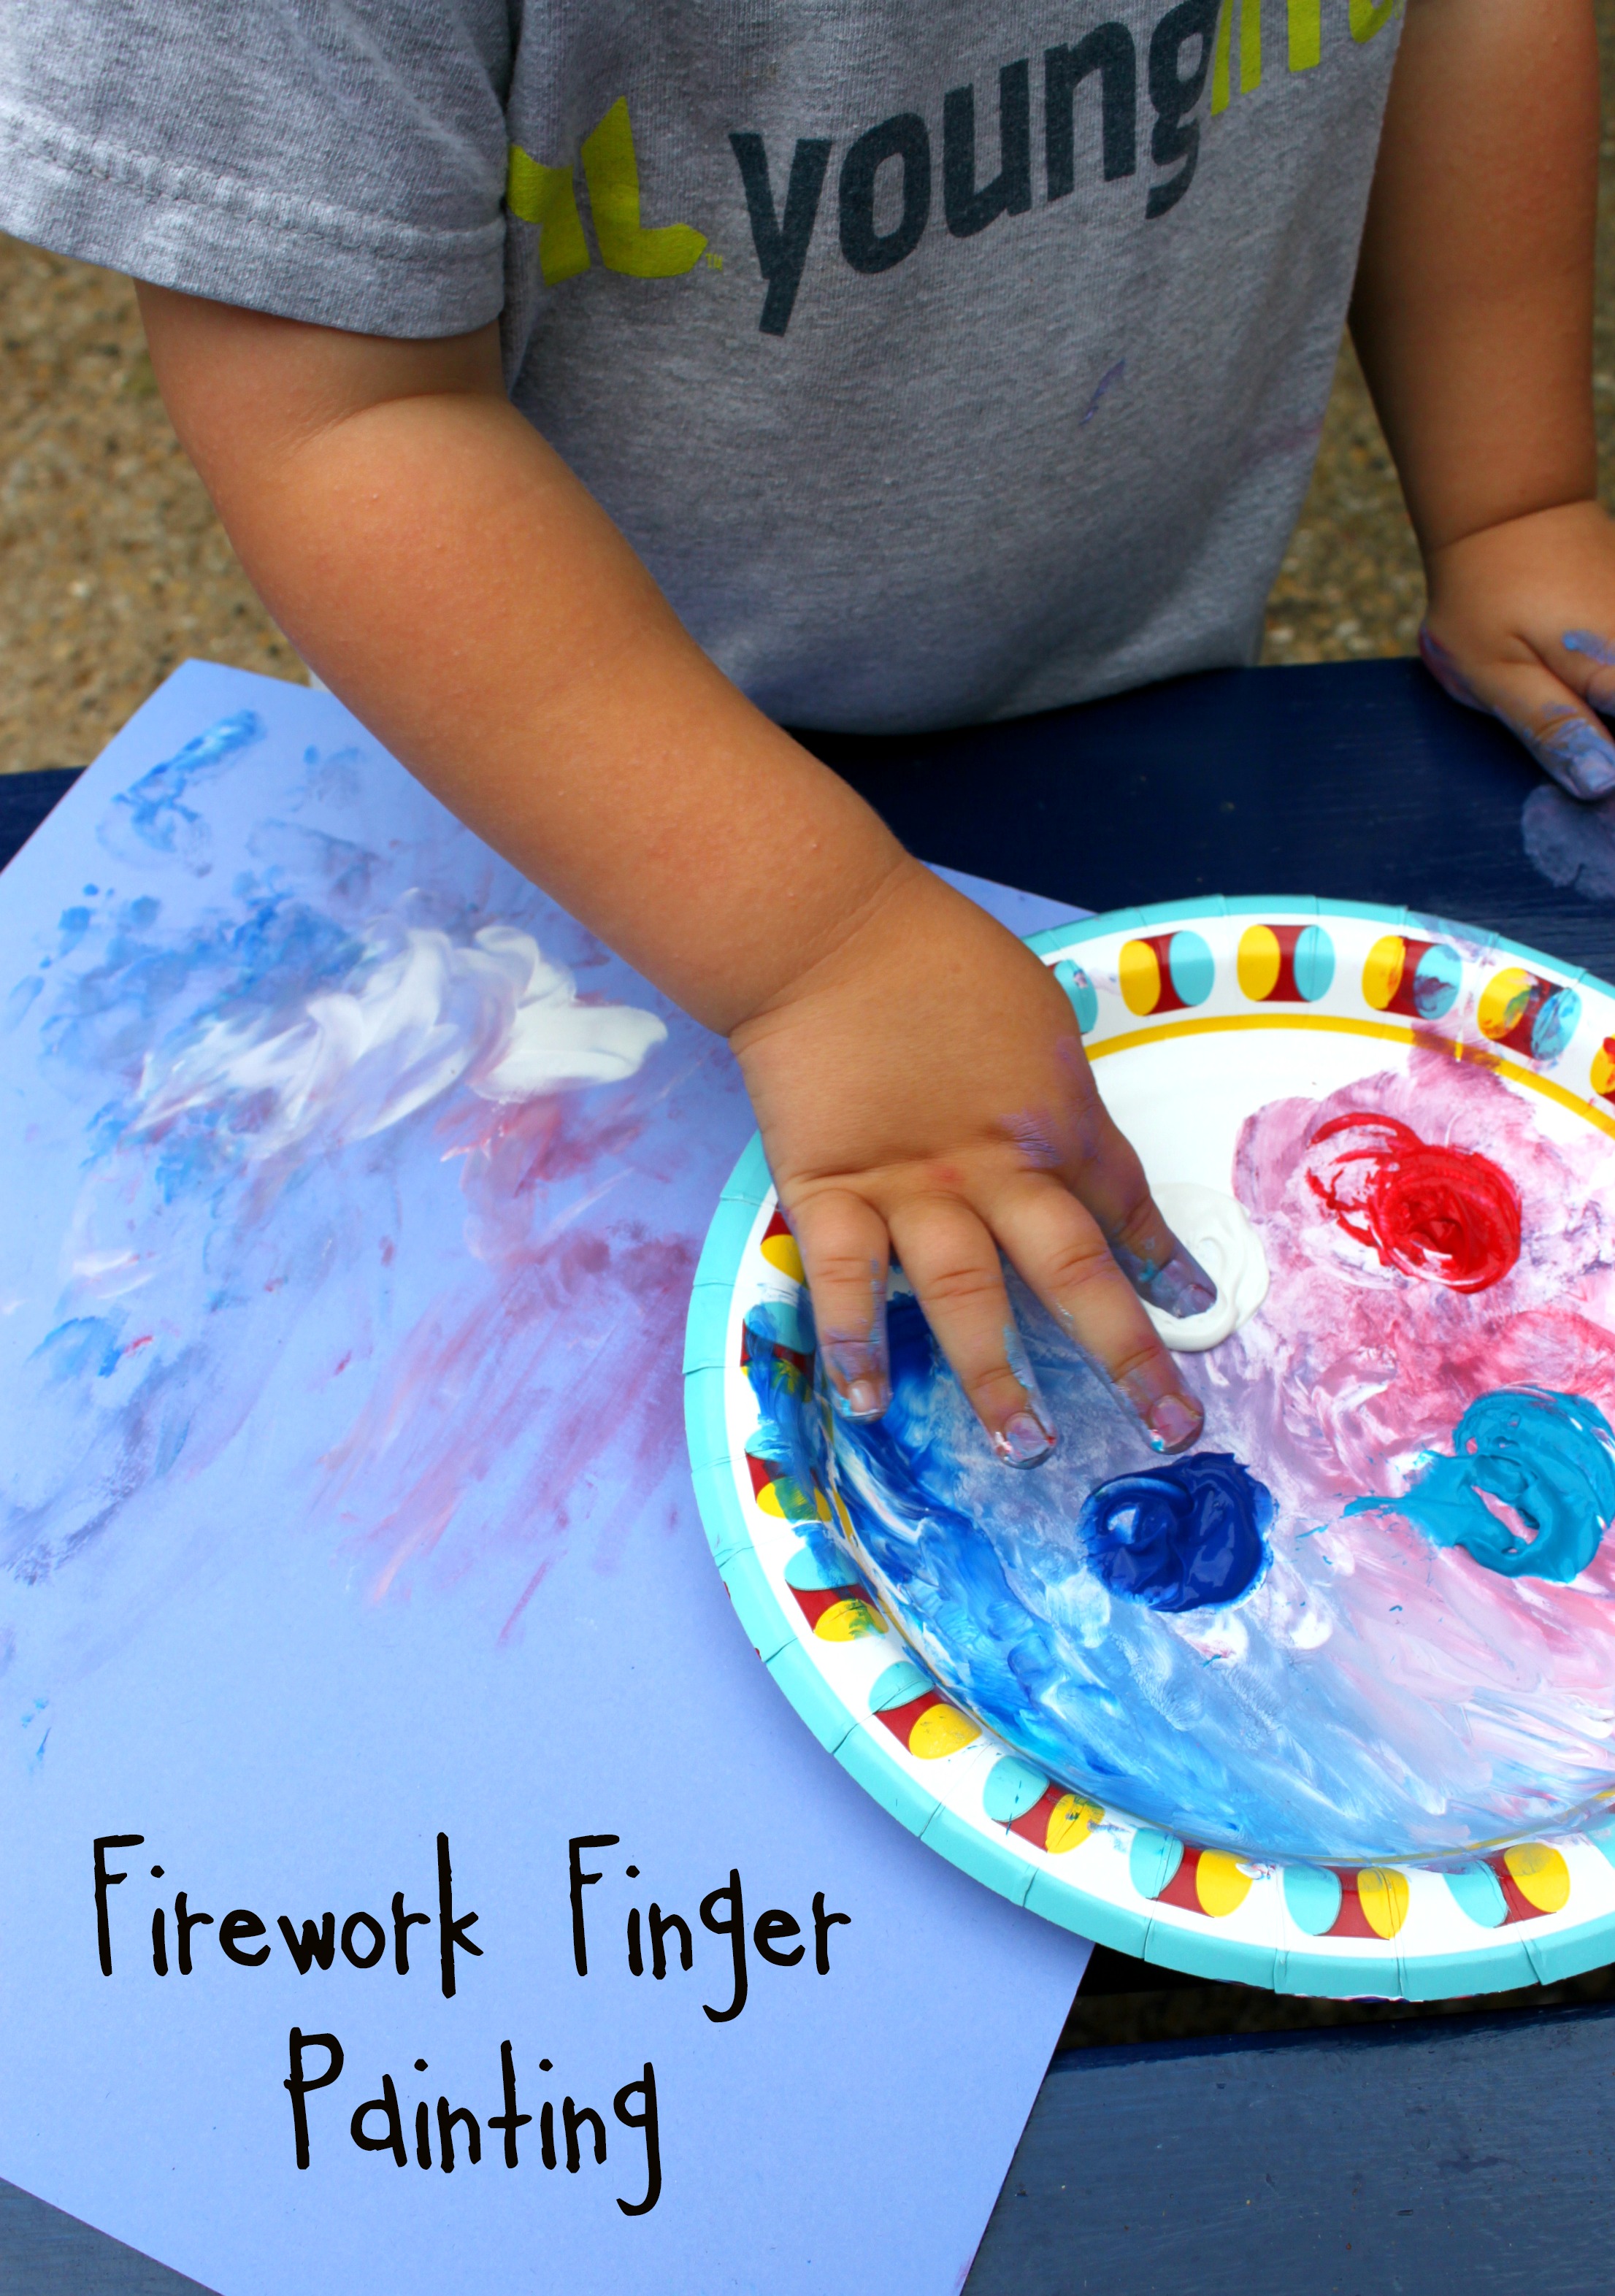
This was the Pearl Girl’s first foray in to finger painting, and she did well for about 10 minutes. I feel pretty great about that for a 14 month old. She really liked the feel of the paint on her fingers and patting it down on the paper. I set out four color options on a disposible paper plate. Only put out as much paint as you think they’ll need for one painting at a time. I gave each child a piece of paper and had Bear show PG how to do it. I guided her first few strokes and then she got the hang of it quickly. The Bear will paint happily for about 20 minutes now at age 3.

fireworkfingerpaint


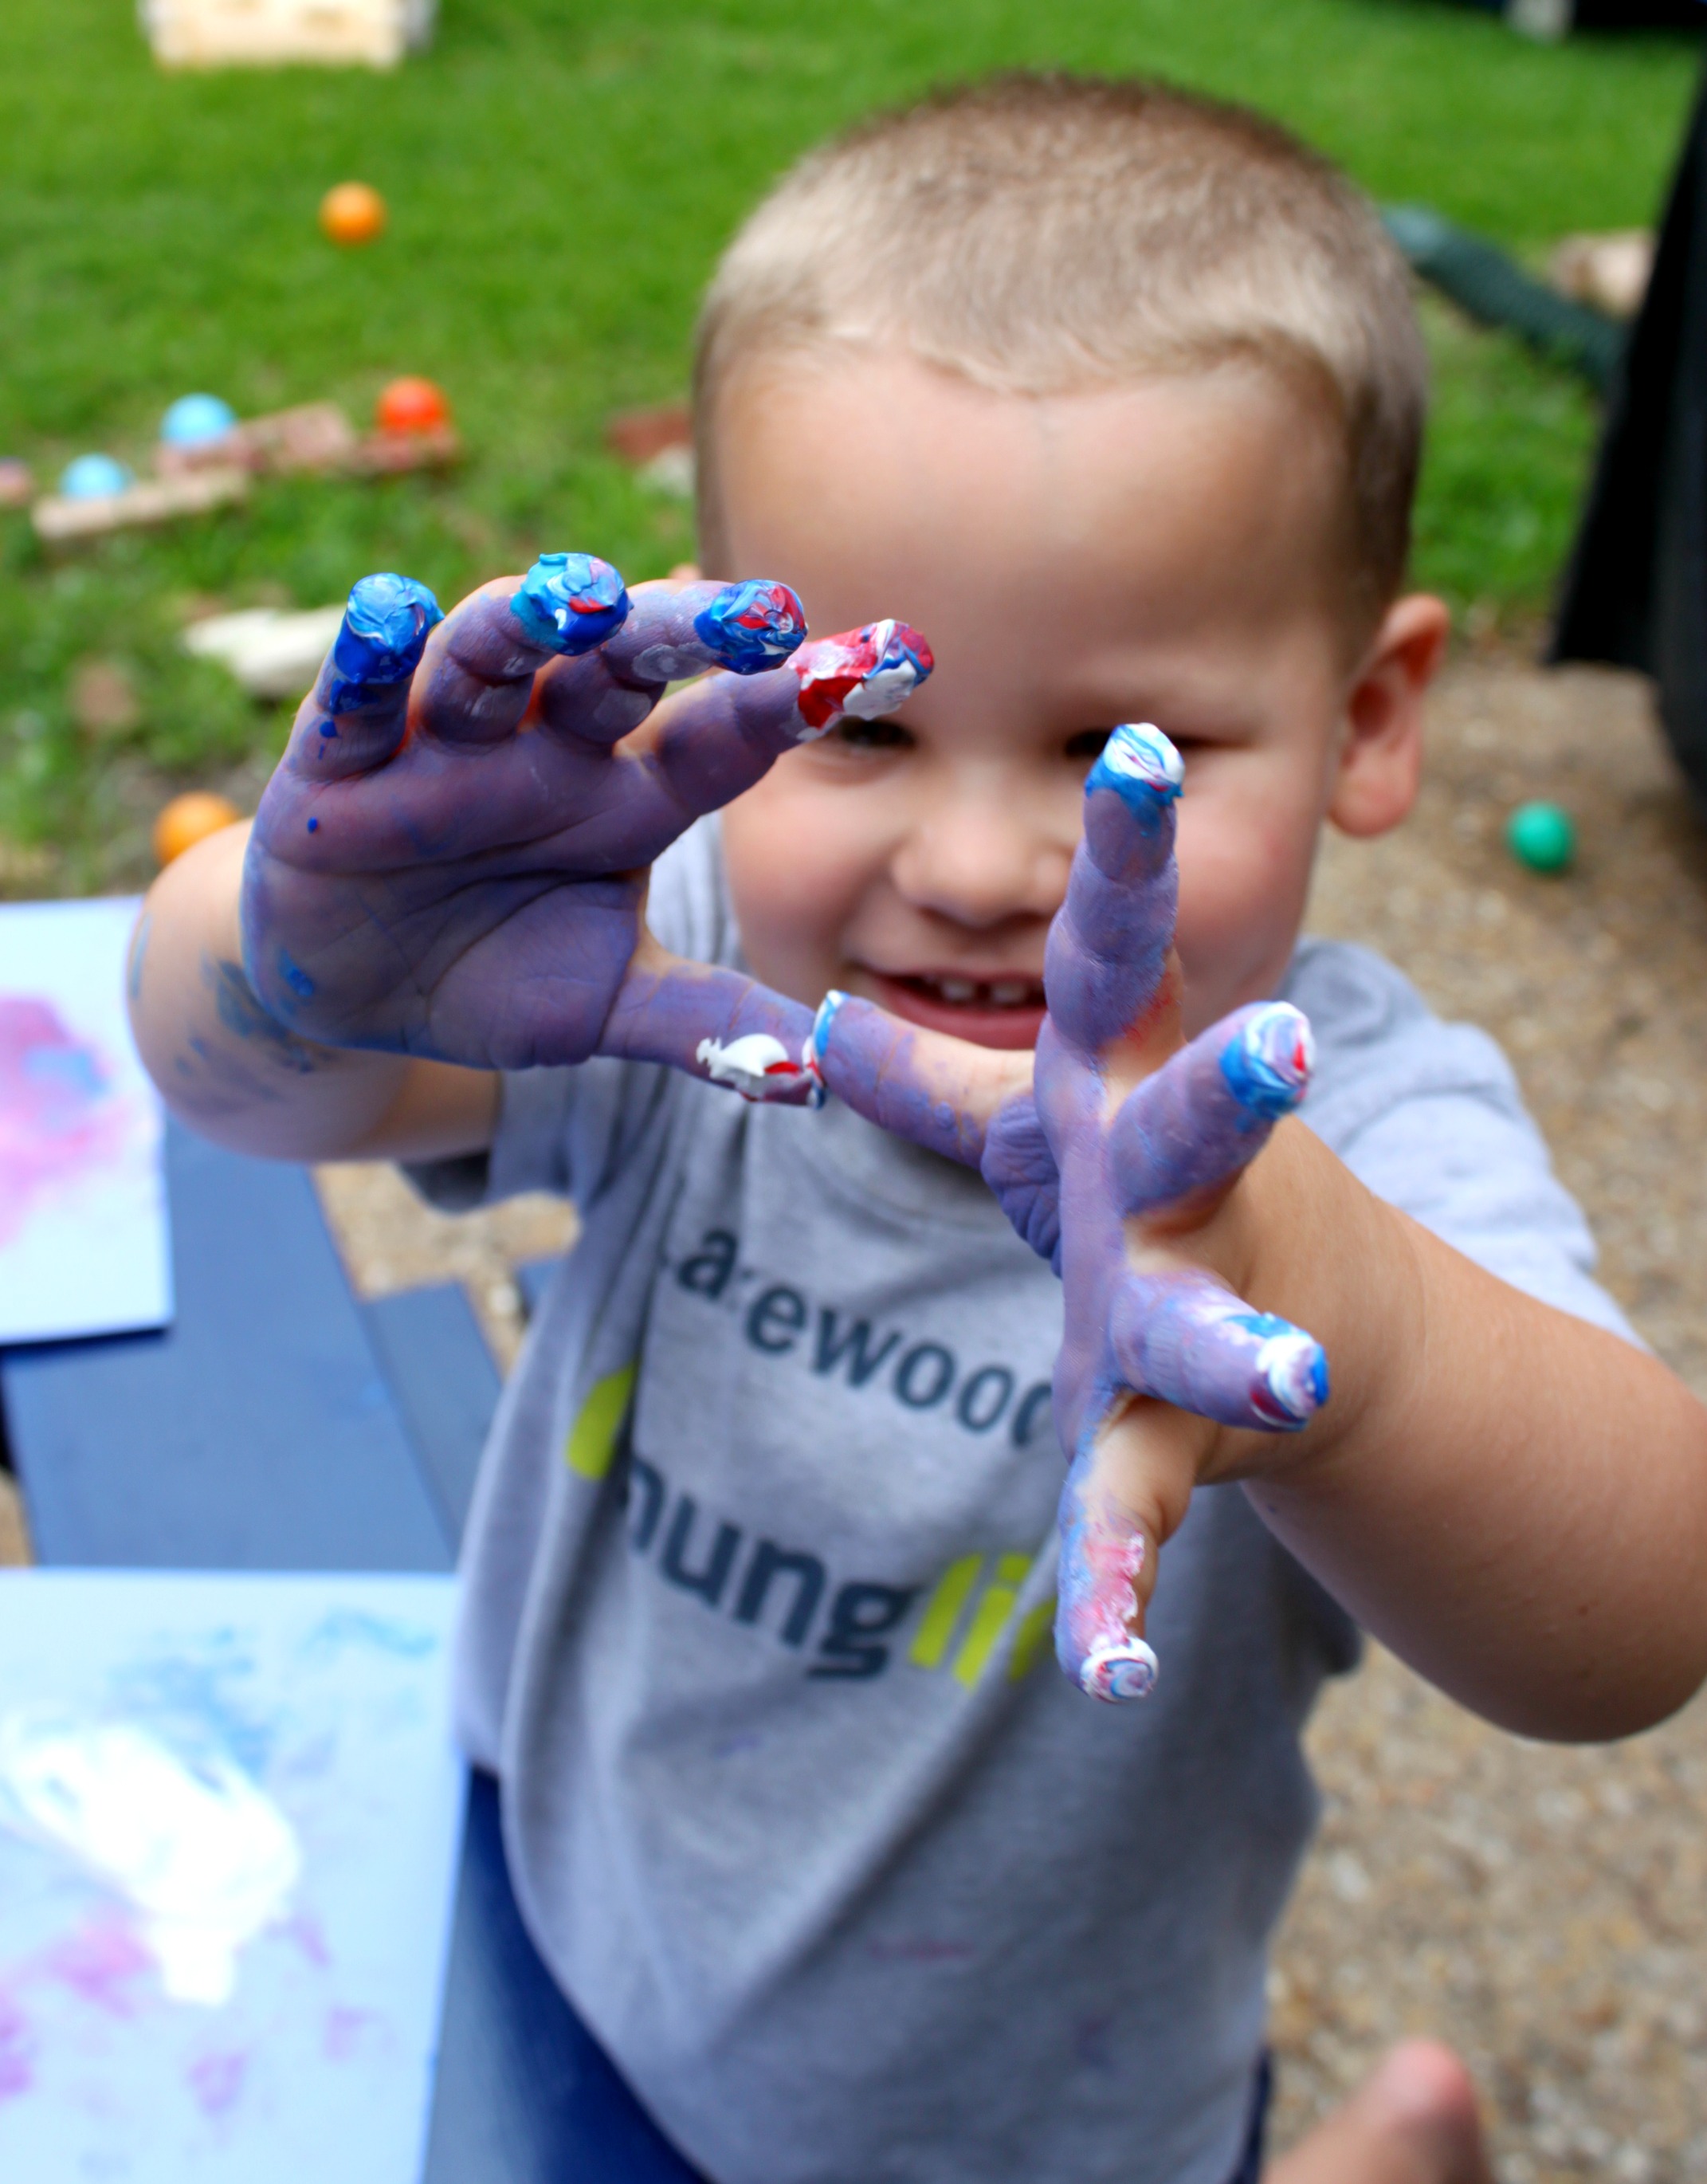
Let go of any image of Pinterest perfection and let your kids have a blast being creative. We’ve been reading a book about Franklin the Turtle being an artist, so the Bear believes he is one. I think every kid does until someone tells them different. Artistic expression is important for development and doesn’t have to be difficult for parents and caregivers to execute.

fingerpaintingpreschool


Clean up is so easy during the summer. I turn on the hose and let the kids splash the paint away, then turn the hose on our mini picnic table to wash it down. Leave the paintings out to dry and head in for a snack. You can find one of the ways we preserve kid art at no cost here. Happy Independence Day America!


Festive Fourth of July Wreath ~ Burlap + Tulle + Chevron

festive4thofjulywreath

Summer is in full swing and Independence Day is right around the corner for those of us in the United States. I created this simple and festive Fourth of July wreath for the holiday using my interchangeable burlap wreath form, ribbon, and tulle. My design could easily be shifted for other holidays or national colors. It was so easy and only took about half an hour from start to finish, since I already had the burlap wreath form created. Read on to find out how to make one for yourself.

(more…)

How to Host a Creative Playdate #UltimatePlayDate

I am a member of the Collective Bias®  Social Fabric® Community.  This shop has been compensated as part of a social shopper amplification for Collective Bias and its advertiser. Ready to host a playdate where the kids get to explore creative activities and have a blast? I’ve got a few easy tips and ideas to share with you so you can host the #UltimatePlaydate. I love giving kids room to create and express themselves artistically, so we hosted a group of sweet little friends and their mommies for a lovely morning of creative play. Creating your own artsy playdate is easy and so much fun.

#shop#cbias#ultimateplaydatekids


(more…)

Make a DIY Baby Book with a Handwritten Style Font with Free Printables {2nd Edition}

free printable DIY baby book with handwritten font

free printable DIY baby book with handwritten font

My sweet Pearl Girl is already one, and I just now finished her baby book. I am the Queen of Procrastination. I found a handwriting style font I love and recreated my DIY baby book I made for the Bear with the new font. You can find my original DIY Baby Book with free printables post here. I ordered an 8 1/2 x 11 scrapbook album off Amazon and printed the pages at home on colored 8 1/2 x 11 cardstock.  I am happy to share these free printables with you, for personal use only. See below for more information.

(more…)

Create a DIY Silhouette Portrait Painting with Tutorial

diysilhouetteportrait

At a local high-end department store they feature a silhouette portrait artist a few days a week who will create a silhouette of your child while you shop. These darling portraits are outrageously expensive, but really cool. I decided to create one for our living of the Bear back when he was about a year old. I started it, then it sat in my craft closet for TWO YEARS while I had another baby, forgot about it, etc. I finally finished it and I love it. It was easy, though a bit intimidating. I’ll walk you through the process I used so you can make one of your own. I think it would be fun to do the whole family, pets included. It only cost about $5 to make, and would be cheaper if you made more.

(more…)

Create a Thumbprint Cross to Teach Your Child About Easter

crossthumbprintbakingsodadough

Holy Week is one of my favorite times of the year because we get to take the time to focus on Christ’s work on the cross and what it means for us. I’ve shared with y’all about simple ways to bring Jesus in to your child’s daily life here, but talking about Easter and what it means can be a bit more difficult. Christmas is easy with the baby Jesus and all of the manger scene and Jesse Tree activities. Death on a cross for the sin of humanity is slightly more difficult to discuss with preschoolers, am I right? One way we’ve made it personal for our kids this year is to create a thumbprint cross with each of them. Their unique thumbprint represents the personal nature of Jesus’ death and resurrection – that it means the possibility of real relationship with God and eternal life for them. Plus, they are super fun and easy to make.

(more…)

Kid Art: Make and Paint Baking Soda Dough Easter Egg Ornaments

painteasyeastereggornaments

Recently we experimented with making dough from baking soda and corn starch, and ended up with a ton left over after we created hand print ornaments. I  thought it would be fun to create a few Easter egg ornaments with the Bear and let him paint them. The boy loves a good project, and every time we get the paint out he gets so excited. This ended up being a really fun craft to do with him and would work for kids ages 2 and up. I’ll share the details of our process along with a few things we learned and would do differently next time.

(more…)

Toddler School: Make an Easy Easter Egg Garland with Your Child

easyeastergarland

The Bear and I love a good project. This little Easter Egg Garland was a really fun one to create with him, and gave him lots of great fine motor skill practice. Stringing objects is part of his upcoming skills check with our pediatrician’s ages and stages questionnaire, so we’ve been working on it together. I thought making an egg garland would be great practice and give us a festive decoration for our mantle at the same time. He is so proud of his creation, as you can see above. His two year old attention span couldn’t handle making the whole thing in one day, so we worked on it bit by bit over several days.

(more…)

Our #DisneySide Play Date and 25 Amazing Disney Party Ideas

disneypartyideas

I’ve had a lifelong love affair with all things Disney, so when I was given the opportunity to host my own #DisneySide celebration I couldn’t pass it up. Disney sent our family a fun package full of goodies to help kick of the festivities, and we had an amazing day filled with Disney fun. I’m sharing our ideas as well as some fabulous Disney party ideas from other creative bloggers to help you with your next birthday party, play date, or whatever excuse you find to show off your own Disney side.

(more…)

Two Minute Tiny Turban Headbands for Baby and Toddler Girls {with Tutorial}

tinyturbanheadbands

Today I’m showing you how to make a super cute tiny turban headband for the little cutie in your life, made from old onesies or t-shirts. These are so simple and quick to make, but I love the way they look and that my daughter’s stained and outgrown clothing can find new life in darling accessories. These require no sewing and can be made in about two minutes, seriously.

tinybabyturbanheadbands

Here’s all you need to make these cute headbands:
scissors (sharp for cutting fabric)
old baby t-shirt or onesie with at least a 2 inch stain free strip in the middle
Patterns and stripes are especially cute if they are a similar shade on both sides of the fabric.

tinyturbanheadband5

Cut a strip out of the middle of the t-shirt or onesie. Knit fabrics are ideal because they are less likely to fray. I like to cut a 2-3 inch strip for each headband, but you can test different widths and see what you like the best.

tinyturbanheadband3

This is the perfect use for all of those outgrown onesies with stains around the collar, and is so quick and easy. After you cut out your strip, stretch it out using your hands. Then twist it over once, then once more to form the turban style twist shown below. You’re done.  See what I mean about super quick and easy? Find a cute baby to wear it and whip out 20 more while you catch up on Downton Abbey.

tinyturbanheadband1

tinybabyturbanheadbandsdiy

Isn’t it the cutest on my Pearl Girl?!  Another bonus is the headbands are super comfy because they are made from soft, worn in fabric. Here’s another fun idea: make one in your size to match your little one. You can also cut the strip and tie a knot to create another style of headband.

babyturbanheadband

What is your favorite way to upcycle old clothes?