Category: play

FROZEN Play Time: Make Melted Olaf Dip and Build Elsa’s Ice Castles

CB Disclosure White Background 400 px wide (2)

#FROZENFun-#shop-#cbias-melted-olaf-dip-disney

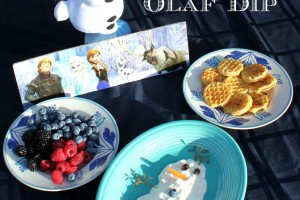
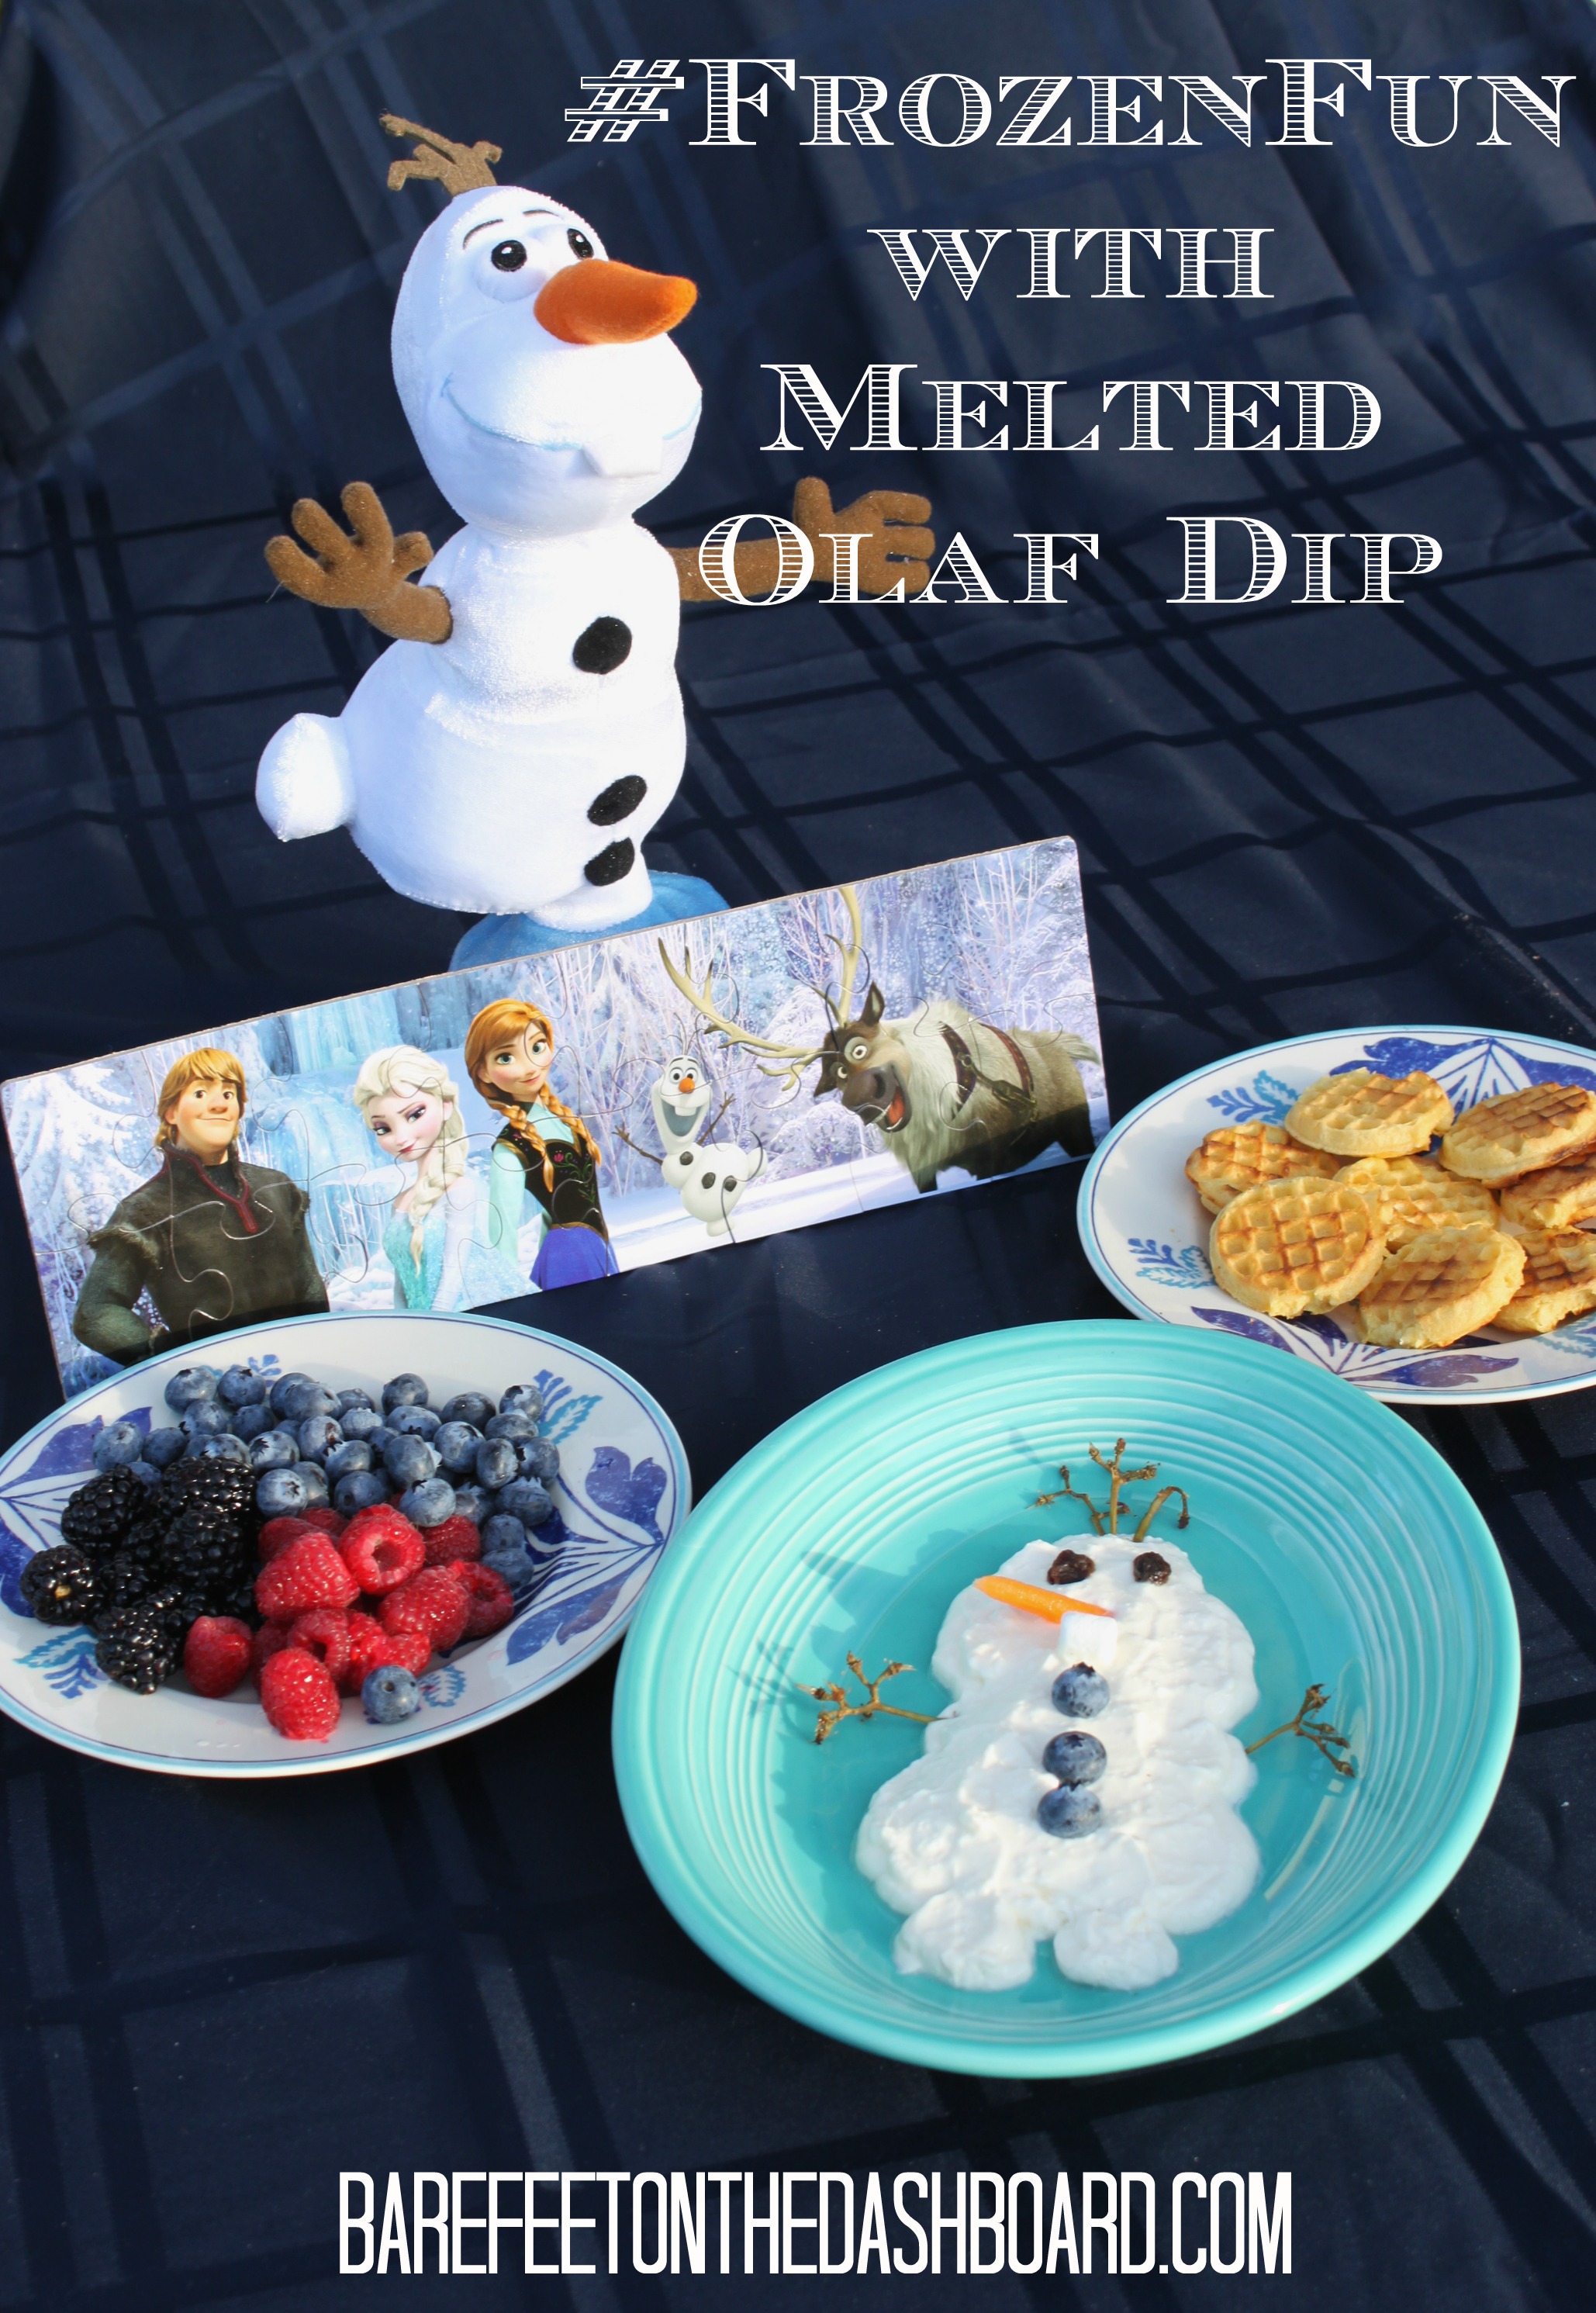
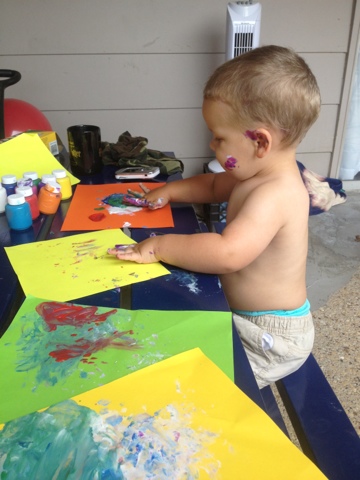
Is your family singing “Let It Go” nonstop these days? You’re not the only ones. I created a FROZEN play date for my kids and their cousins recently and it was a huge hit. The big kids were singing as they built Elsa’s Ice Castles and everyone got a kick out of my Melted Olaf Dip perfect for Eggo Frozen Waffles and fresh fruit. I picked up a few choice Walmart toys to share among the kids and set up snacking and building stations and we had a blast. Best of all, my recipes are healthy and activities are super easy to recreate. We are so pumped for the release of the FROZEN DVD on March 18th, and the discount price drop from $16.96 to $14.96 at Walmart. Grab a $5 off offer on special marked packages of Eggo Waffles and get an even better deal on the FROZEN DVD. Now for the #FROZENFun …

(more…)

Painting Pumpkins with Toddlers

  Painting pumpkins is the perfect way to let your toddlers decorate the gourds of the season with out knives or messy pumpkin guts involved.  It is simple and an be pretty mess free if you do it just right.  The pumpkins turn out really pretty and don’t rot instantly like a carved one.  Want to try it?  Here’s how we do it…
Pumpkin Painting Instructions:
1) Go outside and set up a little station cleared of anything that might get ruined.
2) Put a blob of each color of washable paint on a piece of construction paper.
3) Show your child what to do, and then let them go for it.  If they don’t like the sensation of paint on their hands, foam brushes work well.
4) You can use painter’s tape to tape off designs on larger pumpkins, or leave well enough alone and drink your coffee.
5) Leave your pumpkin out to dry for several hours.  Throw away your paint paper, or save it for this project.  Wash down your station with a wet rag and wash your child’s hands.  You’re done!  Don’t you feel festive?
The Bear is so proud of his masterpieces.
We actually did this on two different days and it kept him entertained for quite a while.  Fine motor skill building is the best entertainment.
Have you decorated pumpkins with your wee ones? What techniques do you use?

An Easy Fall Pumpkin Craft for Toddlers and Preschoolers

Crafting with toddlers and preschoolers can be a bit of an adventure, but it is great for their fine motor development and can kill major chunks of time with no tv involved.  This one is crazy easy, turns out really cute and festive, and will give you about 20 minutes of peaceful fine motor practice.  Go for it.  Everybody needs a festive pumpkin to hang on the fridge, and your little one will be so proud of their handiwork.
Materials Needed:
construction paper or cards tock
scissors
one sheet of orange tissue paper
glue stick or spray adhesive
Directions:
1) Trace a basic pumpkin shape on to your card stock or construction paper and cut it, or just cut it out freehand with scissors. It doesn’t need to be perfect.  An oval with a stem will do.
2) Let your toddler tear the tissue paper up in to tiny pieces.  Really let them get in to it.  To contain this part of the process I put Bear in his art box and let him go to town.  He LOVED it.
3) Spray your pumpkin shape with a light coat of spray adhesive or cover with your glue stick.  I recommend the spray because it won’t get your little one sticky and holds the tissue very effectively.
4) Show your wee one how to stick the pieces of tissue on to the pumpkin.  Encourage them to cover the whole thing.  Back away slowly and watch them work.
5) Take a photo of your babe with the finished product and then pat yourself on the back.  Craft accomplished.  Mischief managed.
What’s your favorite fall craft for little ones?


Life to the Full: Joy and Discovery

This sweet boy is at such a fun, wild, crazy, stage of exploring his world and learning through discovery every day.  I love being there for every minute of it, even though I sometimes just need a minute where someone isn’t asking me a question.  His speech has really taken off and he is asking new questions nonstop.  He found the shell above and decided it had tiger stripes like the tiger he saw at the Dallas Zoo.  I’m completely biased, but I’m pretty sure he is a baby genius (just like every mother in history).  I long to be the mama who is all in with my kids, loving them fully with the love of Jesus and guiding them through these childhood years.  

Daily I marvel at his inquisitive nature and the pure joy he finds when he learns something new.  He inspires me to look at the world around me with fresh eyes.  He laughs with wild abandon and is so free.  Do you laugh like that?  I hope I do.  In the midst of this depression battle, moments of pure joy and freedom are illusive.  I’m soaking them up and trying my best to be in the moment, on the floor, playing, laughing, teaching, and fighting for freedom from this struggle.    

I hope to laugh like this every day of my life.
What brought you joy today?
You can find more from my Life to the Full series here.

Play Time: Stress Free Finger Painting

Does the idea of letting your preschooler play with paints make you cringe and give you the beginnings of a headache?  No worries.  We’ve been painting like crazy all summer and the Bear and I have it down to a science.  Yes, it’s messy, but it is also fun and can be stress free.  Here’s how we do it.

What You Need:
washable non-toxic paint
paper (really any kind will do, but we prefer cardstock or construction paper)
a 20-30 minute time slot
a hose or kiddie pool
an outside work space


Make It Happen:
We set up on the picnic table my husband made for the kids.  He’s working on a tutorial if you’re interested.  Use one sheet of paper as your child’s palette.  Let them pick 2-3 colors to start with and put a dollop of each color on the palette.  Take off your child’s shirt.  Show them how to dip their fingers in the paint and use their finger as a paint brush.  We also read a book about Curious George mixing paint before we painted for the first time to help with the concept.    


Step back and let them create.  Resist the urge to correct.  Let them mix and swirl and get messy.


Every few minutes bring in a new sheet of paper.  Show them how to make hand prints, a useful skill for grandparent gifts later.  Take some photos and enjoy the flowing creativity.

After about 20 minutes, ask if they are ready to be done (if they haven’t stopped already).  Grab your hose (and possibly and inflatable kiddie pool) and strip them down to wash off.  This might be as fun (or more) than the actual painting.  Give them 2 cups to fill up or and help facilitate a little rinsing.  While they are rinsing, lay out the masterpieces to dry and pick up the paints.  Give your table a wipe down, then dry off your now clean child.  You’re done, and you both survived with your sanity in tact and you get the fun mom of the year award.  Everybody wins!

What’s your favorite preschool art idea?

Spring?

We are playing outside nonstop right now.  
The weather in Dallas is ridiculous this week and we find ourselves asking, “Is this spring?”  Dare we hope that winter has passed us by completely?  Spring is my favorite.  Spring brings the trees budding, flowers blooming, birds singing, the discipline of Lent, the joy of Easter, our anniversary, Jed & Fisher’s birthdays, dining on patios, and SO MUCH playing outside.  

Look at this big, almost 9 month old boy!  He is standing and cruising around the edges of furniture like a champ.  Neighbors of friends of ours gave us these Little Tikes playsets, and I know we are going to be playing like crazy all spring and summer.  Don’t you just love hand-me-downs?