This post is part of a sponsored campaign through Collective Bias. When your world is run by very small people, sometimes you just need to laugh. My kids bring me endless joy and delight, but they also bring major messes, frustration, and copious amounts of bodily fluids to brighten my day. Nickelodeon’s NickMom.com provides hilarious mom-centered content for those moments when you want to lighten up and giggle at yourself and others. When I read this post, “What does your snack offering say about you?”, I started thinking about the place where all of our snacks end up… the inside of my car. I don’t know about you, but my car’s interior basically looks like we are vagabond hoarders on most days. Inspired by NickMom, I came up with a list to judge us all by the inside of our cars. Sorry Dr. King, we’ll save the content of our character judging for another day. I too have a dream. It involves a car cleaning fairy.
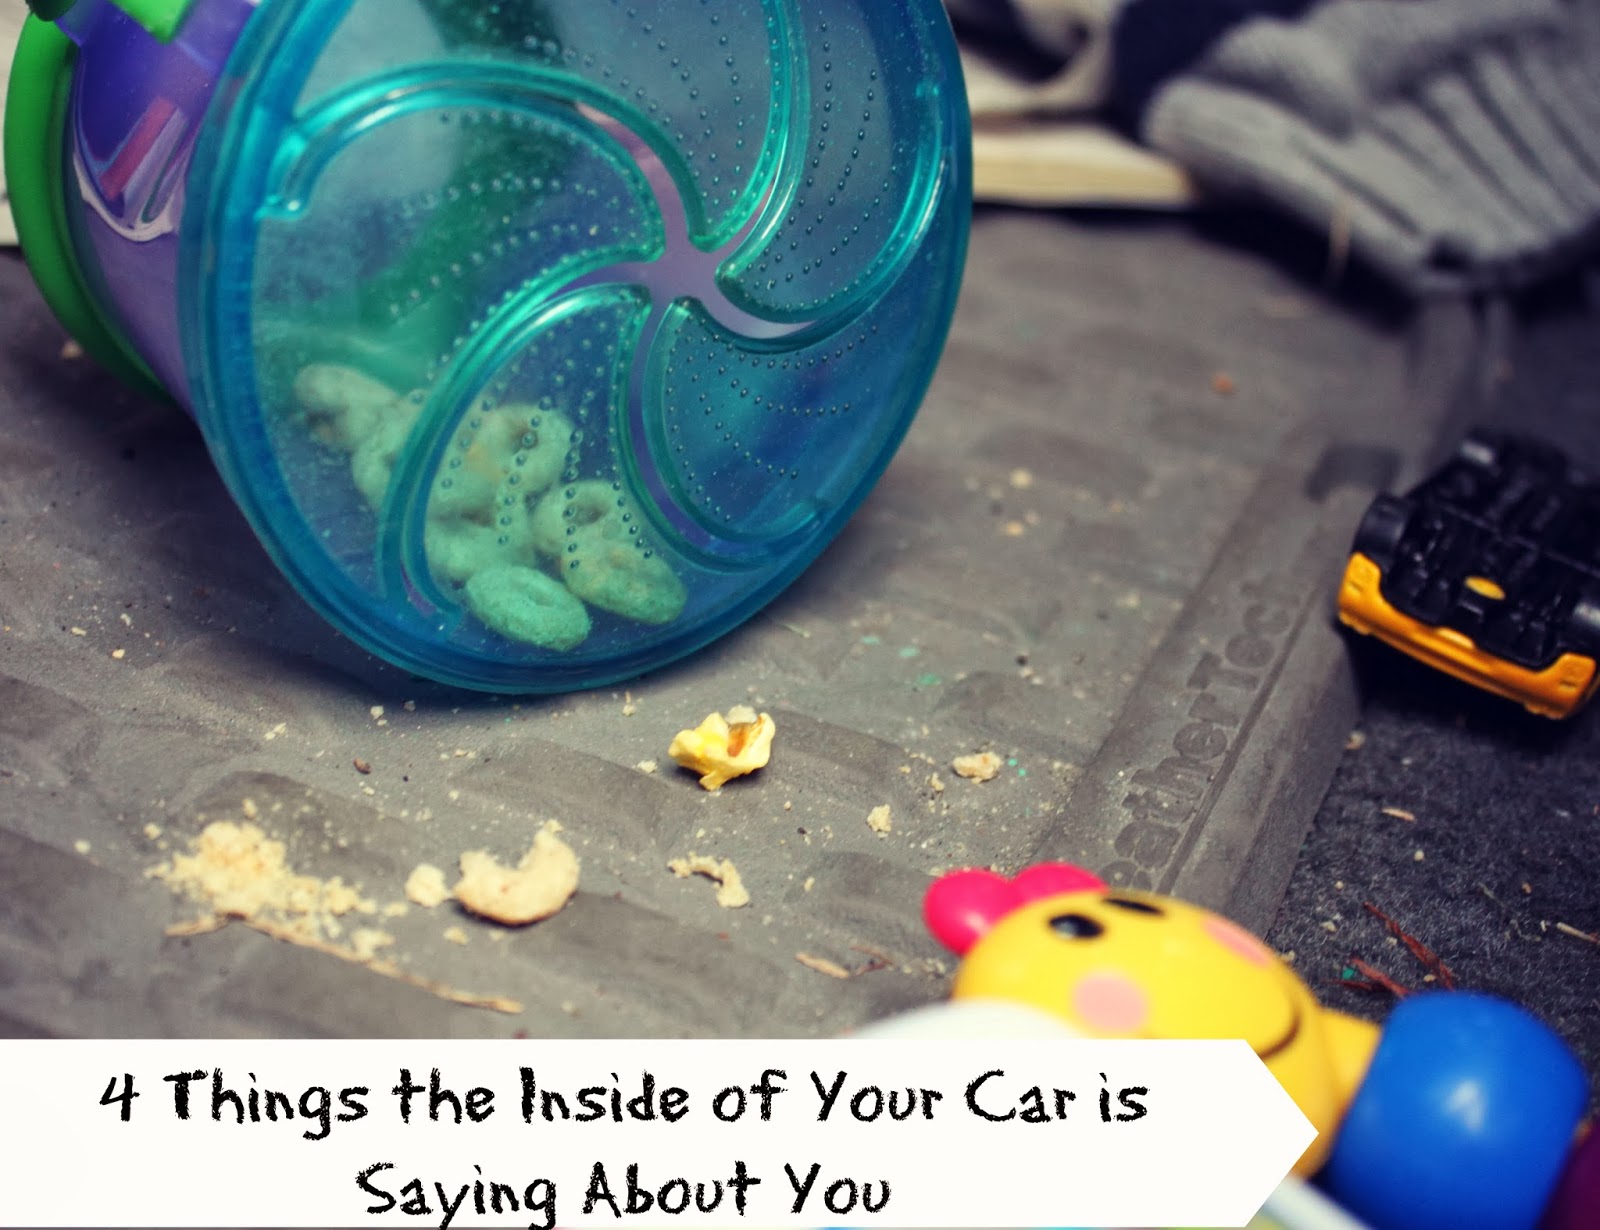
Four Things the Inside of Your Car is Saying About You
1) Sweet and Sour
The car’s interior looks clean at first glance, but an unpleasant yet unidentifiable smell hits your nostrils as you open the door. The culprit? A rogue sippy cup thrown under the passenger seat. Milk does not do well after two weeks unrefrigerated.
You are a big picture kind of girl, but skim over the details. Your child may accuse you of skipping pages while reading yet another seemingly endless Cat in the Hat book, but at least you are reading to him.
2) Messy Mayhem
Seventeen semi-empty coffee mugs fill every cup holder and crevice in your vehicle. Each one is filled with a wadded up piece of paper, candy wrapper, or wet wipe. Your very demanding small people have a lot of energy and in order to keep up you must caffeinate regularly. You maintain a belief in a cleaning fairy that will someday appear and make all the trash go to its home.
3) Conspiracy Theory or Retail Therapy
Every surface is spotless and shiny and new car smell permeates the air. Either you are covering up a recent crime spree or you actually bought a new car and have yet to let your children enter the vehicle. In either case, I’m sure it was justifiable.
4) Overbooked
Smashed Cheerios line the floorboard as far as the eye can see. Toys tossed aside crunch underfoot and dvds fill every door pocket. You just had to get through those errands and that Starbucks drive through line, and junior decided to use the snack trap as a projectile. Priorities, people. You had that kind of day today. And yesterday.

So ladies, what does the inside of your car say about you? I’m a combination of Messy Mayhem and Overbooked with a rogue sippy cup thrown in for good measure. If you need a laugh today, follow NickMom on Facebook and Twitter, and check out NickMom.com. A good belly laugh totally counts as cardio. Your abs will thank you.