Tag: baby

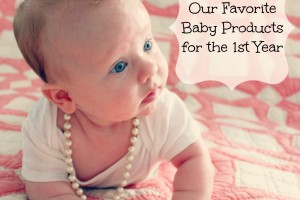
Our Absolute Favorite Baby Products for the First Year of Life

favoritebabyproducts

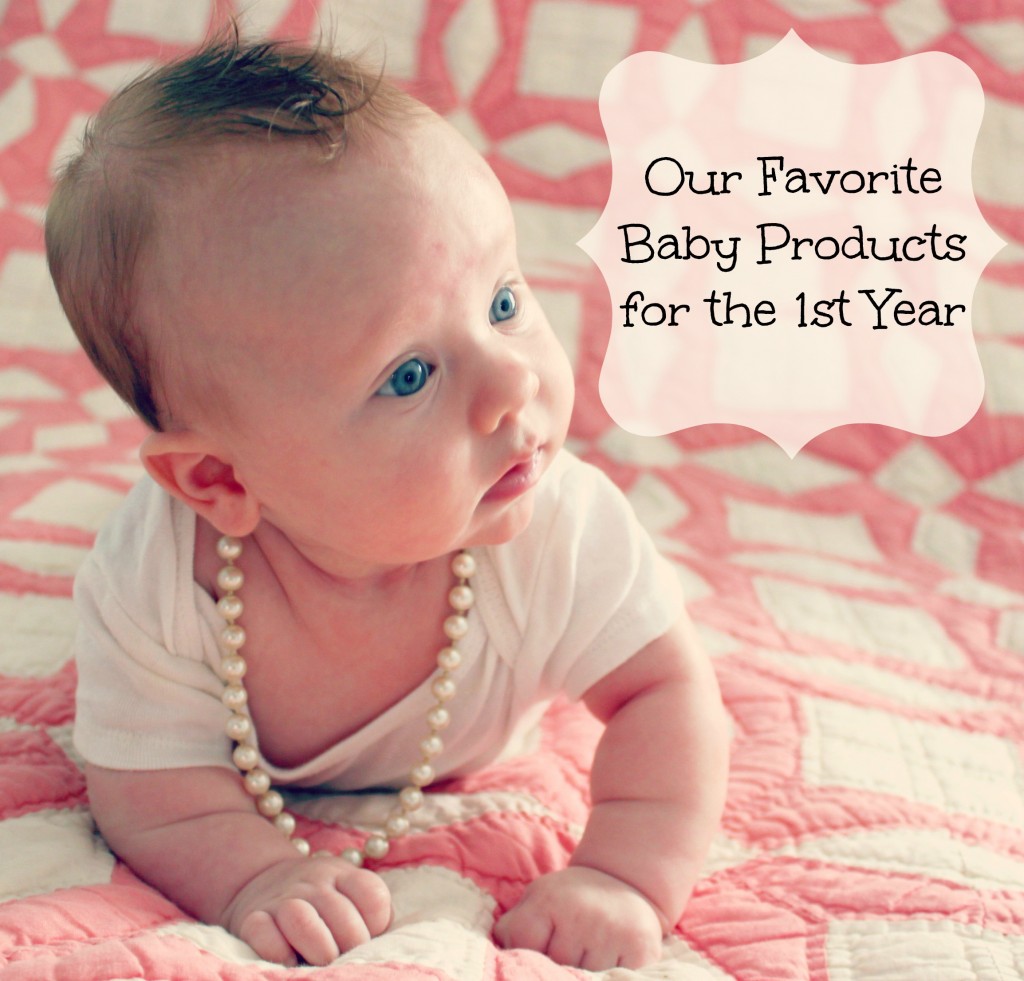
After two babies we’re up to our elbows in baby gear at the Eby house. We tried so many great products (and a few that we didn’t love). Today I’m sharing my absolute favorite products for baby’s first year strictly based on what worked best for us. These may not end up being your favorites, but they were ours’ and we highly recommend them. Jed will chime in and share his thoughts on a few items as well. This post is not sponsored in any way, and all opinions are our own. It does contain affiliate links, and purchasing through those links costs you nothing but helps support the Bare Feet on the Dashboard blog and family. Our favorite cloth diaper products are not on this list, but you can read more about those here. You can read our ideas on saving money with a baby here.

(more…)

All I’ve Learned About Cloth Diapers {After Three Years}

clothdiaperwisdom

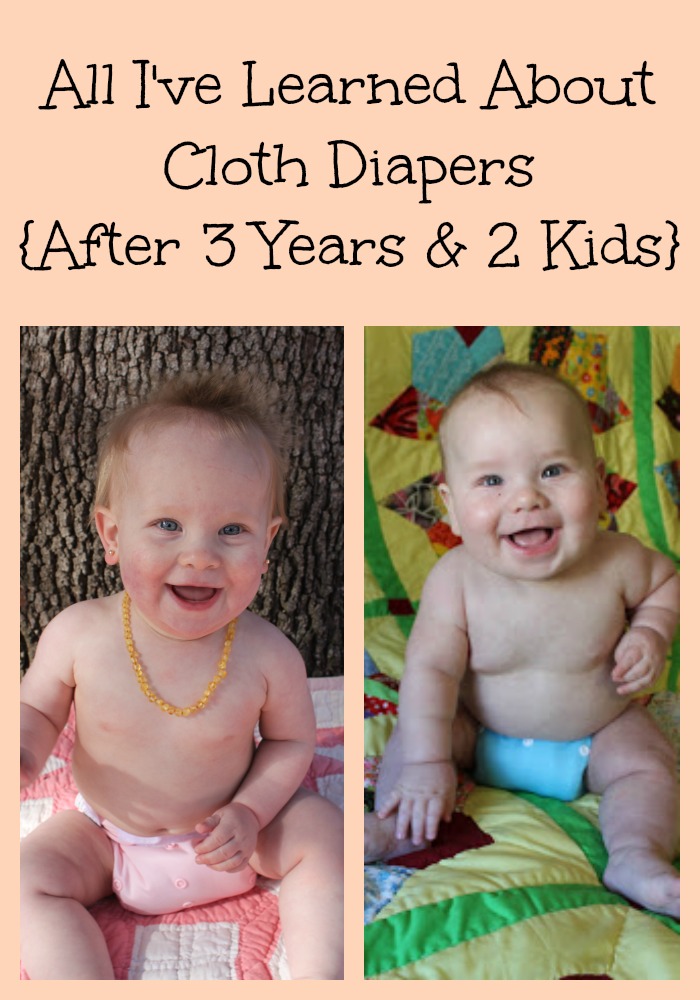
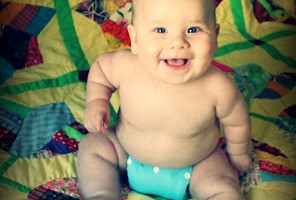
After almost three years using cloth diapers on two children, I’ve learned a lot. We’ve tried 14 different kinds of cloth diapers and found our very favorites. You can read my post about what I learned the first two years here, and my great cloth diaper trials here. Read about our cloth laundry routine here. Our cloth diaper preferences and routines have evolved as we’ve adjusted to two kids, potty trained the Bear, and moved in to a new house. Today I’m sharing our favorite diapers, our simple laundry process, and my favorite things about cloth diapers.

(more…)

Create a DIY Silhouette Portrait Painting with Tutorial

diysilhouetteportrait

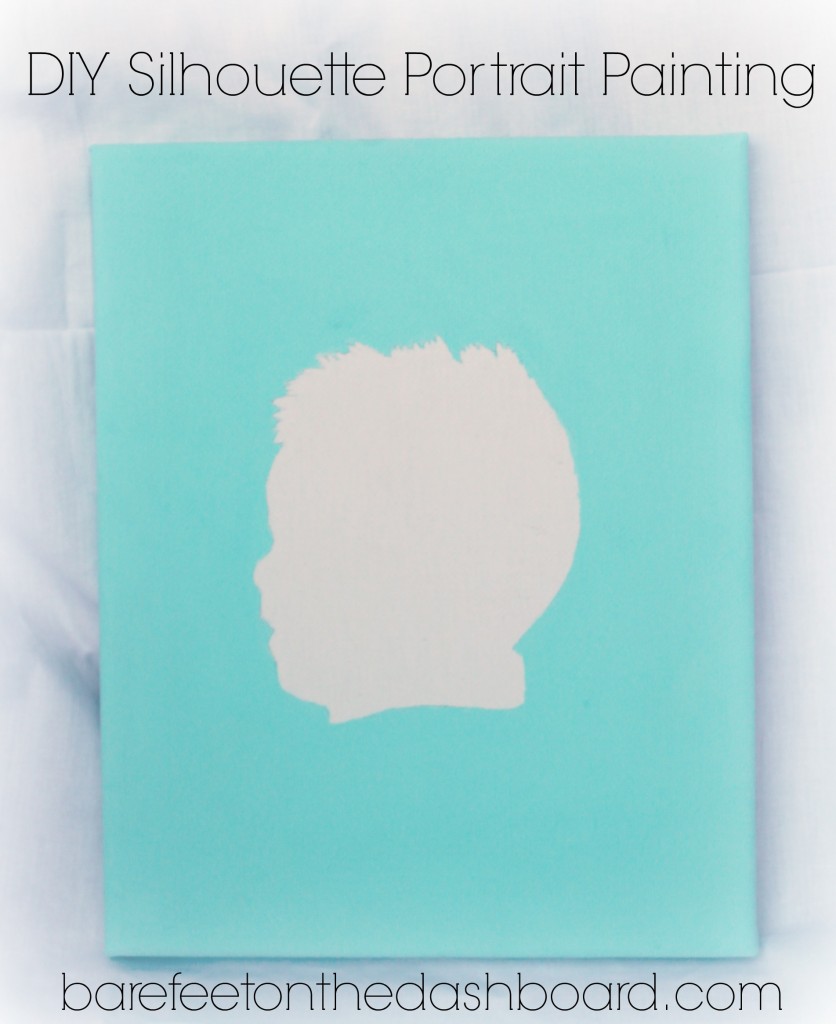
At a local high-end department store they feature a silhouette portrait artist a few days a week who will create a silhouette of your child while you shop. These darling portraits are outrageously expensive, but really cool. I decided to create one for our living of the Bear back when he was about a year old. I started it, then it sat in my craft closet for TWO YEARS while I had another baby, forgot about it, etc. I finally finished it and I love it. It was easy, though a bit intimidating. I’ll walk you through the process I used so you can make one of your own. I think it would be fun to do the whole family, pets included. It only cost about $5 to make, and would be cheaper if you made more.

(more…)

DIY Baby’s First Christmas Footprint Ornament {For Under $2}

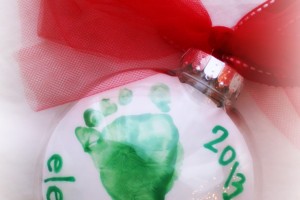
Teeny tiny baby footprints are one of my favorite ways to preserve a snapshot of a child’s growth.  I made a sweet and simple ornament for our Pearl girl’s first Christmas using one of her newborn footprints.  It was so easy to make and really inexpensive. Make your own Christmas footprint ornament to celebrate your baby’s first Christmas with the instructions below.

(more…)

Tips for Taking a Baby to Disney World

 I love Disney and was blessed to go three times through my former job with Young Life.  Jed asked me to marry him in front of Cinderella’s Castle in 2008 and we were able to take the Bear with us on our last trip.  We are big fans.  I’m hoping and planning to go back when the kids are little bigger, but I want you to know it is possible to take a baby and enjoy it.  The Bear was 8 months old on our last trip, and still nursing.  We did some things right, learned from our mistakes, and had a fabulous time.
Five Tips for Taking  Baby to Disney World
1) Don’t try to do too much.
This was our biggest mistake.  We had a park hopper pass and tried to do 2 parks in one day.  It caused unnecessary stress and it would have been much better to spread the parks out.  Take time to relax and don’t skip out on nap and rest time for your little one.
2) Take your baby on some rides and ride swap on others.
It might sound crazy, but we took the Bear on some rides.  He LOVED It’s a Small World and the Haunted Mansion.  He had no idea the mansion was supposed to be scary and loved all the lights and the gently turning ride.  For more intense rides, ride swap is available.  One parent rides while the other waits with a cast member and the baby, then the parents switch out.
3) Plan ahead for meals. (for everyone)
This was our other big mistake.  We didn’t realize reservations were required months in advance and were laughed at by a haughty hostess at Epcot.  The walk up places are still fine, but we will get reservations next time.  We did bring baby food with us and planned our routes around when Bear would need to nurse.  There are baby care centers at all the parks and they are lovely.  I nursed Bear throughout the day in the baby centers and it was such a nice, quiet break for both of us.  They have everything you need there and the staff are amazing.  One of my favorite things about Disney Parks is how much each cast member seems to love their job.  These ladies were no exception.
4) Pack that stroller like you mean it.
Think through everything your baby might need and then double it.  Extra clothes all around, extra diapers, a blanket, a rain jacket for everyone, everything you might need.  The two best things we brought were a dark rain jacket to cover the stroller for naps and our iPhone with a sound machine app on it.  We turned on the white noise, covered the stroller, and the Bear napped three times and nearly slept through the fireworks.  I highly recommend bringing a sling or Ergo to carry your babe around in so they can have a change of scenery and get out of the stroller.
5) Know when to fold ’em.
You may have to go back to your resort in the middle of the day for a nap.  It is okay.  You may not get to see the fireworks every night of your trip.  Still okay.  Sometimes your baby can be pushed to stay up, nap in the stroller or in the carrier, and go with the flow.  Other times they will bend you to their will like a tiny tyrant.  Flexibility is the name of the game.  Relax and enjoy, but don’t stress out about missing out on the Dumbo ride because your sweet babe was done for the day.

Have you been to Disney World? What would your dream Disney vacation include?
Follow Becca’s board Family Travel on Pinterest.
5 Things We’ve Learned From Cloth Diapering (Almost) 2 Years In

We are now almost 2 years into this little cloth diaper experiment.  I’ve learned so much and am still picking up new info every week.  I’ll probably get the whole thing totally mastered by the time Mini Bear potty trains.  Today I’m sharing with you the top five things I’ve learned from our first 20+ months of using cloth.

1. Diapers We Love:
If you read our about Great Cloth Diaper Trials you know that we’ve tried and tested 11 different kinds of cloth diapers.  We are now up to 14.  Out of control.  Not all of the brands we tried worked for us, but we do have a few that we absolutely love and we are always looking to try more.  Our all time favorite brand is Softbums.  We’re obsessed and they make up the bulk of our diaper stash.  We also love the Bumgenius 4.0 and Freetime.  We use our Bumgenius Elemental, but the drying time takes it from a love to a like.  I love Apple Cheeks diapers, but Jed is not as big of a fan.  I loved the 1 size two AC we had so hard the elastic is now busted.  Anyone want to fix it for me?  We love our Bummis swim diaper, and our Bunzuke bandana diaper is still in the rotation as well.  That Bunzuke is so cute and hard to find I will never give it up.  The rest we’ve sold.  Which brings me to #2.

2. The Cloth Diaper World:
Did you know there is a whole underground world of cloth diaper people out there?  We DO exist.  There are Buy/Sell/Trade groups and fan pages on Facebook for every major brand.  There are local cloth diaper swaps.  There are forums where you can learn everything you every wanted to know about every diaper on the market.  I’ve sold all of our used cloth diapers we didn’t love because they work really well for other people.  I’ve bought used diapers from people who didn’t like our favorite brands.  There are cloth diaper meet ups and mom groups in most major cities.  The cloth diaper world is amazing, and I love being part of it.  Before we started this experiment, I looked to blogs to learn everything I could.  That’s why I now post about what I’ve learned to share with you.


3. The Laundry:
The cloth diaper laundry is no longer intimidating.  You can read about our original simple cloth diaper laundry routine here.  We just switched to Rockin Green detergent because of a hard water issue at the new house.  Our new routine is one cold wash, one hot wash, extra rinse.  We use 1 TBSP of Rockin Green in both cycles.  That’s it.  Then we hang the dipes up to dry and dry the pods and inserts on low.  We now have the routine down pretty well and do a load every other day and never run out, even giving the diapers overnight to dry.

4. Over Night Cloth Solutions:
We struggled with this for a LONG time.  Bear is a super heavy wetter and I thought we would never find the right fix.  Bear would literally explode an over night disposable diaper, but we couldn’t find a cloth solution that worked either.  Finally after begging for help from Twitter and Facebook friends as well as in cloth diaper forums, and visiting my two local shops, we have found a solution that works for our super heavy wetter.  We use a waterproof cover (Rumparooz and Tiny Tush), two Grovia bamboo prefolds with one of them folded in half towards the front, two microfiber inserts (one in half towards the front and one flat on top of everything else), and two fleece liners covering the microfiber.  It makes the fluffiest booty you’ve ever seen, but it works.

5. Cloth Diapering Really is Easy, Cheap, and Doable
It’s true.  Maybe not for everyone, but it is true for me.  I had many doubters when I first started talking about cloth, but thankfully I’m stubborn enough to prove them wrong.  If you are interested in using cloth diapers, do your research and go for it.  Don’t buy all one brand though, because that brand might not work for your babe.  There are a few specific things that have made it easier on me as we have gone on.  Our diaper sprayer is magnificent.  We bought the Bumgenius diaper sprayer and have it attached to the toilet in one of our bathrooms.  We keep our diaper pail beside it and after the dipes get sprayed they go straight into the potty.  Totally easy.  We use a simple Ikea pail with a lid.  The other thing that makes it easier is having a bigger stash.  We wash every other day and let them dry overnight, and still have enough to make it through.  It just makes my life better if I’m not doing laundry every day, and is totally worth the investment.  You can do this.  If you want to.  You will save around $2000 per kid and thousands of disposable diapers from the landfill (which don’t biodegrade for over 500 years!).  I believe it’s worth it.

Do you use cloth diapers?  If so, what’s one thing you’ve learned from cloth diapering?


Our Easy Cloth Diaper Laundry Routine

One of the most intimidating things about cloth diapering a child is the actual washing of the diapers.  There’s a different routine for every cloth diapering family, but I’ll share the super easy routine that works for us.  We tried and tested 11 different types of cloth diapers and you can read about that by clicking the link.
Here we go.  We need a few items for our routine, besides the obligatory washing machine.  We use a plastic bucket from Ikea with a lid, bumGenius Diaper Sprayer, and Country Save detergent.
Step One: After The Bear soils a diaper, we spray it off in the toilet with the diaper sprayer.  We spray both poop and pee diapers, to help get the ammonia stink out of the cloth.  The diaper then goes into the bucket, and the lid stays on til we are ready to wash.
Step Two: We wash our cloth diapers every other day.  I turn on the washer on the heavy duty cycle with cold water, and let the water begin to fill.  I add 1/4-1/3 the amount of Country Save detergent I would use for a normal load.  I toss the diapers in, making sure the velcro tabs are closed so they don’t get crazy in the wash.  Close the lid and run that sucker.
Step Three: After the cold wash finishes, I turn the dial back to heavy duty wash, but this time in hot water, with no detergent.  Run it.
Step Four:  We pull out the diapers and hang them on the clothesline if it is nice out or from the shower curtain if it is rainy.
And we’re done.  We’ve learned a few things over this year+ of cloth diapering.  Never soak your diapers because it damages the waterproof liner.  Always double check your velcro/hook and loop.  Don’t be afraid to start using cloth diapers.  You CAN do it.
Do you use cloth diapers?  What is your cloth diaper laundry routine?


The Great Cloth Diaper Trials – 11 Brands Tried and Tested

  When we made the decision to use cloth diapers, I had no idea where to start.  I started reading every blog and website I could find that had information to help me.  I entered lots of diaper giveaways and won a few.  I asked the few friends I knew who had tried cloth.  There are so many options out there, and it was hard to know where to start.
Here the Bear is modeling his SoftBums Hot Diggity Dog Diaper.  Does it have wiener dogs on it?  Why yes, yes it does.
clothdiapertrials

(more…)

Frugal Friday: Choosing Cloth Diapers

If you had asked me 5 years ago if I would ever use cloth diapers, I would have looked at you like you were crazy and said “Not possible.”  Now we are 9 months in and loving our choice.  If you are an expectant mama or want to have kids (or more kids) someday, I hope you will read on and consider cloth diapers.  Why did we choose cloth diapers?  There are so many reasons.
1) Cost
Here’s a calculator that will show you exactly how much you can save using cloth diapers, including cost of water, detergent, etc.  We broke even after about 4 months and will save well over $1000 after 18 months.  If we continue to use our cloth diapers with future children, the savings increase exponentially.  The average savings per child are between $1500-2000.  Nice.  Hello, starter college fund.  We went with one size diapers, and love some of the more expensive brands.  We could have saved even more using prefolds, but we couldn’t get on board with them.  We love the ease of use of our one size diapers and were willing to pay a little more initially.  Our favorite brands are Soft Bums, Apple Cheeks, and BumGenius.  I will explain our cloth diaper trials in a post coming next week.
2) Environmental Impact
Did you know that each baby using disposable diapers creates about a ton of landfill diaper trash during their diaper years?  It’s true.  Disposable diapers create over 3.6 MILLION TONS of landfill trash per year.  HOLY CRAP.  Literally.  Some folks argue that the additional energy used to launder cloth diapers negate the environmental positives.  Not true.  We do maybe 3 more loads of laundry per week than we used to do.  We line dry our diapers whenever possible, so that saves on some energy usage.
3) Safer for Baby
Disposable diapers contain so many chemicals, synthetics, and toxins (like dioxin) that I would rather avoid putting next to my Little Bear’s skin.  We have to use disposables occasionally (for Mother’s Day Out, church nursery, MOPS, etc) and know that when we do he is prone to get diaper rash.  He never gets it from his cloth diapers.
4) Functionality
Cloth diapers work better than disposable.  Really.  We have had very few leaks or blowouts with our cloth diapers, really almost none.  Disposables are a whole other messy story.
5) Cuteness
Cloth diapers are just so cute.  Seriously.  They come in a million fun patterns and colors and you can match every outfit.  So fun.
I plan to most more about our cloth diaper
decisions and routine soon.
Do you use cloth diapers?
Why or why not?
Would you ever use them?
Do you think we are crazy?

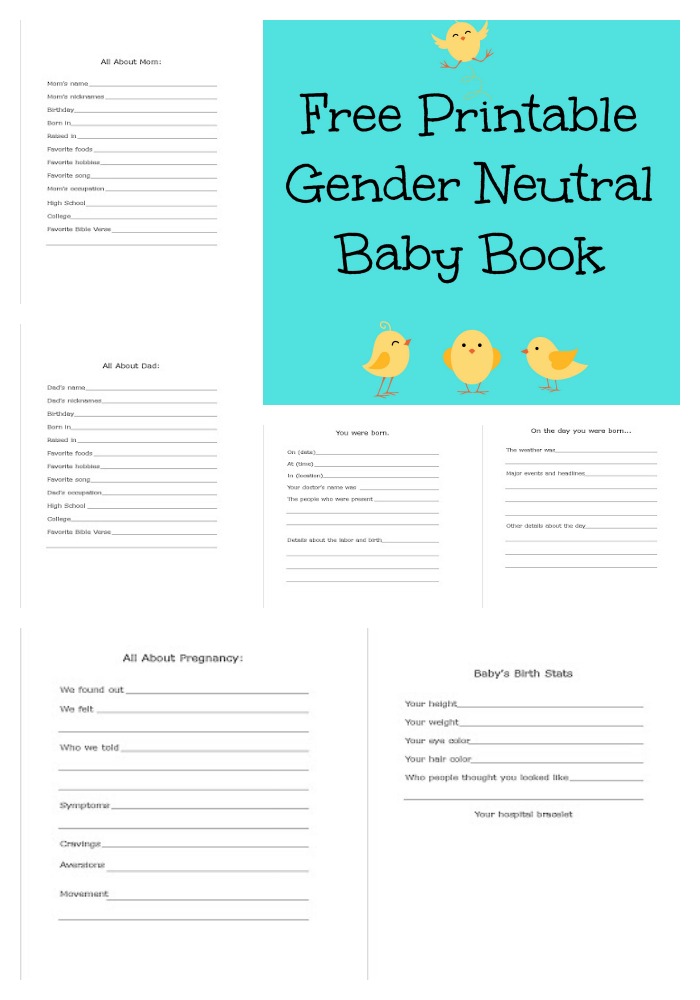
**UPDATE** Our Homemade Baby Book – With Free Printables

freeprintablegenderneutralbabybook

**Update** I’ve added a free printables tab to the top menu of the blog (under crafts/diy).  Click there to find all the baby book pages to print for free in either PDF or Publisher (so you can edit) files!  Enjoy. They are free for personal use only.  I just ask that you share the love on Pinterest and follow my blog through Bloglovin’ or social media.

My quest for the perfect baby book began back in the fall when we first discovered that I was pregnant.  I found so many cute ones for boys and for girls, but NOTHING cute for those of us who don’t find out the gender until the birth.  I did find one gender neutral book at a boutique here in town, but it was $70.  Are you kidding me?  For a baby book?  Come on now, people.

So, I decided the search was over and I would create my own.  I found a couple of great coupons for Hobby Lobby and bought an 8 1/2×11 chocolate brown scrapbook and a big package of bright primary colored cardstock.  You can also find a great deal on 8 1/2 x 11 cardstock and scrapbook albums on Amazon. I decided to go with the primary and bright colors instead of traditional pastels, because they seemed more fun.
I found a great gender neutral and baby book appropriate font called Drummon here.  It reminds me of printed handwriting with cute dots on each letter.  I love the simplicity of it.
I printed out each page on a different bright color of scrapbook quality paper.  The pages are red, blue, orange, yellow, and green.  Hopefully using the high quality paper will prevent fading or bleeding over time.
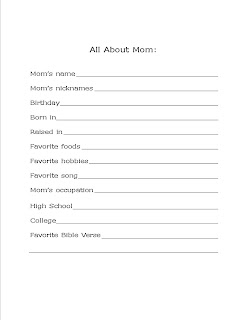
I’ve already filled out all of the pages that I can, and will continue as the baby is born and begins to grow.  Now I’m adding some fun stickers and more personal touches.  So far, this project has cost me about $17.  I probably could have found a lame baby book for less than that, but I love how personal this one is, and how I can continue to make it more so.
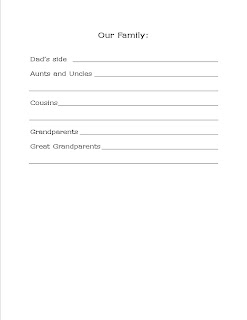
There is a page for my side of the family, too.
Please feel free to download them for any time from my “free printables” page.  They are for personal use only.  I just ask that you share the love by pinning this page and following my blog through Bloglovin or social media.  Thanks! I’d love some feed back about what pages I should add.  The problem with not having an actual baby book to work from is that I don’t know what I’m missing.
What pages should I add?