Month: December 2012

Frugal Christmas: Our Red and Aqua Mantle and Color Scheme

My goal this year was to decorate our new house in as festive a manor as possible while spending as little as possible and repurposing old decorations.  For this project I ended up buying only one can of spray paint and two spools of ribbon.  Everything else came from old decorations or prior projects.  Mission accomplished.  I just love red and aqua together, and I had some candles, mason jars, and Christmas balls that worked toward the color scheme, so I went for it.  

 These blue mason jars were a gift from my Meme (that’s southern for grandmother) and I use them all the time.  I filled them with Smell of Christmas potpourri by Aromatique, an Arkansas company.  I tied red ribbon leftover from other projects around them and placed this cute little trio on one end of the mantle.  

 Our stockings are hung by the chimney with care.  I made Jed’s and mine, but ended up throwing the one I attempted for the Bear away in a fit of crafting rage last year (long story).  You can read about how I made ours here.

 For the wreath I took apart this spring wreath, spray painted it white, and wrapped it in aqua ribbon.  I used pine cones that were already wired from my bouquet in Marci’s winter wedding, spray painted them white, and tied them with aqua and white ribbons.  I attached three red jingle bells leftover from the Bear’s toddler friendly Christmas tree.  I hung it with wide aqua ribbon.  

 I bought the joy sign at a yard sale a few years back, and the red and aqua Christmas balls were from after Christmas clearance years ago.  I nestled them in aqua fine net tulle that I also used the last few years.

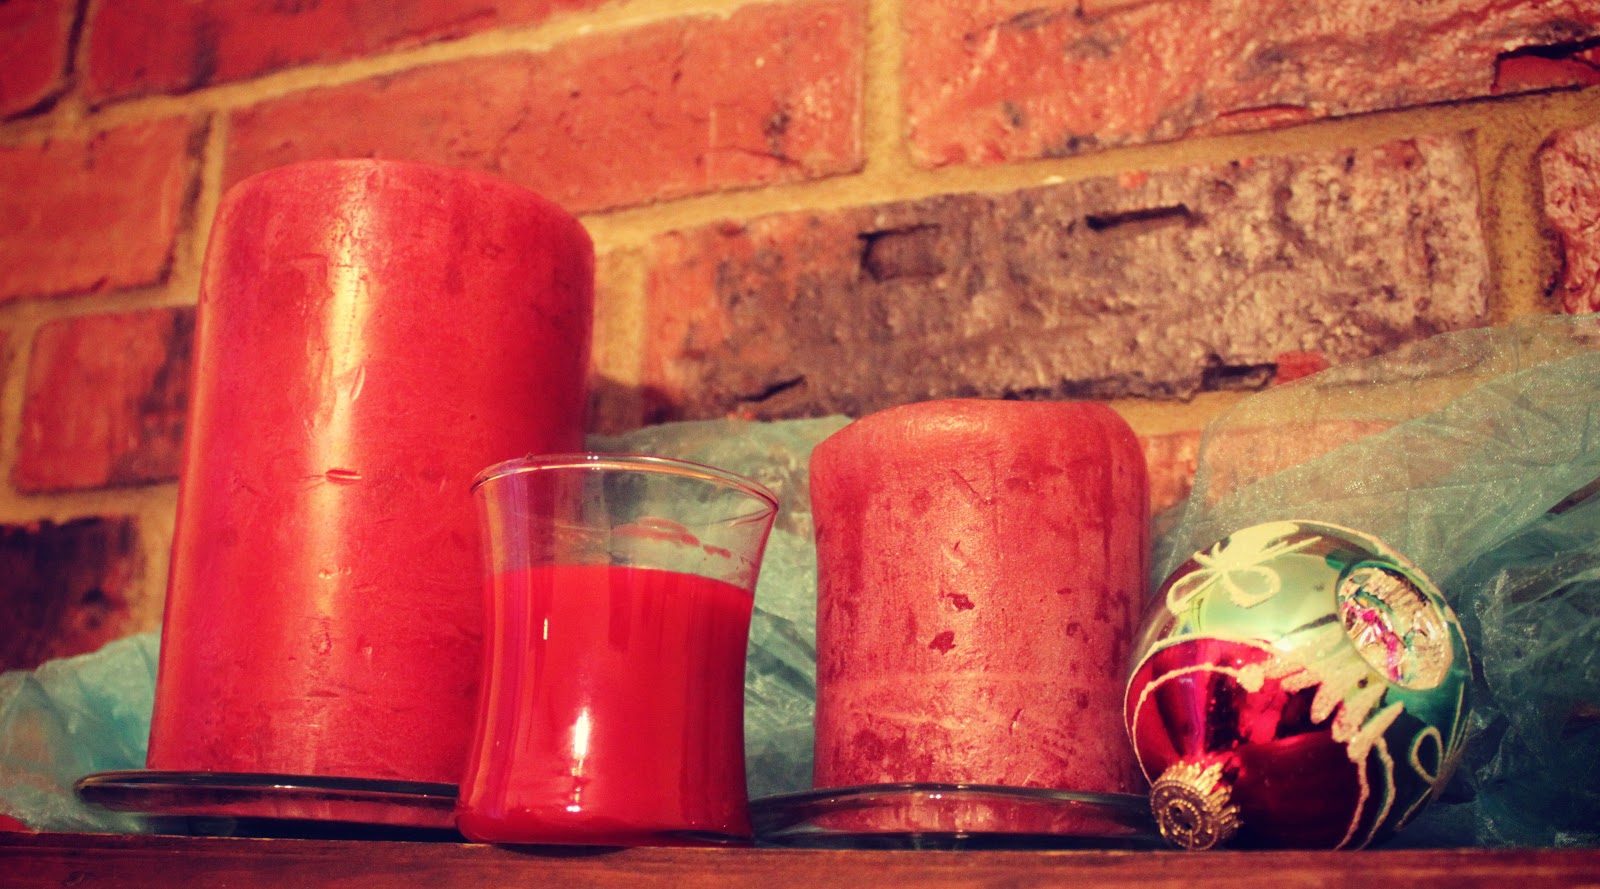
 The red candles normally live in other spots around the house, but they look cute as a trio mirroring the trio of mason jars.

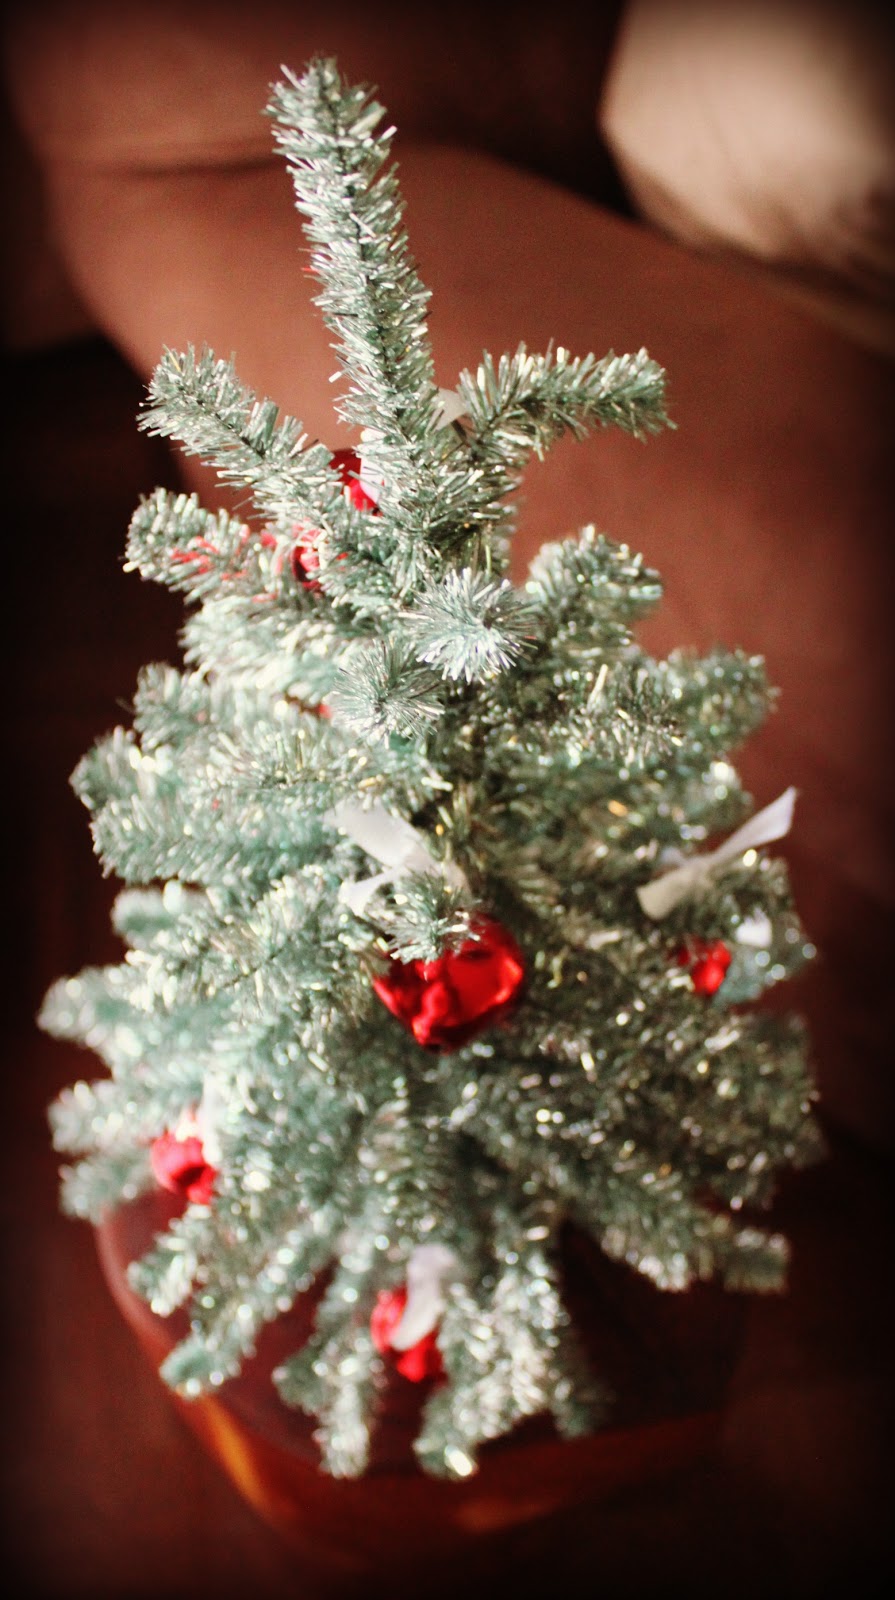
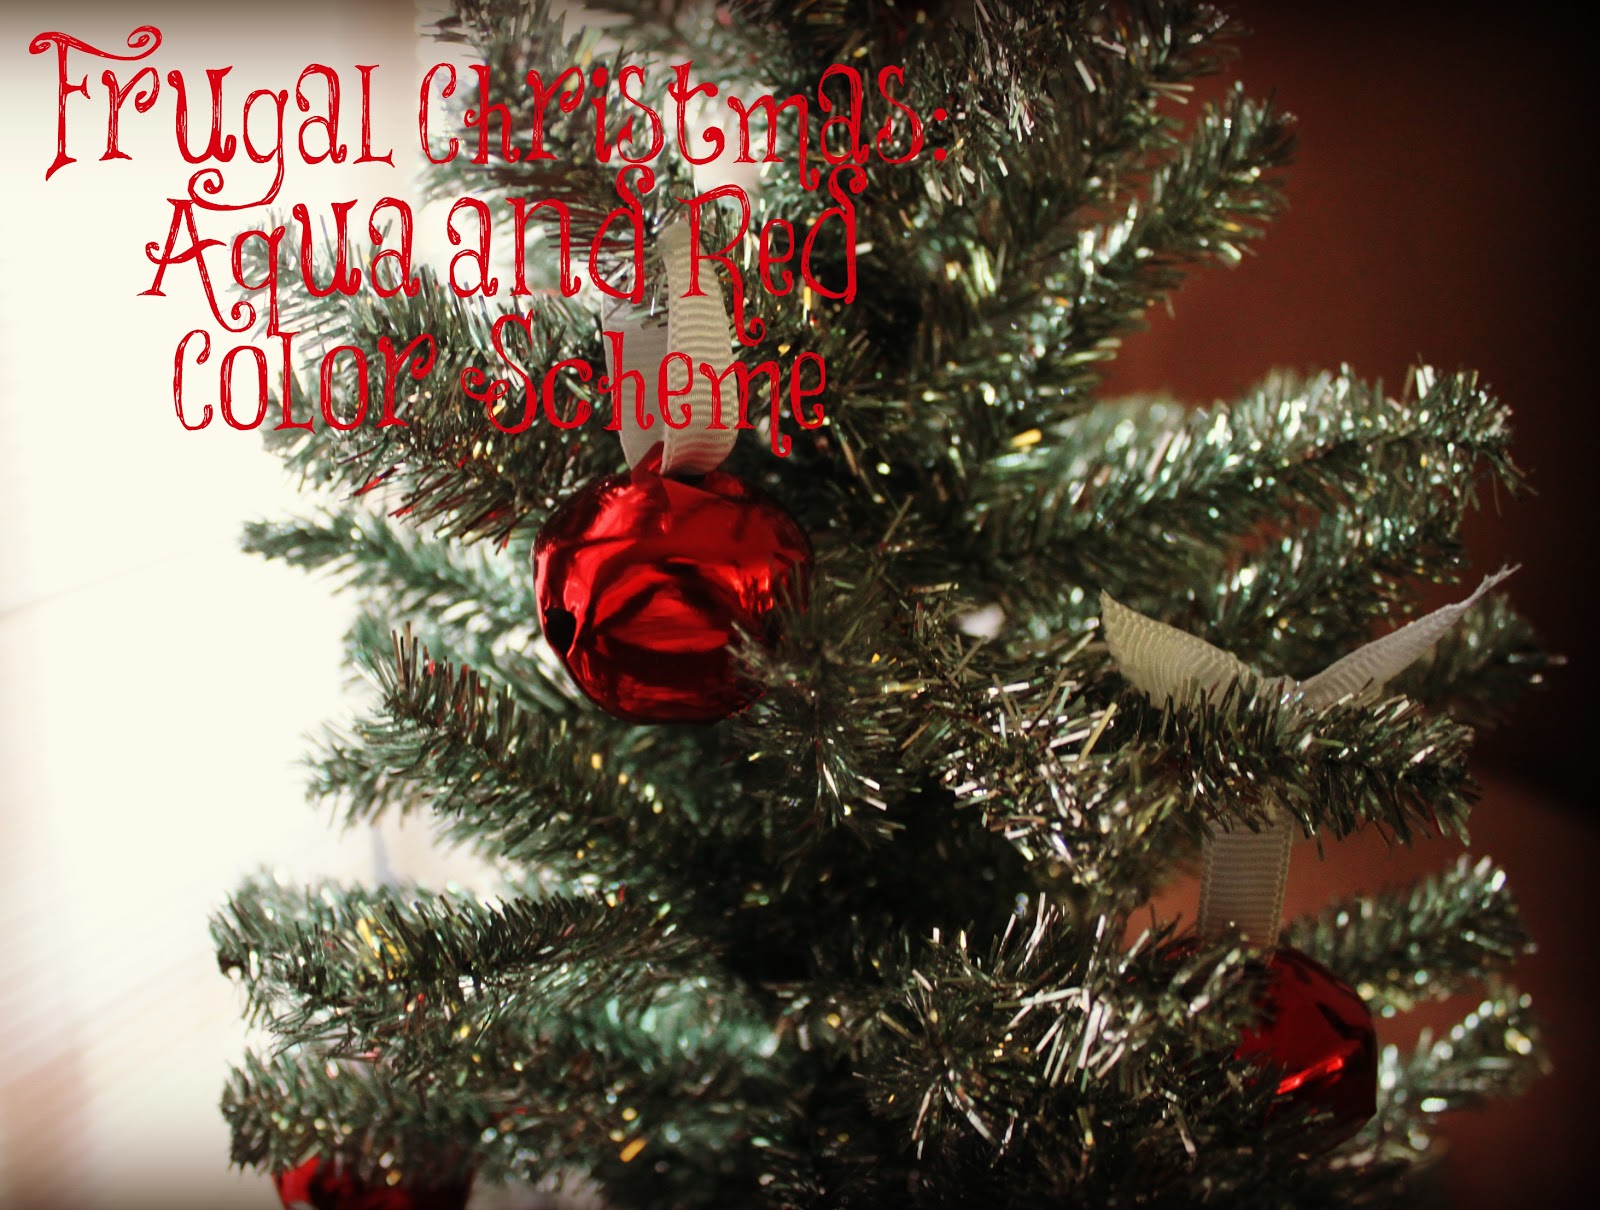
 I carried the red and aqua theme into our bedroom by decorating another mini tree with leftover jingle bells and white ribbon.

What’s your favorite Christmas color scheme?
How do your stay frugal with holiday decorating?

Daddy and the Four Wheeler

 Jed was so excited to take the Bear on his first four wheeler ride when we visited the ranch over Thanksgiving.  Don’t worry, he was just planning on circling the driveway.  The Bear was not equally excited, and you can see below how things played out.  He started out a little nervous.

 Then he progressed to uncomfortable and tried to escape.  Then the whole situation escalated into a full scale meltdown.  Needless to say, the Bear’s first four wheeler ride will come sometime in the future.

Toddlers and Tractors

 The Bear’s obsession of the moment is all things farm.  When we were invited to the Goertz’s ranch for Thanksgiving, he was in heaven.  Not only were there big tractors, cows, horses, and 4-wheelers, there was also a pint sized tractor perfect for him.  He spent hours on this thing.

He also loved watching his big cousins, Preston, Parker, and Noah, do fun big kid stuff.  You know, like drive full sized gators around.  

Look at the pure concentration on Preston’s face.  This kid is going to be an awesome driver by the time he turns 16.  

Now I just need to find one of these mini tractors for our backyard.  Craigslist is calling…

Frugal Christmas: A Toddler Friendly Mini Tree

 I LOVE decorating for Christmas.  I long for a touch of Christmas cheer in every room of the house.  The Bear’s room is a special challenge because he is now 18 months old and into EVERYTHING.  He can reach to grab things off his shelves and has a special gift for taking things apart.  I decided the answer was a toddler friendly mini tree, but my budget was only $5.

I found this mini tree in the dollar section at Target years ago, along with the hat topper and mini tree skirt.  They cost $2 total.  Target has mini tinsel trees right now, and all of their Christmas stuff will go on sale soon if it isn’t already. 


 I looked at mini tree ornaments at Michael’s, Hobby Lobby, and Target, but most of what I found was either breakable or a choking hazard.  Yikes.  I remembered seeing a fun idea using plastic animals on Young House Love last year, but I couldn’t find the post and got frustrated.  After strolling the aisles of Hobby Lobby I came across a big container of large red jingle bells on sale for $3.50.  Jingle bells are festive, give a pop of color on my little silver tree, aren’t breakable, and are too big to be a choking hazard.  Hooray!  I bought white grosgrain ribbon on sale for $1 and pieces through each bell.

 The Bear had a fabulous time playing with the bells and was able to help me decorate his tree.  Hello, fine motor skill development!  I love the simplicity and festiveness of his tree, and the fact that he can’t break it or hurt himself on it.  Let’s call it a Christmas Mini Tree Miracle.

Here’s the toddler eye view.  Shiny!
Do you decorate your kid’s rooms for Christmas? How do you make it kid proof?

Frugal Gift Ideas: Personalized Coffee Mugs

I saw this idea on Pinterest a while back and thought it would be a perfect craft for my MOPS group.  I’m one of the craft leaders for our MOPS group this year.  The original pin recommended using a Sharpie marker to decorate a dollar store coffee mug, then baking it for 30 minutes at 350.  After a little research I discovered that Sharpies are not food safe.  Uh oh.  Acrylic paint is food safe, so I tried to find a way to incorporate it into the idea.  I found another pin that used paper doilies as a stencil and thought that might work well with the acrylic paint.  I found mugs and doilies at our local Dollar Tree and brought acrylic paint, foam brushes, and Sharpies as well.  Here’s how it went down.   

 Everyone found a mug of their choice.  There were three different shapes and sizes.  I told everyone the could use Sharpies as long as they didn’t put it near the lip of the mug or on the inside.  I shared the doily stencil idea, and demonstrated how to tape the stencils onto the mugs.  Then everyone went for it.  Some folks used just Sharpies, others used just acrylics, and still more used a combination of the two.  I let them all dry, baked them at 350 for 30 minutes, and then let them cool.  The Sharpies ran until they dried, FYI.

Take a look at a few of our finished products.  I used a Sharpie to paint my mug, but kept the marker clear of the area where my mouth would be.  You can see the pattern the doily made on a few of the mugs above and below.

 Some of the mugs that were totally covered in acrylic needed to be glazed after baking.  They ended up with a rough, dry finish.  The Sharpied mugs and mugs with smaller patches of paint looked great after being baked.  If you make these as a gift, be sure to let the recipient know that they need to be hand washed.

What frugal gifts are you giving this year?