

We have a beautiful dining set given to us by Jed’s dad. It is 80-100 years old and has been passed down through several generations. The seats have been recovered several times with some pretty unfortunate fabric. The latest was a tan vinyl that has probably been there for 30+ years. It was time for a change. We love the color of the wood and the set is very well made. The wood is in great shape, but the seats were struggling. We have five chairs, a table, and a buffet.


This was our first time recovering chairs, so it took a little trial and error, a few Youtube videos, and quite a few Pinterest links to get through the adventure. We’ll walk you through it, so you can learn from our mistakes and save yourself a little pain and suffering. I highly recommend checking for coupons online before you buy your fabric and foam. You can save a bundle with a 40% off coupon at Joann’s. We originally bought a stripped linen home decor fabric, but it didn’t work out. We went back and found an awesome Ikat outdoor fabric that will be perfect for the spills and thrills that come with small children using furniture.

Here’s what you need:
sheet of plywood
circular saw
foam (enough to cover your chairs + a little extra)
outdoor weight fabric (or another thick fabric, at least home decor weight)
staple gun
staples (We used 5/16 size.)
sharp fabric scissors
exacto knife or utility scissors
Make it happen:
1) Take your chairs apart. Unscrew your seat from the chair and remove the padding and fabric. If you can salvage the padding, go for it because it will save you about half the cost of this project. If your seats are still in good condition, you can skip down to step three from here.
2) Create new seat bases from your plywood sheet. Use the existing seat to cut out a new one using your circular saw. Create your pattern by tracing the old seat, then cut out each new seat carefully.
3) Use the previous fabric seat cover to trace a pattern on your new fabric. Make sure you check to see that all of your seat cover are the same size (end chairs are often larger). Use fabric scissors so that the least amount of damage is done while cutting the fabric.
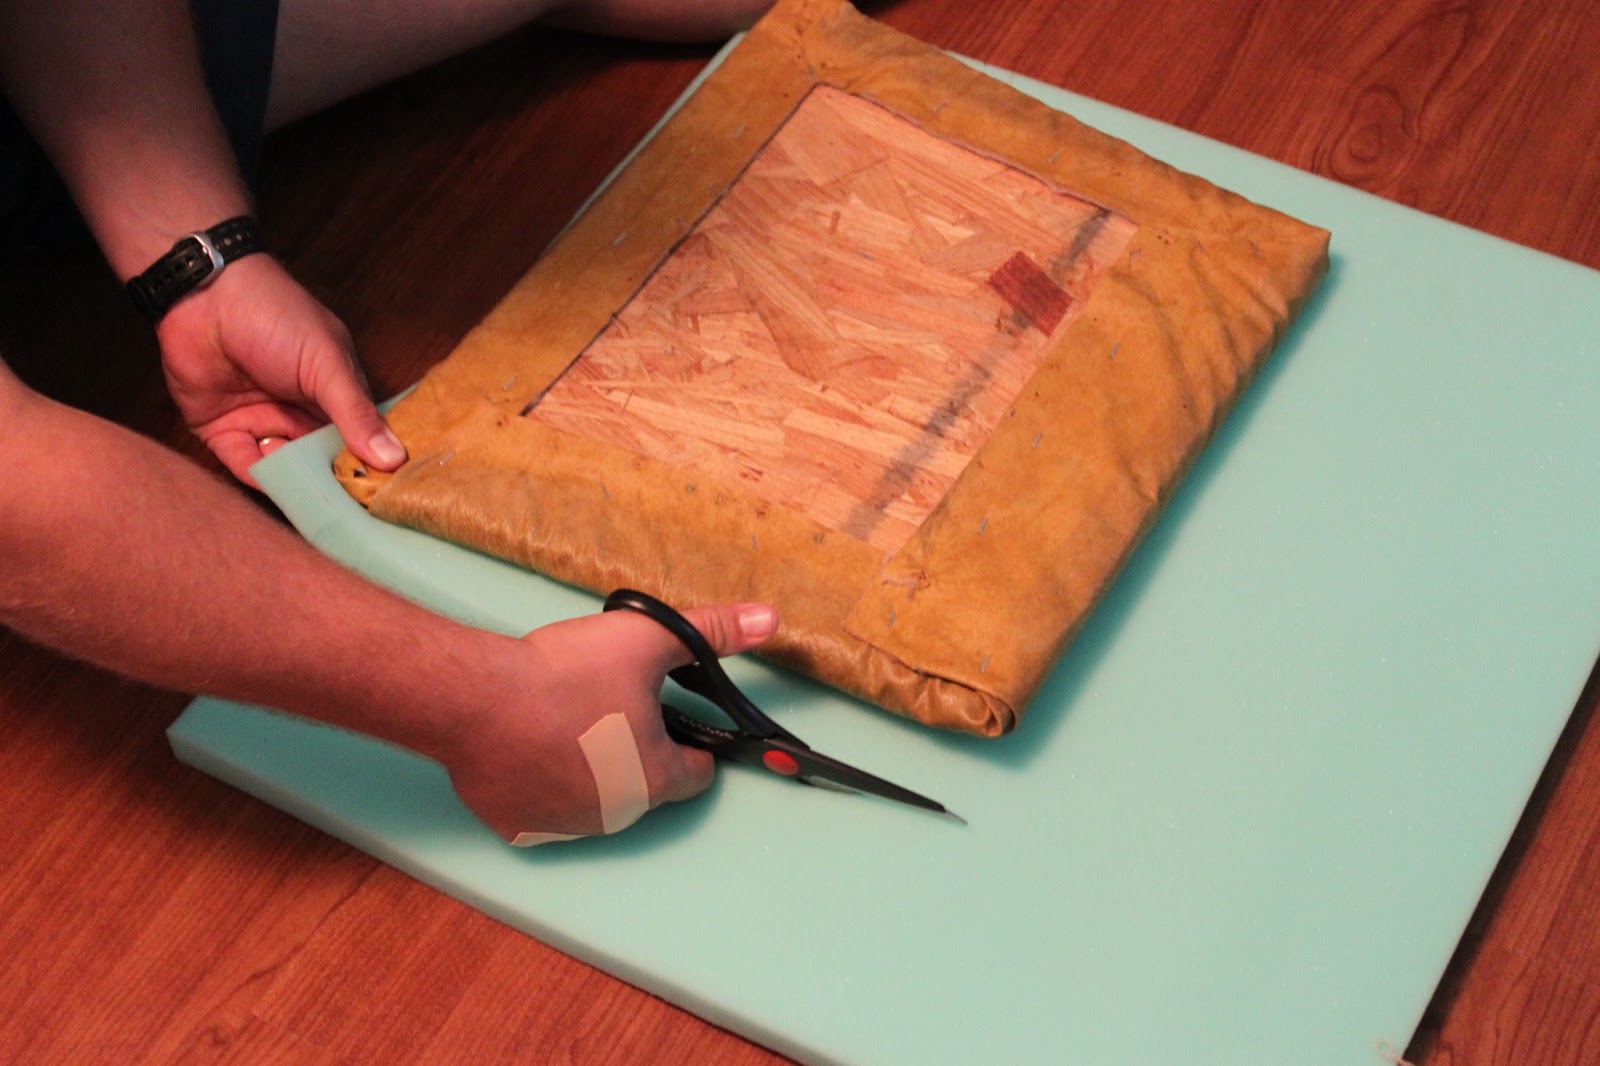
4) Cut out your foam if needed. Again, salvage the old foam if you can. We used a 1 1/2 inch thick green foam material because the density will help with wear and tear. Use the seat as a template for cutting out your foam. Don’t use your fabric scissors on the foam or they will no longer be sharp. Use an exacto knife or utility scissors.
5) Assemble! Place the foam on top of the wooden seat, then wrap the fabric tightly around it. Starting in the back, pull the fabric tightly over to the bottom of the seat. Staple that bad boy down. This is where we ran into trouble with our first fabric choice. The linen couldn’t handle being pulled tightly and started to run. Disaster! The outdoor weight fabric worked MUCH better. After you staple down the back, move to the front and repeat on all four sides. Do not be afraid to use a LOT of staples. Seriously. Get after it.
6) Reattach your seat to the chair. Done!

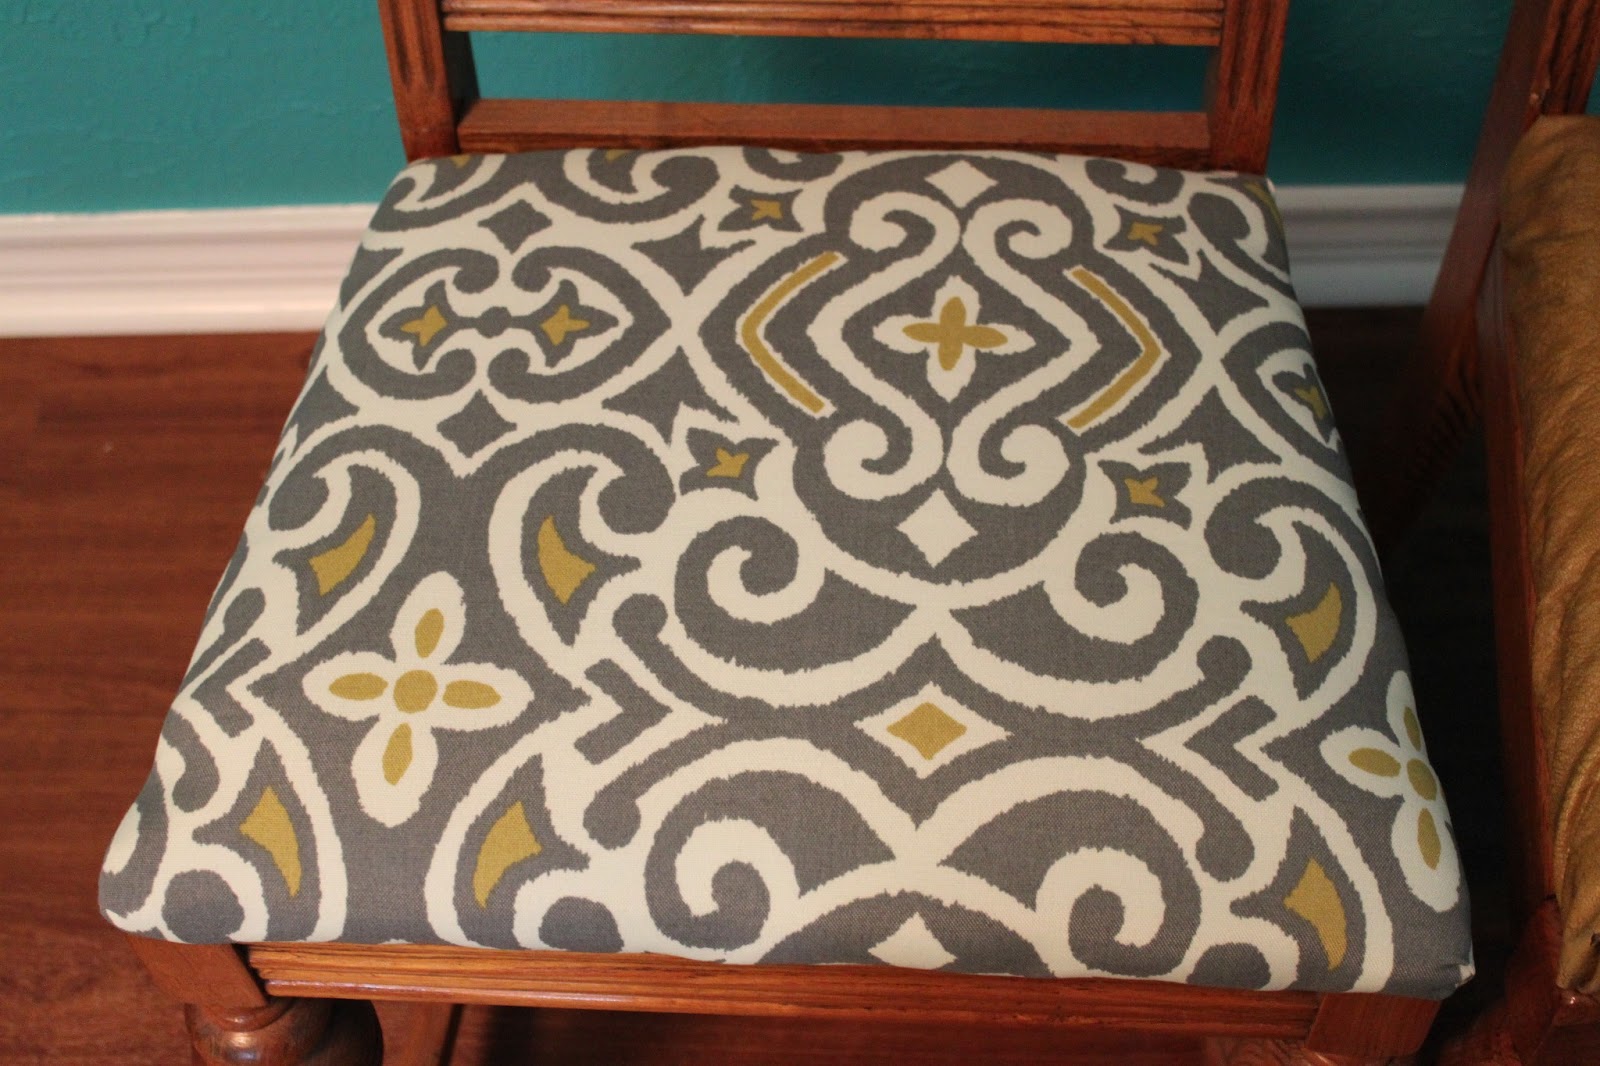
I’m obsessed with this fabric, and I think the grey and green goes really well with our teal walls. What do you think?
I love linking my ideas at these blog parties. Click the links to check them out and find crafty inspiration. If you’ve never visited a blog party, you will be blown away by the creativity shared and imaginative ideas.
Monday: CraftOManiac, Mad in Crafts, Sew Chatty, Keeping It Simple, C.R.A.F.T., Boogie Board Cottage, and Sumo’s Sweet Stuff
Tuesday: Hope Studios, Today’s Creative Blog, Coastal Charm, and New Nostalgia
Wednesday: The Trendy Treehouse, Polka Dots on Parade, Lil Luna, and The Thrifty Home
Thursday: All Things with Purpose, Somewhat Simple, The Shabby Creek Cottage, The Girl Creative, and House of Hepworths
Friday: Sugar and Spice, Kojo Designs, Diana Rambles Pin Me Party, and The Shabby Nest
Weekends: Sweet Tea Social @ Texas Women Bloggers, Tatertots and Jello, Serenity Now, Buttercream Bakehouse, and Candace Creations 
That looks fabulous! It’s amazing what a little work and some new fabric will do for a piece of furniture!