Category: diy

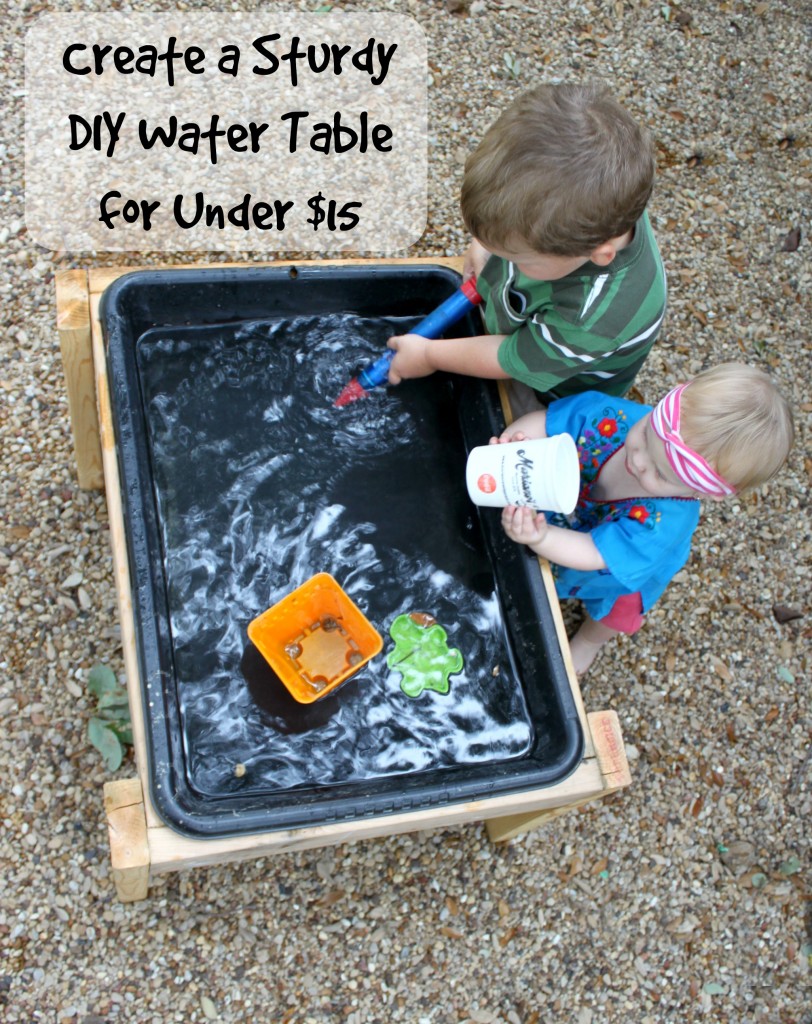
Make a DIY Water Table for Less than $15

diywatertable

One of our sweet toddler friends received a water table at his birthday party this past spring, and every kid from 10 months to 6 years old was instantly obsessed. The Bear talked about it endlessly after we left, so we looked into buying one. The plastic ones we found online ran anywhere from $30-50, and sturdier wooden ones were much more expensive. Jed knew he could build one, so we headed out to pick out materials. Below you’ll find a tutorial for our simple and sturdy DIY water table, perfect for water play and sensory play. You can make it at home for less than $15, and is sturdy enough to put up with the abuse preschoolers can dish out. We still plan to paint it with outdoor paint, but haven’t gotten around to it yet because the kids use it almost every day.

(more…)

Make a DIY Baby Book with a Handwritten Style Font with Free Printables {2nd Edition}

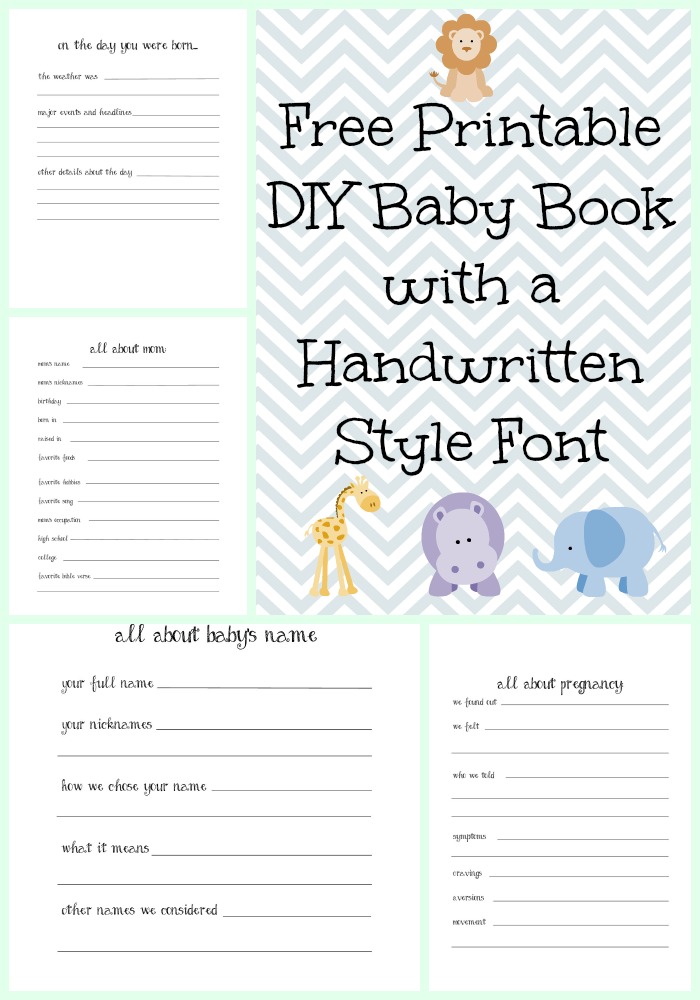
free printable DIY baby book with handwritten font

free printable DIY baby book with handwritten font

My sweet Pearl Girl is already one, and I just now finished her baby book. I am the Queen of Procrastination. I found a handwriting style font I love and recreated my DIY baby book I made for the Bear with the new font. You can find my original DIY Baby Book with free printables post here. I ordered an 8 1/2 x 11 scrapbook album off Amazon and printed the pages at home on colored 8 1/2 x 11 cardstock.  I am happy to share these free printables with you, for personal use only. See below for more information.

(more…)

Create a DIY Silhouette Portrait Painting with Tutorial

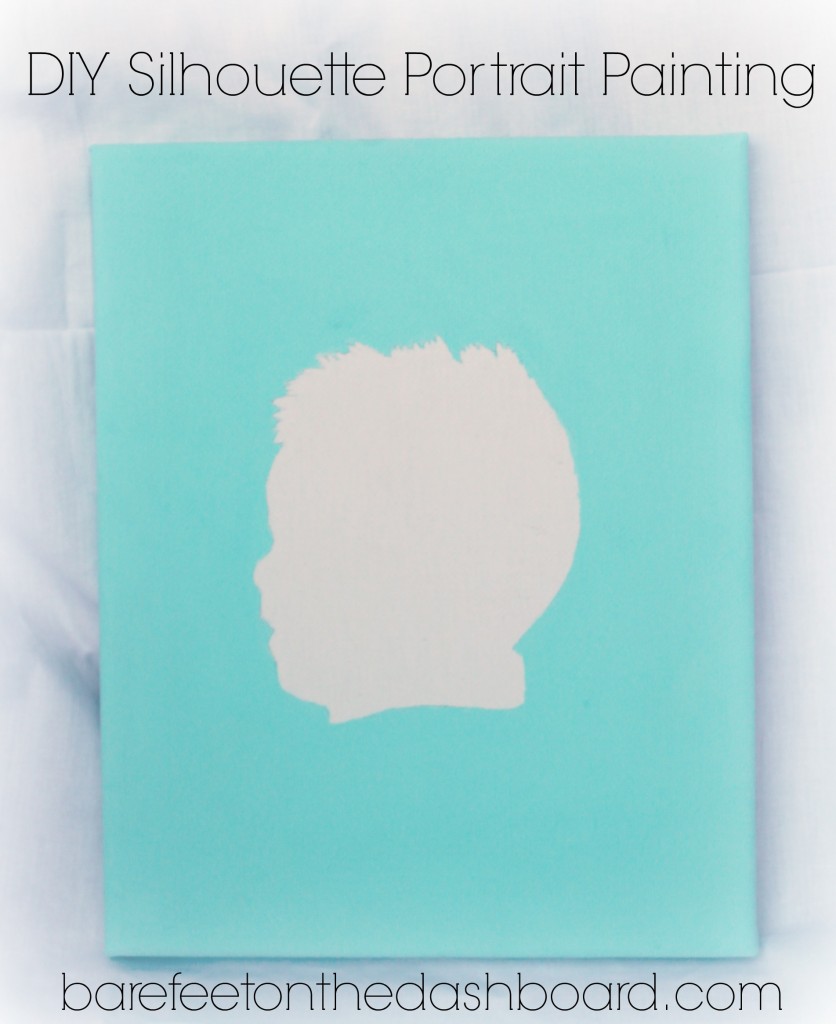
diysilhouetteportrait

At a local high-end department store they feature a silhouette portrait artist a few days a week who will create a silhouette of your child while you shop. These darling portraits are outrageously expensive, but really cool. I decided to create one for our living of the Bear back when he was about a year old. I started it, then it sat in my craft closet for TWO YEARS while I had another baby, forgot about it, etc. I finally finished it and I love it. It was easy, though a bit intimidating. I’ll walk you through the process I used so you can make one of your own. I think it would be fun to do the whole family, pets included. It only cost about $5 to make, and would be cheaper if you made more.

(more…)

Our Massive DIY Yard Project and a Big Home Depot Giveaway from Savings.com #SpringIntoSavings

diyfrontyardprojectbefore

We always have a project under way at our little Duck Creek Ranch, and right now it is all yard, all the time. Today Jed is going to share a bit about how we are completely changing the look and usability of our yard in another “He Says” post. Savings.com sponsored this post so that you could hear about their amazingly huge Home Depot giveaway. They are giving away 150 Home Depot $20 gift cards over the next three days and you do not want to miss out. Use the link above or click the box below to enter.


(more…)

Our #DisneySide Play Date and 25 Amazing Disney Party Ideas

disneypartyideas

I’ve had a lifelong love affair with all things Disney, so when I was given the opportunity to host my own #DisneySide celebration I couldn’t pass it up. Disney sent our family a fun package full of goodies to help kick of the festivities, and we had an amazing day filled with Disney fun. I’m sharing our ideas as well as some fabulous Disney party ideas from other creative bloggers to help you with your next birthday party, play date, or whatever excuse you find to show off your own Disney side.

(more…)

Two Minute Tiny Turban Headbands for Baby and Toddler Girls {with Tutorial}

tinyturbanheadbands

Today I’m showing you how to make a super cute tiny turban headband for the little cutie in your life, made from old onesies or t-shirts. These are so simple and quick to make, but I love the way they look and that my daughter’s stained and outgrown clothing can find new life in darling accessories. These require no sewing and can be made in about two minutes, seriously.

tinybabyturbanheadbands

Here’s all you need to make these cute headbands:
scissors (sharp for cutting fabric)
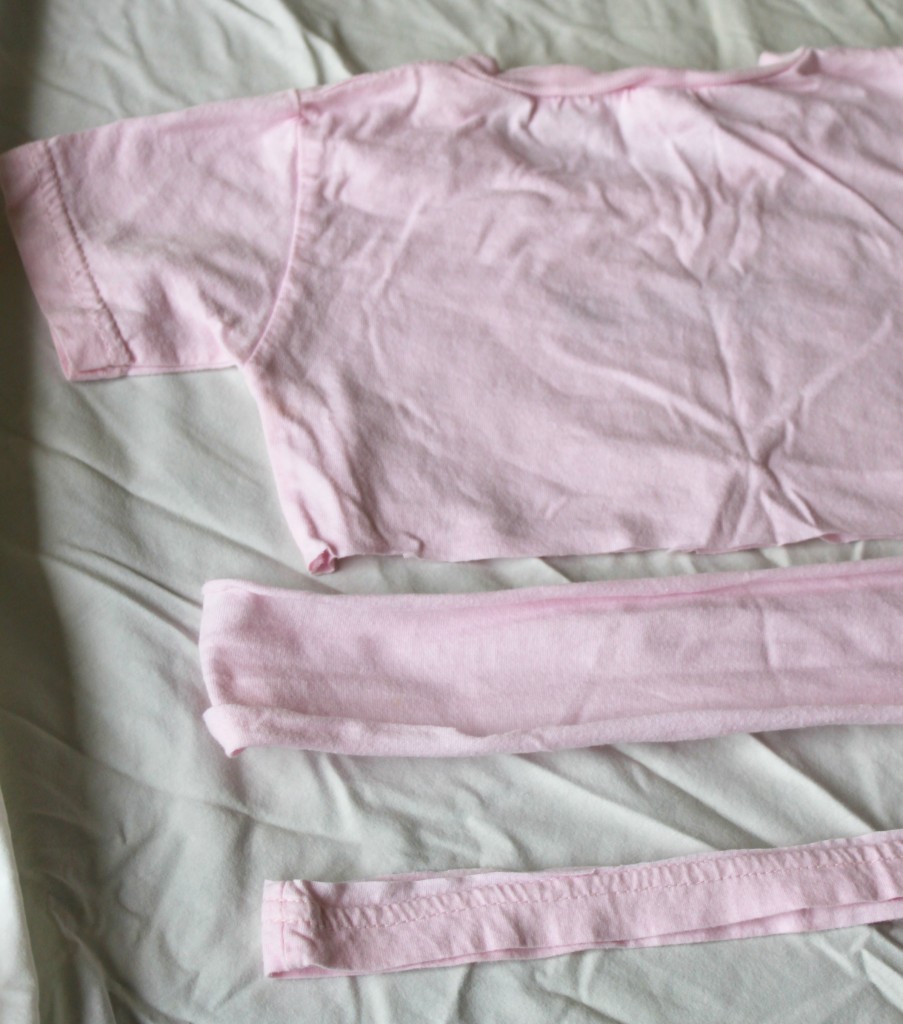
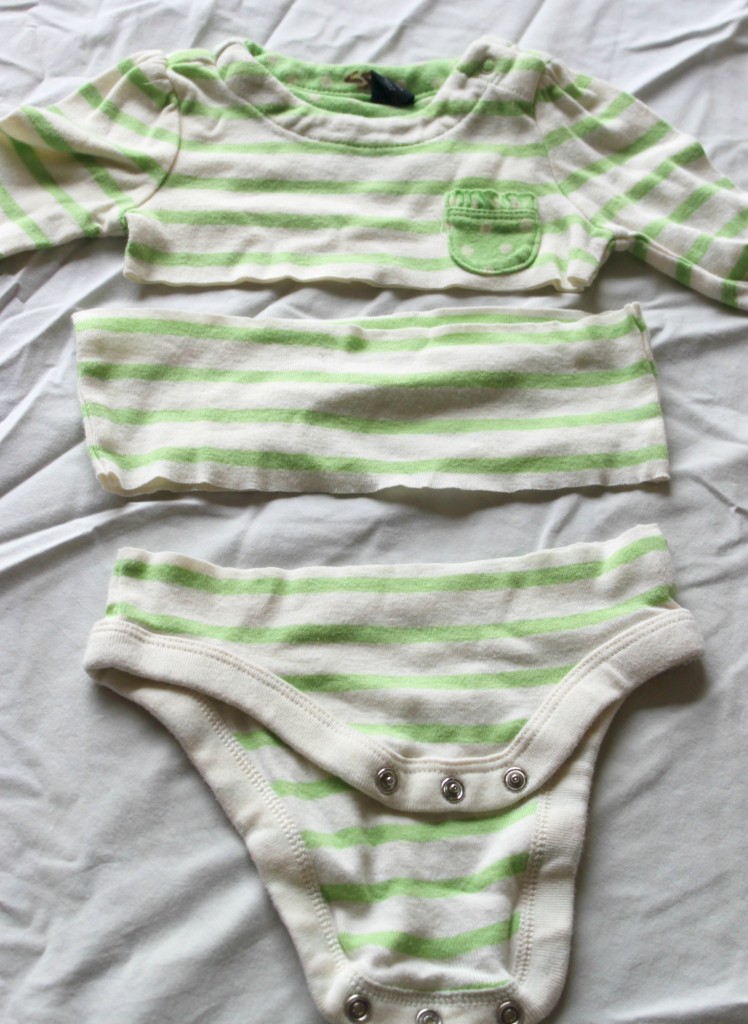
old baby t-shirt or onesie with at least a 2 inch stain free strip in the middle
Patterns and stripes are especially cute if they are a similar shade on both sides of the fabric.

tinyturbanheadband5

Cut a strip out of the middle of the t-shirt or onesie. Knit fabrics are ideal because they are less likely to fray. I like to cut a 2-3 inch strip for each headband, but you can test different widths and see what you like the best.

tinyturbanheadband3

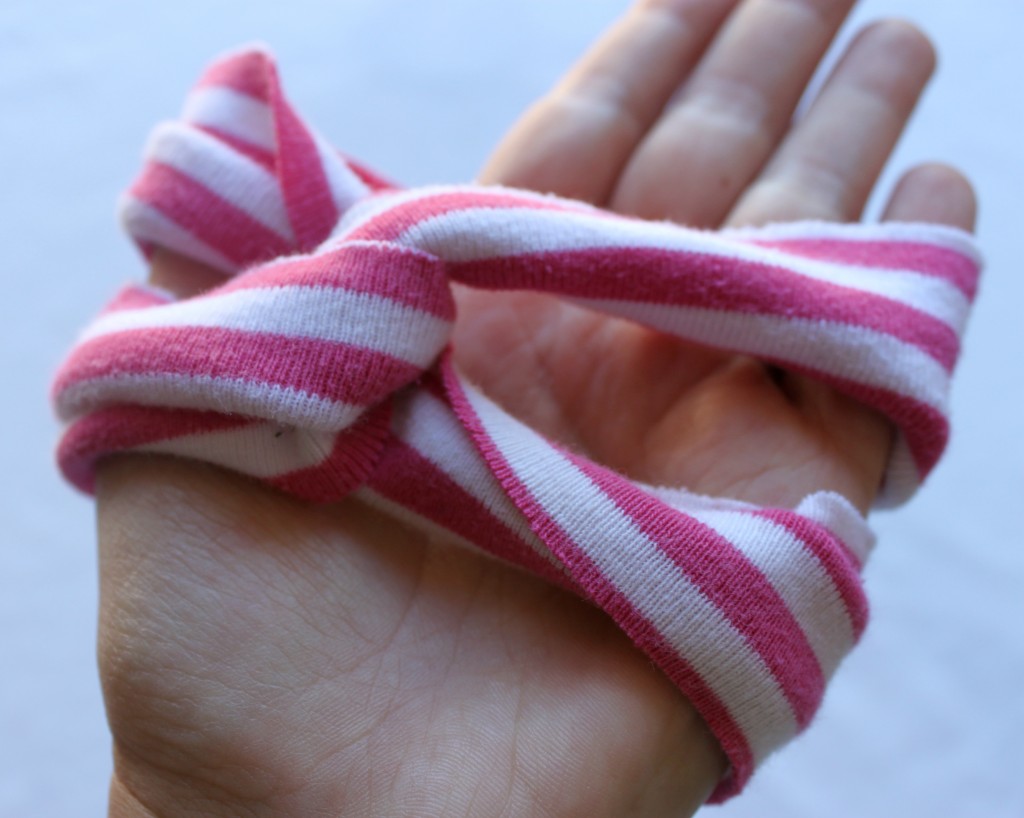
This is the perfect use for all of those outgrown onesies with stains around the collar, and is so quick and easy. After you cut out your strip, stretch it out using your hands. Then twist it over once, then once more to form the turban style twist shown below. You’re done.  See what I mean about super quick and easy? Find a cute baby to wear it and whip out 20 more while you catch up on Downton Abbey.

tinyturbanheadband1

tinybabyturbanheadbandsdiy

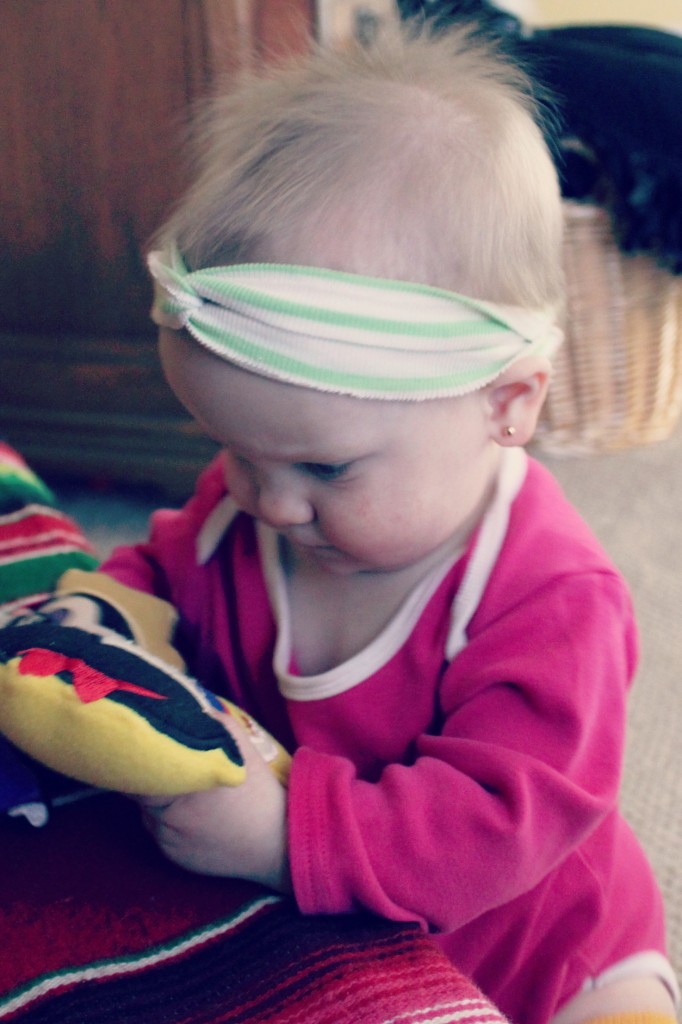
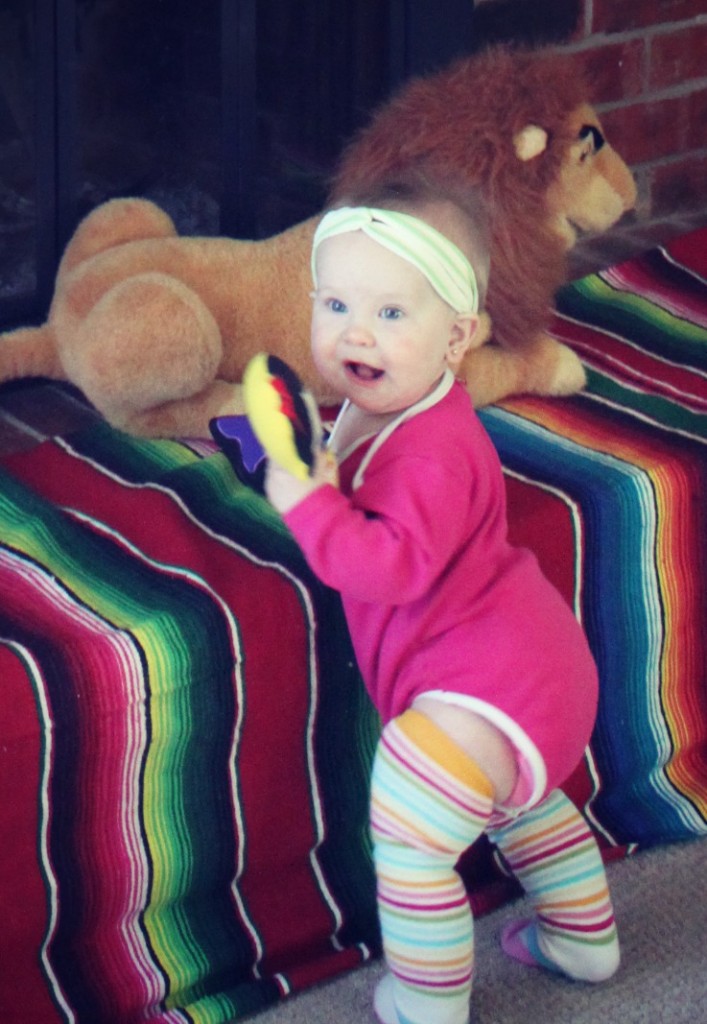
Isn’t it the cutest on my Pearl Girl?!  Another bonus is the headbands are super comfy because they are made from soft, worn in fabric. Here’s another fun idea: make one in your size to match your little one. You can also cut the strip and tie a knot to create another style of headband.

babyturbanheadband

What is your favorite way to upcycle old clothes?

DIY Baby’s First Christmas Footprint Ornament {For Under $2}

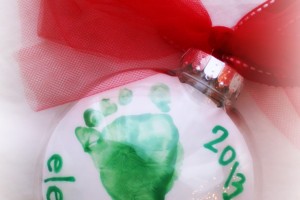
Teeny tiny baby footprints are one of my favorite ways to preserve a snapshot of a child’s growth.  I made a sweet and simple ornament for our Pearl girl’s first Christmas using one of her newborn footprints.  It was so easy to make and really inexpensive. Make your own Christmas footprint ornament to celebrate your baby’s first Christmas with the instructions below.

(more…)

Duck Creek DIY: Antique Dining Room Chair Makeover {With Tutorial}

We have a beautiful dining set given to us by Jed’s dad.  It is 80-100 years old and has been passed down through several generations.  The seats have been recovered several times with some pretty unfortunate fabric.  The latest was a tan vinyl that has probably been there for 30+ years.  It was time for a change.  We love the color of the wood and the set is very well made.  The wood is in great shape, but the seats were struggling.  We have five chairs, a table, and a buffet.

Before = Struggling

This was our first time recovering chairs, so it took a little trial and error, a few Youtube videos, and quite a few Pinterest links to get through the adventure.  We’ll walk you through it, so you can learn from our mistakes and save yourself a little pain and suffering.  I highly recommend checking for coupons online before you buy your fabric and foam.  You can save a bundle with a 40% off coupon at Joann’s.  We originally bought a stripped linen home decor fabric, but it didn’t work out.  We went back and found an awesome Ikat outdoor fabric that will be perfect for the spills and thrills that come with small children using furniture.

Here’s what you need:
sheet of plywood
circular saw
foam (enough to cover your chairs + a little extra)
outdoor weight fabric (or another thick fabric, at least home decor weight)
staple gun
staples (We used 5/16 size.)
sharp fabric scissors
exacto knife or utility scissors

Make it happen:
1) Take your chairs apart.  Unscrew your seat from the chair and remove the padding and fabric.  If you can salvage the padding, go for it because it will save you about half the cost of this project.  If your seats are still in good condition, you can skip down to step three from here.

2) Create new seat bases from your plywood sheet.  Use the existing seat to cut out a new one using your circular saw.  Create your pattern by tracing the old seat, then cut out each new seat carefully.

3) Use the previous fabric seat cover to trace a pattern on your new fabric.  Make sure you check to see that all of your seat cover are the same size (end chairs are often larger).  Use fabric scissors so that the least amount of damage is done while cutting the fabric.

4) Cut out your foam if needed.  Again, salvage the old foam if you can.  We used a 1 1/2 inch thick green foam material because the density will help with wear and tear.  Use the seat as a template for cutting out your foam.  Don’t use your fabric scissors on the foam or they will no longer be sharp.  Use an exacto knife or utility scissors.

5) Assemble!  Place the foam on top of the wooden seat, then wrap the fabric tightly around it.  Starting in the back, pull the fabric tightly over to the bottom of the seat.  Staple that bad boy down.  This is where we ran into trouble with our first fabric choice.  The linen couldn’t handle being pulled tightly and started to run.  Disaster!  The outdoor weight fabric worked MUCH better.  After you staple down the back, move to the front and repeat on all four sides.  Do not be afraid to use a LOT of staples.  Seriously.  Get after it.

6) Reattach your seat to the chair.  Done!

I’m obsessed with this fabric, and I think the grey and green goes really well with our teal walls.  What do you think?

I love linking my ideas at these blog parties.  Click the links to check them out and find crafty inspiration.  If you’ve never visited a blog party, you will be blown away by the creativity shared and imaginative ideas.
Monday: CraftOManiacMad in CraftsSew Chatty,  Keeping It SimpleC.R.A.F.T.Boogie Board Cottage, and Sumo’s Sweet Stuff   
Tuesday:  Hope StudiosToday’s Creative BlogCoastal Charm, and New Nostalgia
Wednesday: The Trendy TreehousePolka Dots on ParadeLil Luna, and The Thrifty Home
Thursday: All Things with Purpose, Somewhat SimpleThe Shabby Creek CottageThe Girl Creative, and House of Hepworths
Friday: Sugar and SpiceKojo DesignsDiana Rambles Pin Me Party, and The Shabby Nest
Weekends: Sweet Tea Social @ Texas Women Bloggers, Tatertots and Jello, Serenity Now
Buttercream Bakehouseand Candace Creations 
Easy DIY Instagram Magnets {Make 6 for $3}

I heart Instagram.  For ages I used it just to add fun filters to my phone photos but finally started using it socially a few months ago.  Now I’m addicted.  You can follow me on Instagram here.  The big drawback of taking pictures on your phone has always been the difficulty in printing and displaying them in real life.  My friend Sarah who blogs here shared a tutorial for creating Instagram magnets using the Walgreens app, and I thought it sounded like a fabulous idea.  When I went to Joann’s to looks for magnet strips, I found something exciting – a whole magnetic sheet!  I’d never seen one before and thought it would be perfect for this little project.  I used a coupon at both Joann’s and Walgreens so the total cost of this project was only $3 for 6 magnets.  If you print off your pics in a 3×3 format instead of the 4×4 using the app, you could get 12 magnets out of a sheet instead of 6.  Bonus!  Here’s how I did it:

Materials needed:
1 8×12 magnetic sheet (use your mobile craft store coupon)
6 4×4 Instagram prints (or 12 if get them printed 3×3)
Exacto knife or box cutter
piece of cardboard

Make it:
Get your pictures printed through the Walgreens app, or format and print yourself at home.  Strip the adhesive backing off of your magnetic sheet.  This is the hardest part.  That backing was not trying to come off for me.  Lay out your photos on the magnetic sheet.  Put a piece of cardboard underneath to protect your work surface from your cutting implement.  Cut them out.  Done.

These make a fun and very personal gift.  I gave the set of 5 to Jed for Father’s Day to take to his classroom, and saved one for our fridge at home.  My goal is to make these once a month so that we have our Instagrams on display in real life and have a festive fridge.

How do you display your phone pictures?

Be sure to follow me on Instagram at Bare Feet on the Dashboard.  

I love linking my ideas at these blog parties.  Click the links to check them out and find crafty inspiration.  If you’ve never visited a blog party, you will be blown away by the creativity shared and imaginative ideas.
Monday: CraftOManiacMad in CraftsIt’s So Very CheriSew ChattyThe Girl CreativeKeeping It SimpleC.R.A.F.T.Boogie Board Cottage, and Sumo’s Sweet Stuff   
Tuesday: Raising 4 PrincessesThe Kurtz CornerHope StudiosToday’s Creative BlogCoastal Charm, and New Nostalgia 
Wednesday: The Trendy TreehousePolka Dots on ParadeLil Luna, and The Thrifty Home
Thursday: All Things with Purpose, Somewhat SimpleThe Shabby Creek Cottage, and House of Hepworths
Friday: Sugar and SpiceKojo Designs, and The Shabby Nest
Weekends: Tatertots and Jello, Serenity Now, and Candace Creations