Easter is my favorite holiday.
Spring is my favorite season.
I really love the joy of Jesus risen and all of the bloom of new life.
I searched
Pinterest for spring and Easter decorating inspiration and found
this and
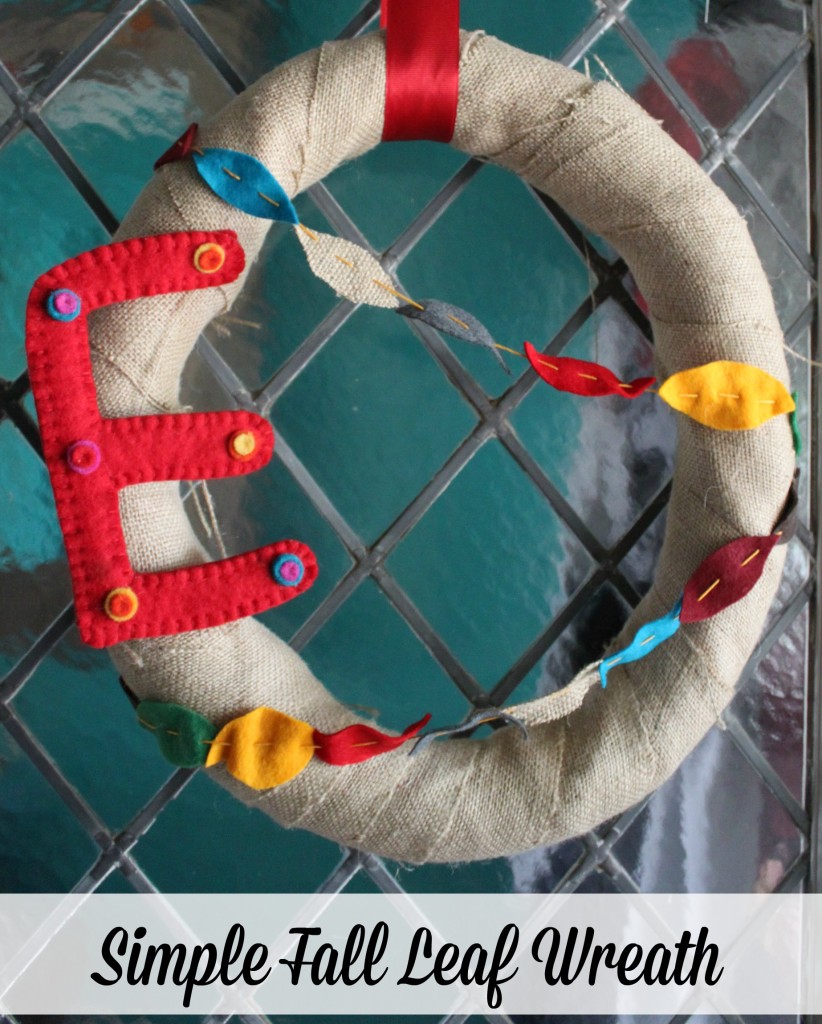
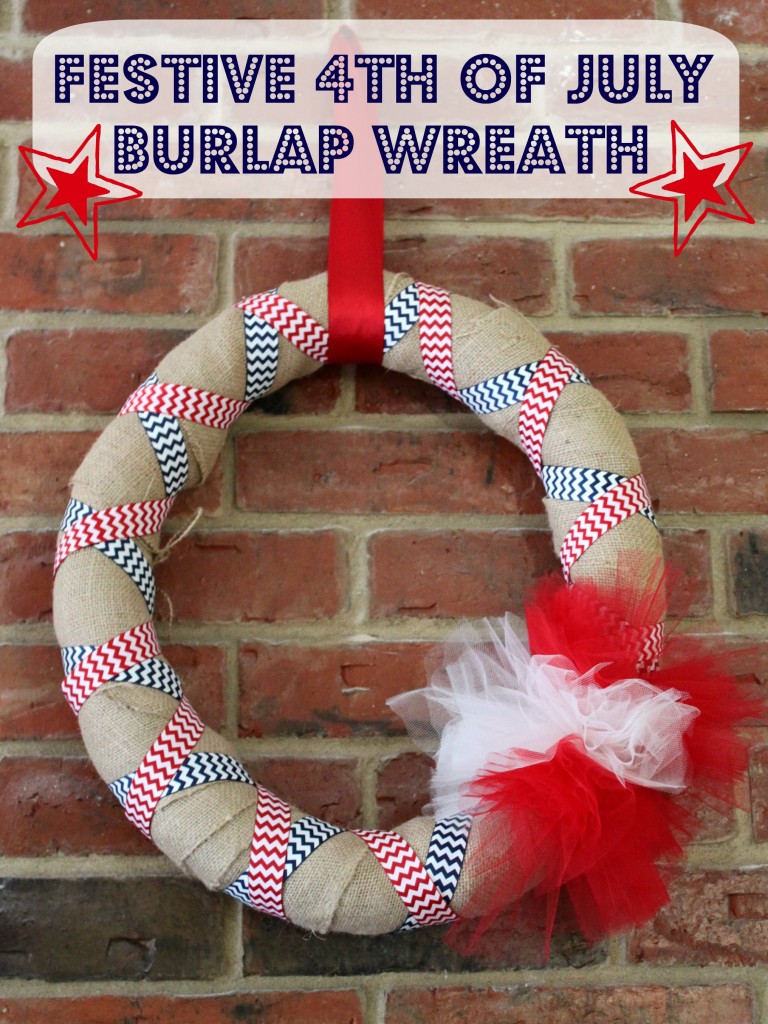
this and decided to combine them using my interchangeable burlap wreath that I made
here.
Here’s how it came about:
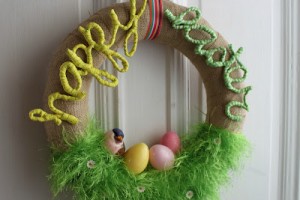
I stripped the Valentine’s Day stuff off the burlap wreath and wrapped the bottom of it in haute fur yarn, pinning the ends of it into the wreath with straight pins. Then I cut individual daisies off the daisy chain ribbon and pinned them into the “grass” using coordinating straight pins. I arranged a few plastic Easter eggs in the grass using the straight pins and moved them until I was happy with their placement.
I created the words using dollar store pipe cleaners and ribbon leftover from the nursery decorating.
You can find the pipecleaner letter directions found
here.
I couldn’t decide where to put my lil birdie. I moved him around and took him off and put him back on. He sticks in with yet another straight pin, so it was super easy to move him. What do you think- bird or no bird?
He ended up here.
I’m super happy with the way it turned out.
The letters were WAY more difficult than I thought they would be.
Pipecleaner molding is not my best skill, apparently.
I also had a bit of a fiasco with the ribbon. I ran out on the happy and had to go back and make it super tight so it would cover the whole thing. In between I went to Hobby Lobby to find another spool of ribbon. They were out. They had just received a huge shipment of literally every other type of ribbon except the one I needed. A craftastrophe! Oh well. It all worked out in the end.
Does the Easter Bunny visit your house?
