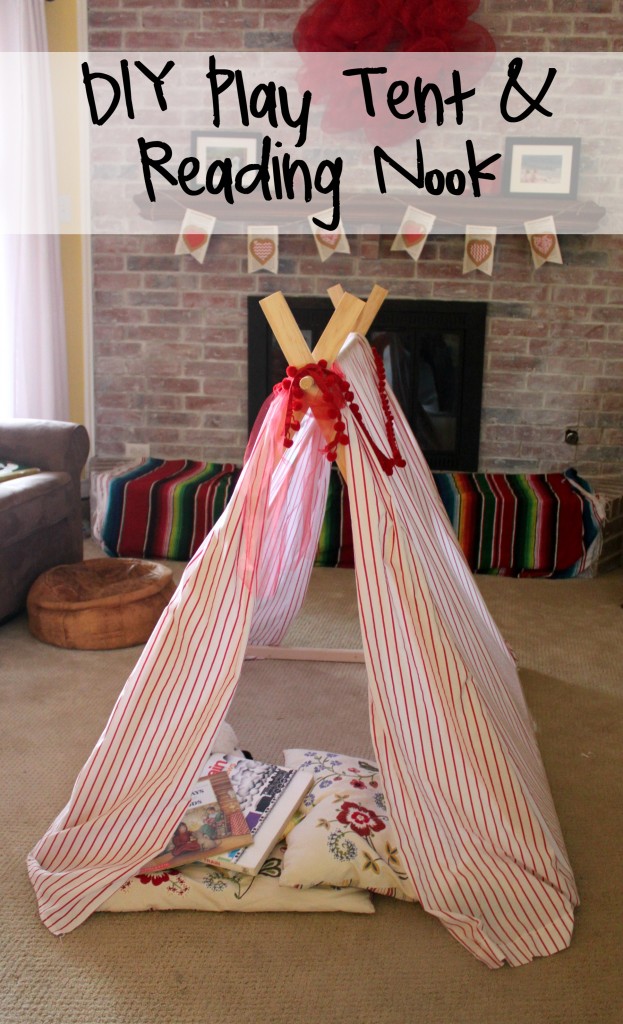
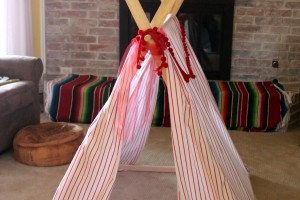
Kids love a tent to play in, and curling up in a reading nook is so much fun. For those reasons we decided to give our kids a sweet little play tent for Christmas this year. We had two requirements. It needed to be cute and easily stored. I didn’t want something huge and ugly in my living room, and I wanted to be able to take it down and set it up in seconds. Today we’re sharing how we created our DIY play tent and reading nook as part of the Fort Building Challenge from Building Blocks and Acorns. Be sure to check out all the other inspiring forts all month long here as well as our recent pillow fort here.
Tag: vintage
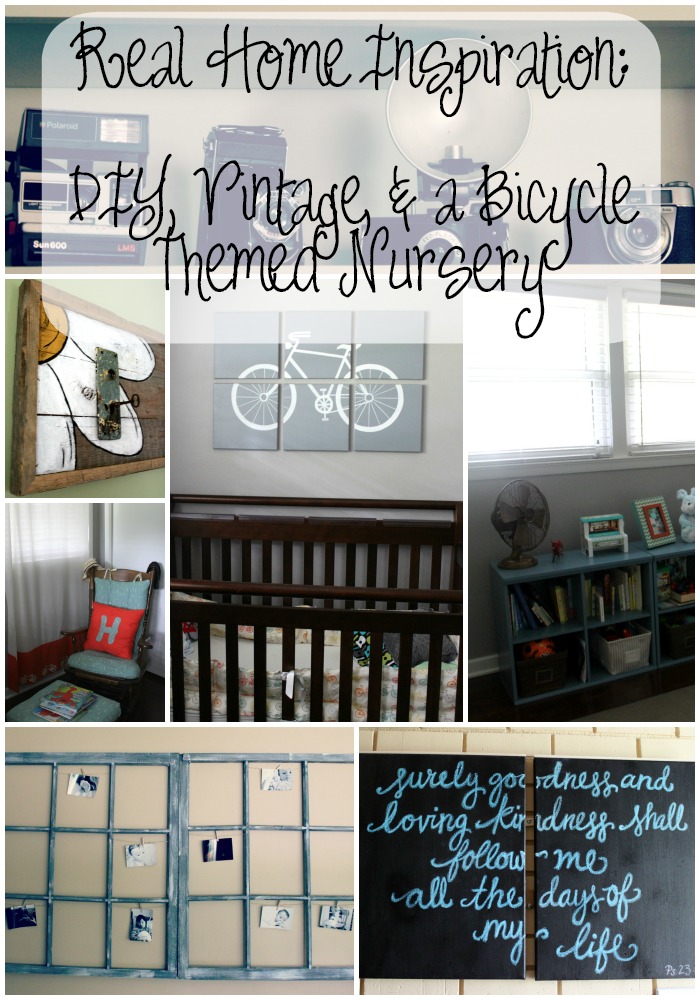
Real Home Inspiration: DIY + Vintage Finds + A Bicycle Themed Nursery at the Hansen Home
This summer we traveled across the southern U.S. staying with friends and family along the way. At every home we visited I found something inspiring, as I often do visiting the homes of friends here in Dallas. I asked several of them if it would be ok to share a peek at their real homes and creative touches for a new series here at Bare Feet on the Dashboard. No staging, no faking it, I’ll just share real homes to inspire you. To kick off my Real Home Inspiration series, I’m bringing you the Hansen Family’s DIY touches, vintage finds, and super fun bicycle themed nursery. I hope you love it as much as I do. Thanks to the Hansens for sharing their home with us!
Vintage Blue Mason Beach Memory Jar
If you would like to start your own collection of blue Ball Mason jars, the company recently re-released a heritage collection. You can use the link below to get a set of 6 for around $2 a jar.The link is an affiliate link, which means you pay the same price but your purchase helps support our family. We appreciate it any time you use a sponsor or affiliate link. Thanks for reading!
I love linking my ideas at these blog parties. Click the links to check them out and find crafty inspiration. If you’ve never visited a blog party, you will be blown away by the creativity shared and imaginative ideas.
Monday: CraftOManiac, Mad in Crafts, Sew Chatty, Keeping It Simple, C.R.A.F.T., Boogie Board Cottage, and Sumo’s Sweet Stuff
Tuesday: Hope Studios, Today’s Creative Blog, Coastal Charm, and New Nostalgia
Wednesday: The Trendy Treehouse, Polka Dots on Parade, Lil Luna, and The Thrifty Home
Thursday: All Things with Purpose, Somewhat Simple, The Shabby Creek Cottage, The Girl Creative, and House of Hepworths
Friday: Sugar and Spice, Kojo Designs, Diana Rambles Pin Me Party, and The Shabby Nest
Weekends: Sweet Tea Social @ Texas Women Bloggers, Tatertots and Jello, Serenity Now, Buttercream Bakehouse, and Candace Creations
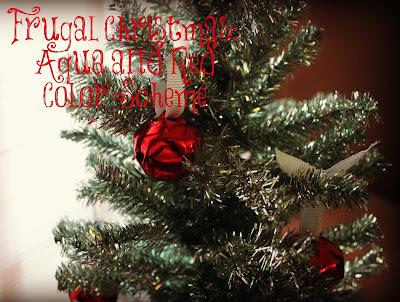
Frugal Christmas: Our Red and Aqua Mantle and Color Scheme
These blue mason jars were a gift from my Meme (that’s southern for grandmother) and I use them all the time. I filled them with Smell of Christmas potpourri by Aromatique, an Arkansas company. I tied red ribbon leftover from other projects around them and placed this cute little trio on one end of the mantle.
Our stockings are hung by the chimney with care. I made Jed’s and mine, but ended up throwing the one I attempted for the Bear away in a fit of crafting rage last year (long story). You can read about how I made ours here.
For the wreath I took apart this spring wreath, spray painted it white, and wrapped it in aqua ribbon. I used pine cones that were already wired from my bouquet in Marci’s winter wedding, spray painted them white, and tied them with aqua and white ribbons. I attached three red jingle bells leftover from the Bear’s toddler friendly Christmas tree. I hung it with wide aqua ribbon.
I bought the joy sign at a yard sale a few years back, and the red and aqua Christmas balls were from after Christmas clearance years ago. I nestled them in aqua fine net tulle that I also used the last few years.
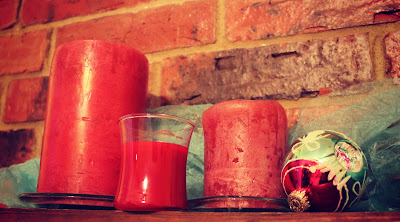
The red candles normally live in other spots around the house, but they look cute as a trio mirroring the trio of mason jars.
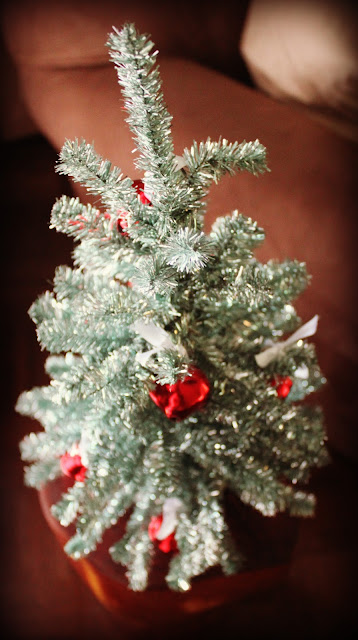
I carried the red and aqua theme into our bedroom by decorating another mini tree with leftover jingle bells and white ribbon.
A Vintage Highchair Makeover with Tutorial
The poor chair was all kinds of ugly, and Jed though there was no hope. As eternal optimists, Betsy and I saw lots of potential. I took the ugly duckling home and it sat in the garage for a while until we had time to get the project completed.
The tray has already been sanded in the above pic. It was originally the same color as the back below. Ick.
The tan seat and seat back had to go, immediately. My mama and I went to visit City Craft, a great Dallas fabric store. I wanted to find some oil cloth to recover the chair so that it would be durable and easily cleaned. City Craft has a great selection, and had a sale going on. I choose an oil cloth design in black and white that looks like Mexican papel picado decorated with birds, flowers, and calaveras (happy dancing skulls a la El Dia de Los Muertos).
We removed the cushions and Jed sanded the ugly bronze paint off of the seat, tray, and back. The legs and arms were already in pretty good shape.
I removed the vinyl covers off of the seat and back, and then laid them out on my oil cloth.
Meanwhile, Jed painted the tray, seat, and back with a lovely light turquoise. He had to do 3 coats to get it to look right.
To recover the seats, I had to carefully stuff the oil cloth behind and under the seat and the back. Then we hammered the seat and back in. This was the trickiest part of the whole project. I got a little frustrated, but persevered so that we could have this lovely creation.
I love the black and white, the papel picado design, the paint color, everything. I’m a little obsessed with it, quite frankly.
I love using vintage pieces because they are often so much higher quality than plastic crap from Target. We love Target and have our share of plastic baby stuff, but are happy when we can have something a little more stylish and sturdy to go with the rest of our house.
If you’ve made it this far, thanks for putting up with the insane amount of pictures in this post. Like I said, I’m obsessed.
The Nursery Part 4: The End
I created this ribbon mobile to go over the crib to keep the wee one entertained. You can read about the creation of it here. We got the crib on clearance at Target, and the crib sheets, Sleep Sheep, and sweet turtle blanket were shower gifts. The curtains are also from Target, and I got the Boppy (complete with the organic cover) on clearance at Amazon. Don’t worry, it is only staying in there temporarily. The rugs lived in our bedroom for a while, and came from the Second Saturday Sale in Little Rock. I’ve seen them at boutiques here in town for over $200, but I got them for $20 each. The crib skirt is my favorite. It was made by my grandmother for my crib 32 years ago, and is still in great shape. It is too long, but I just folded it up under the mattress to make it work. I should have taken a close up picture so you could see the lovely eyelet lace.
This “bookcase” was a gold plate holder given to me by Michelle, my sister-in-law. I spray painted it yellow to match the room, and am using it to hold some of the books we’ve received as gifts. Below you can see the ring full of family tradition ideas that my Dallas shower guests wrote down for me.
And finally, here is Jed’s favorite part of the nursery, the Twilight Turtle. When you turn it on it projects stars onto the ceiling using real constellations. He likes to show it off when we bring people back to the nursery.
The Nursery Part 3: More Vintage and Hand Painted Touches
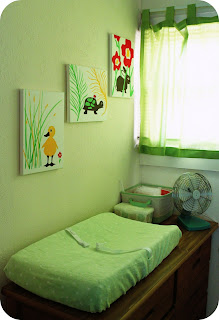
Today I’m showing you another little corner of the nursery. You can see part 1 of the nursery reveal here, and part 2 here. I love this little corner. We used a regular dresser that we already owned, and created a diaper station on top of it. The changing pad is waaaay bigger than I though it would be, but I guess it is kind of important. The little canvas basket was a shower gift, and I’m using it to hold diapers, cream, and wipes.
These paintings are my favorite part of the whole nursery. My friend Crystal, who painted the letters and buckets, also did all three of these for me. Bunnies and ducks have been inexplicably irresistible to me throughout the whole pregnancy. These paintings fulfill that craving, but without looking too babyish. I love them so much.
The Nursery Part 2: Hand Painted Letters
Can you imagine my surprise and delight when my sweet and creative friend Crystal presented me with these hand painted letters at my Little Rock baby shower? She matched the paint colors to the bright, vintage theme of the nursery, and attached matching ribbon for hanging. She even gave me all the leftover ribbon. Amazing. Here’s one of the inspiration quilts to compare the color scheme.
I love how each letter is unique. I hung them above the closet to divert attention from the mirrored door and weird gold trim. Oh, rent house weirdness…
The Nursery Part 1: Bright and Vintage Inspired
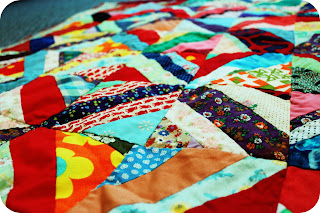
I searched high and low and all over the internet for inspiration for Baby Bun’s nursery. I picked out bedding at Babies R Us, then ditched it in favor of a set from Target. Then I remembered my great grandmother’s quilts and decided to go in a completely different direction.
I used the colors in these quilts for inspiration, and decided to go with a brightly colored vintage theme. One quilt hangs over a spare chair that will be replaced when we move the glider from the living room to the nursery. The other covers the full size guest bed that lives in half the room.
The little birdie is a tap nightlight, which will be super handy above the changing table. In another cubby lives Paulo the Piggy Bank that I painted with some of my WyldLife girls, and one of the corsages from my baby shower.
More vintage inspired touches include a trio of mod podged doily paintings that you can read about here, and mason jars filled with brightly colored pinwheels.
Glow in the dark sheep live atop the cubby shelf, while toys and a diaper cake begin to fill the play corner.
Jackson enjoys the fluffy rugs that used to reside in our bedroom. They help to mask the ugly rent house carpet. We can’t cover up the rent house mirror doors, so I’ll use them to give you a preview of the rest of the room. Come back this week to see the rest.
Anthro Inspired Vintage Necklace Remake
I love all of the gorgeous statement necklaces that Anthropologie and a lot of other stores have been featuring lately. The ones at Anthro are priced from $42-$198, which is way out of my price range, as usual. I found this lovely faux pearl bib choker at an estate sale for $2. Vintage costume jewelry is my favorite kind of estate sale find. It needed a little help, so I removed the broken clasps and attached ivory grosgrain ribbon so that I could adjust the length.
Here are the different length possibilities:
Short
Long
Extra Long
Even longer
The necklace is backed with lovely ivory satin. It is a little stained and worn, but I like to call that vintage character.
One clasp wouldn’t come out, but it doesn’t show when I wear the necklace. I simply glued the ribbon on with craft glue. It would probably look neater if I sewed it on, but I don’t know how to sew. Oh well, it works.
Some of the pearl beads are worn, but I don’t mind.
A Silly Little Sparrow , New Nostalgia,
All Thingz Related , A Soft Place,
Tip Junkie , Today’s Creative Blog,
Women Who Do It All , Coastal Charm,
Santa’s Gift Shoppe and Ideas, The Trendy Treehouse,
The Thrifty Home , The Boardwalk Bragfest,
Me and My Bucket The Shabby Chic Cottage ,
Tales from Bloggeritaville, Somewhat Simple,