3) Trace the outline of your bow tie with your paint and brush or paint pen.
I used a paint pen, so I had to dot it on to really fill it in. I will definitely use fabric paint and a brush in the future as it goes on much smoother.
Category: crafts
A Vintage Highchair Makeover with Tutorial
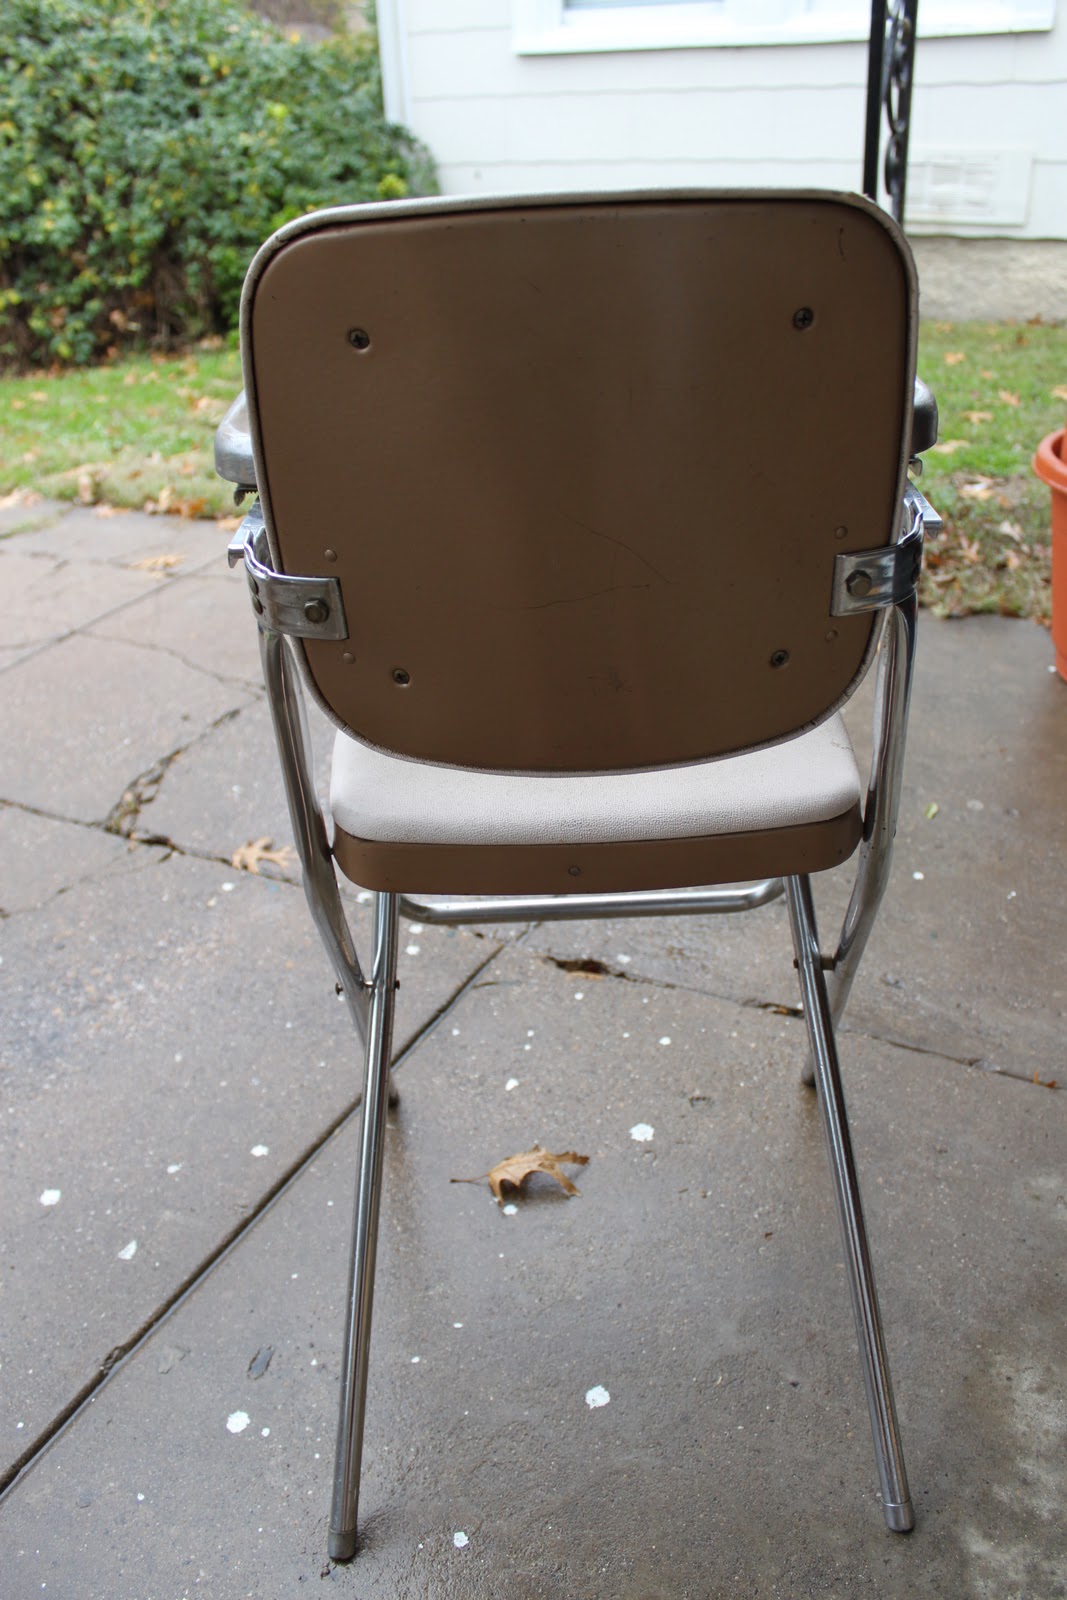
The poor chair was all kinds of ugly, and Jed though there was no hope. As eternal optimists, Betsy and I saw lots of potential. I took the ugly duckling home and it sat in the garage for a while until we had time to get the project completed.
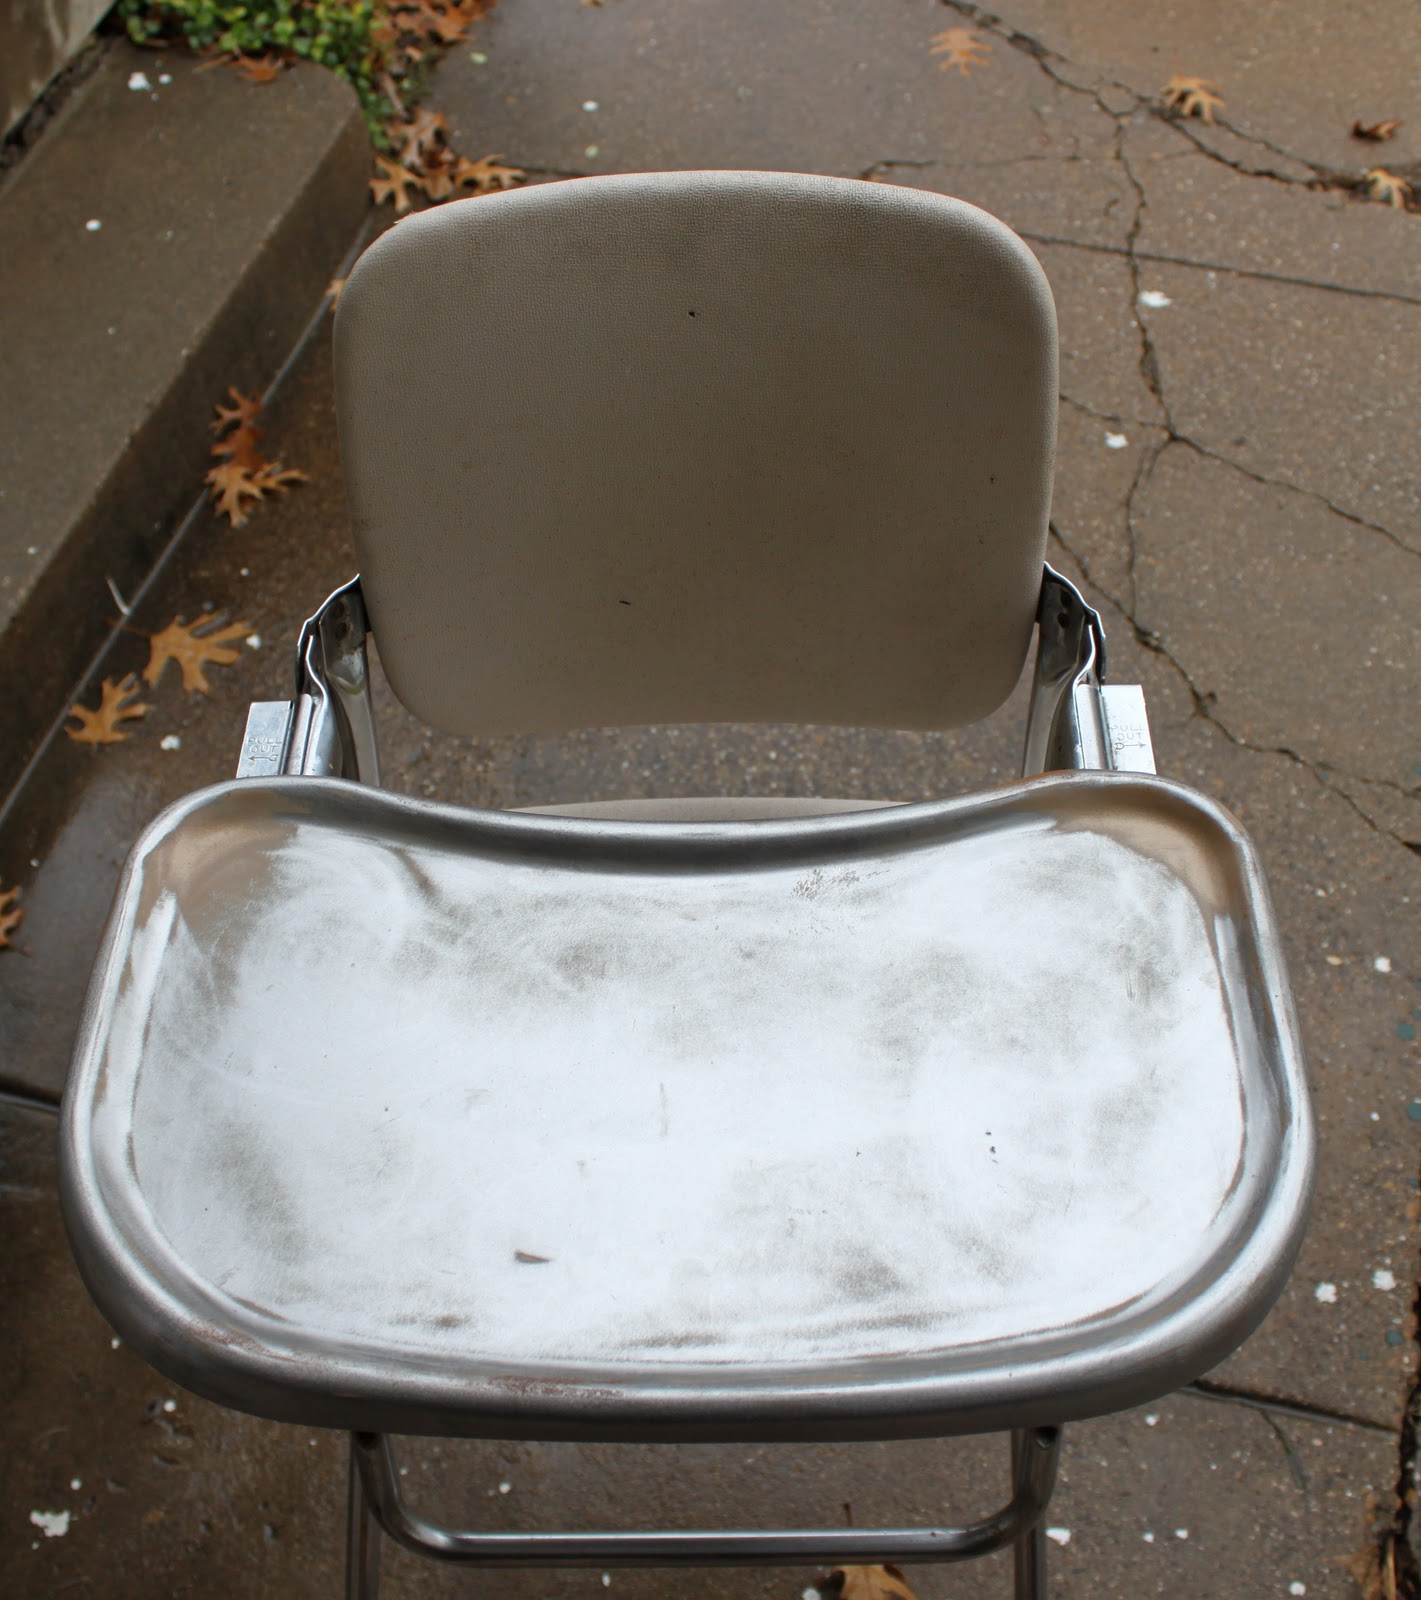
The tray has already been sanded in the above pic. It was originally the same color as the back below. Ick.
The tan seat and seat back had to go, immediately. My mama and I went to visit City Craft, a great Dallas fabric store. I wanted to find some oil cloth to recover the chair so that it would be durable and easily cleaned. City Craft has a great selection, and had a sale going on. I choose an oil cloth design in black and white that looks like Mexican papel picado decorated with birds, flowers, and calaveras (happy dancing skulls a la El Dia de Los Muertos).
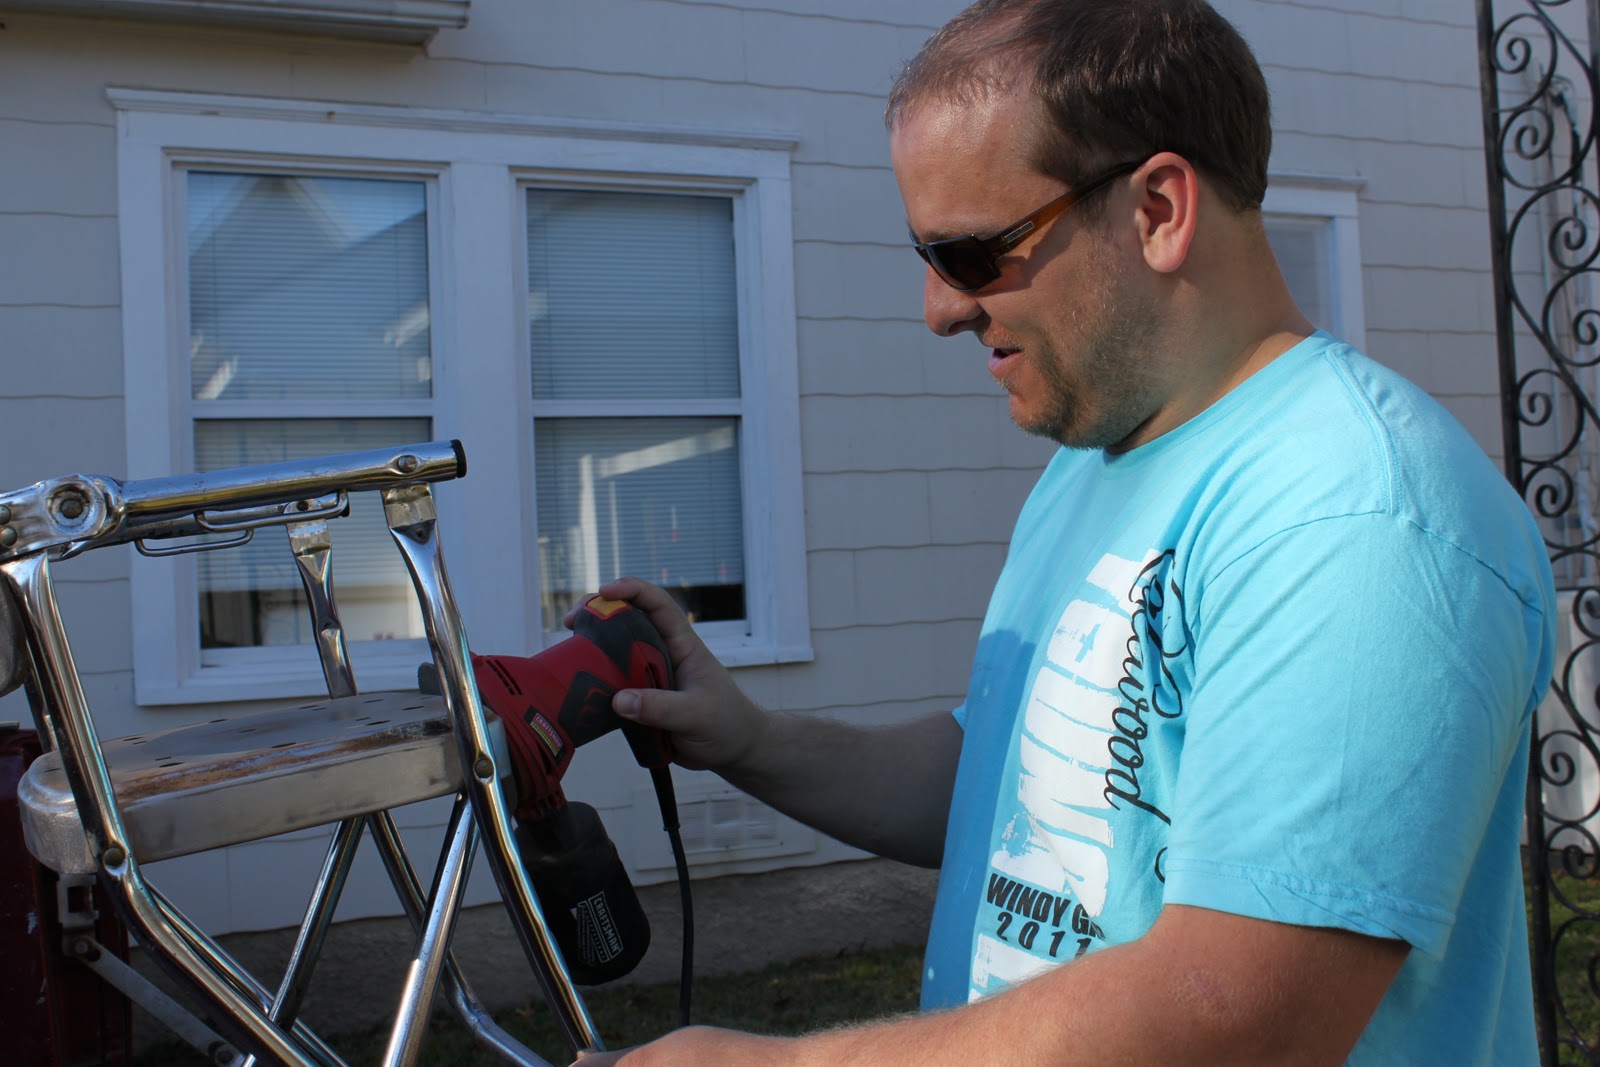
We removed the cushions and Jed sanded the ugly bronze paint off of the seat, tray, and back. The legs and arms were already in pretty good shape.
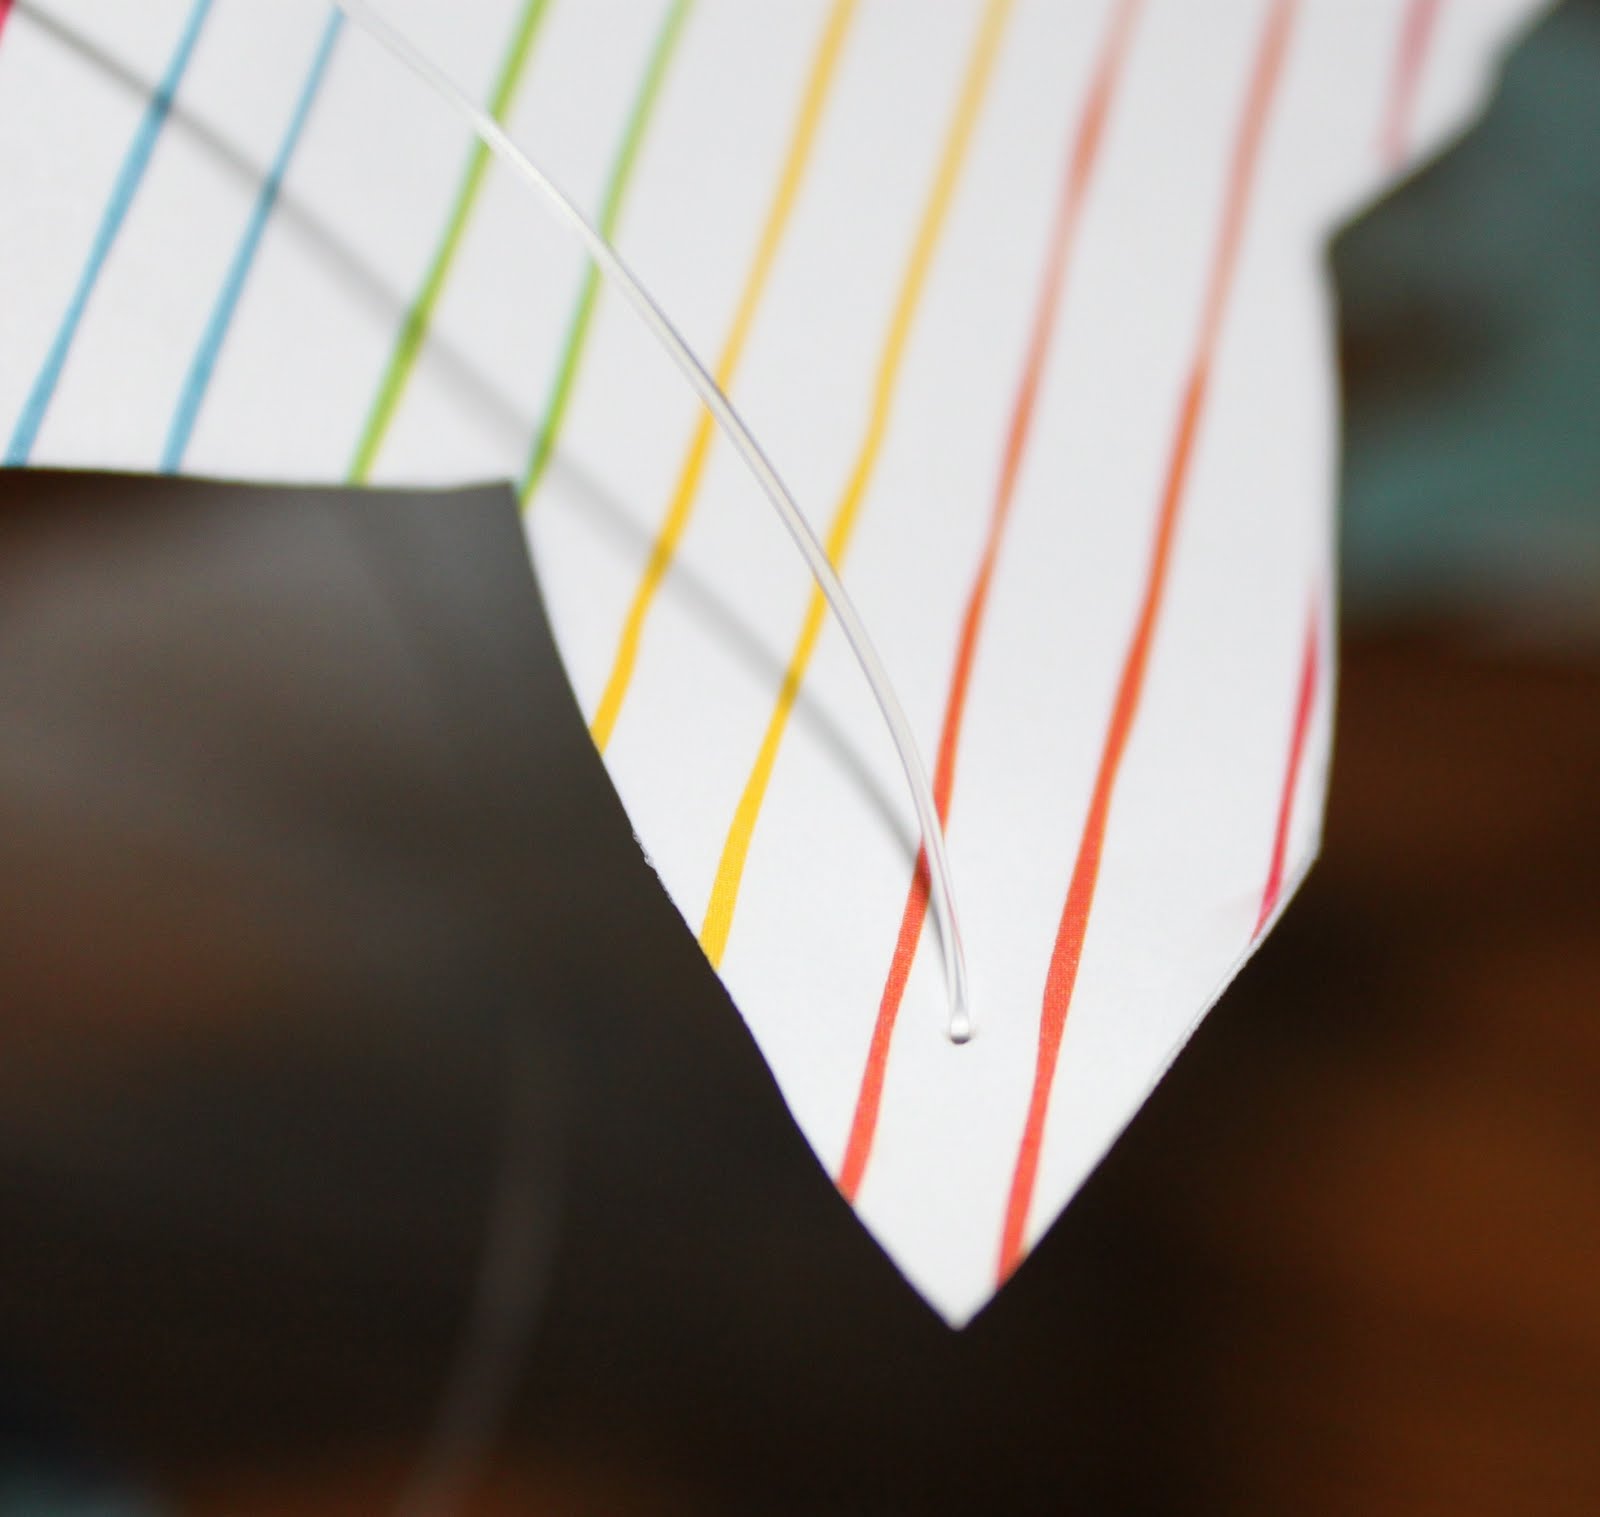
I removed the vinyl covers off of the seat and back, and then laid them out on my oil cloth.
Meanwhile, Jed painted the tray, seat, and back with a lovely light turquoise. He had to do 3 coats to get it to look right.
To recover the seats, I had to carefully stuff the oil cloth behind and under the seat and the back. Then we hammered the seat and back in. This was the trickiest part of the whole project. I got a little frustrated, but persevered so that we could have this lovely creation.
I love the black and white, the papel picado design, the paint color, everything. I’m a little obsessed with it, quite frankly.
I love using vintage pieces because they are often so much higher quality than plastic crap from Target. We love Target and have our share of plastic baby stuff, but are happy when we can have something a little more stylish and sturdy to go with the rest of our house.
If you’ve made it this far, thanks for putting up with the insane amount of pictures in this post. Like I said, I’m obsessed.
Birds In Flight Nursery Mobile with Tutorial
At Michael’s and Hobby Lobby I picked out fun scrap book paper with lots of bright colors. I created a bird template that would look good from the bottom and the side. We traced the template onto each sheet of paper. My mom discovered that we could fold each sheet of paper and cut four birds at a time.
Here is the template. Note the accordion fold on the scrap book paper above.
We ended up with lots of birds. In order to make them stiff enough for flight but still flexible enough for great movement, we employed my old stand by, Mod Podge.
We paired up each bird and spread the backs with Mod Podge, using foam brushes. We then stuck the 2 sides together and set them aside to dry.
After they dried we trimmed off any excess paper and poked 1 hole in each wing with an embroidery needle.
We cut varying lengths of fishing line and threaded them through the holes in each wing, creating a loop to hang each bird. I would suggest using a very light line. Ours was thick and it made things challenging.
I found a branch that seemed perfect about a month before and let it dry inside our house. We covered it with polyurethane and trimmed off the unsightly bits. We hung it from the ceiling using ceiling hangers and more fishing line.
We then draped each loop around a branch until the birds hung in a desired formation.
Here is the finished product. I ordered a bright orange changing pad cover from Etsy and it looks even better with the mobile.
Fisher is starting to notice the birds as I gently tap the mobile before diaper changes. It distracts him enough to keep him entertained which helps me to get the job done.
The Nursery Part 4: The End
I created this ribbon mobile to go over the crib to keep the wee one entertained. You can read about the creation of it here. We got the crib on clearance at Target, and the crib sheets, Sleep Sheep, and sweet turtle blanket were shower gifts. The curtains are also from Target, and I got the Boppy (complete with the organic cover) on clearance at Amazon. Don’t worry, it is only staying in there temporarily. The rugs lived in our bedroom for a while, and came from the Second Saturday Sale in Little Rock. I’ve seen them at boutiques here in town for over $200, but I got them for $20 each. The crib skirt is my favorite. It was made by my grandmother for my crib 32 years ago, and is still in great shape. It is too long, but I just folded it up under the mattress to make it work. I should have taken a close up picture so you could see the lovely eyelet lace.
This “bookcase” was a gold plate holder given to me by Michelle, my sister-in-law. I spray painted it yellow to match the room, and am using it to hold some of the books we’ve received as gifts. Below you can see the ring full of family tradition ideas that my Dallas shower guests wrote down for me.
And finally, here is Jed’s favorite part of the nursery, the Twilight Turtle. When you turn it on it projects stars onto the ceiling using real constellations. He likes to show it off when we bring people back to the nursery.
The Nursery Part 2: Hand Painted Letters
Can you imagine my surprise and delight when my sweet and creative friend Crystal presented me with these hand painted letters at my Little Rock baby shower? She matched the paint colors to the bright, vintage theme of the nursery, and attached matching ribbon for hanging. She even gave me all the leftover ribbon. Amazing. Here’s one of the inspiration quilts to compare the color scheme.
I love how each letter is unique. I hung them above the closet to divert attention from the mirrored door and weird gold trim. Oh, rent house weirdness…
The Nursery Part 1: Bright and Vintage Inspired
I searched high and low and all over the internet for inspiration for Baby Bun’s nursery. I picked out bedding at Babies R Us, then ditched it in favor of a set from Target. Then I remembered my great grandmother’s quilts and decided to go in a completely different direction.
I used the colors in these quilts for inspiration, and decided to go with a brightly colored vintage theme. One quilt hangs over a spare chair that will be replaced when we move the glider from the living room to the nursery. The other covers the full size guest bed that lives in half the room.
The little birdie is a tap nightlight, which will be super handy above the changing table. In another cubby lives Paulo the Piggy Bank that I painted with some of my WyldLife girls, and one of the corsages from my baby shower.
More vintage inspired touches include a trio of mod podged doily paintings that you can read about here, and mason jars filled with brightly colored pinwheels.
Glow in the dark sheep live atop the cubby shelf, while toys and a diaper cake begin to fill the play corner.
Jackson enjoys the fluffy rugs that used to reside in our bedroom. They help to mask the ugly rent house carpet. We can’t cover up the rent house mirror doors, so I’ll use them to give you a preview of the rest of the room. Come back this week to see the rest.
A Very Festive Baby Shower
I am so blessed. We have lived in Dallas for less than three years, and are already surrounded by an amazing community of friends. Six of our friends recently threw one seriously festive baby shower for Baby Bun and me. They are a creative bunch, and the shower had so many unique touches. They handmade name tag corsages from paper and felt for everyone to wear.
The party took place at the home of our friends the Ballards. They had only moved in one month before, and then were robbed right after buying the house. I was pretty impressed by how moved in they were. I have a tendency to live out of boxes for way too long. The girls used bright, fun colors to decorate, and served a buffet of breakfast burritos. Yum.
The tables were decorated with fresh greenery, nests of burlap and moss, and blown out brown eggs with “baby” written on them. It was so different from the typical baby shower pink or blue, and I LOVED it.
See those brightly colored beads in the vases? They keep plants moist without the mess of water, apparently. Very cool, and festive.
For dessert the girls served homemade pralines and mini cupcakes in lemon and chocolate. I tried to use restraint and failed miserably.
Each guest was asked to share a favorite family tradition to give us ideas of new traditions to start with our little family. The girls put them all together on a metal ring and sent me home with a massive stack of ideas.
There were three round tables set up outside, and we had a beautiful Texas morning. Each table was decorated with a straw wreath, moss, the burlap and eggs (like inside), and vases filled with individual flowers.
Inside there was a mimosa bar set up, with water and plain orange juice available as well.
I am so thankful that so many friends and family came and showered us with gifts. We are so truly blessed.
My sweet mama came into town for the shower, and Betsy (one of the hostesses) made her a special corsage with her grandma name (Dede). My sister in law came up with Dede as an easy name for my niece to call her, as her non-grandma names are Deborah and Debbie.
Here are four of the six hostesses: Morgan, Whitney, Allison, and Betsy (Asia and Ellen are not shown). I’m the rotund one in the middle, of course. I am so thankful to these girls for throwing an amazing shower for me and going to the trouble to get seriously creative. I felt really special. I showed you a bit of my Arkansas shower earlier, and I promise to show more of that one soon. Some amazing friends from work threw me a lunch shower as well, but I’ve got to get the photos from one of them. Once again, we feel so incredibly blessed.
A Ribbon Mobile for Baby’s Nursery
At first I cut the ribbon into strips, but they were way too long. I wanted to make sure the baby couldn’t grab it even when he/she is able to stand in the crib. I cut each piece in half and it was perfect. Check out the massive pile of ribbon.
I glued strips around the inside ring first. I folded each strip over and putt a dot of craft glue on it, then held it in place for a few seconds. This was effective but a bit messy. I think you could double the length and knot it in half for a glueless mobile. After the inside ring, I decided to skip the two middle rings and go straight to the outside ring. I glued the ribbon around that ring, and love the way it looks. Then I measured from the hook (centered above the crib) to see how far I wanted the mobile to hang. I divided that measurement in half and then added 2 inches for a little give and the knots. I tied each of those ribbons to the middle ring with a knot and then hung the mobile from the hook. I love how some of the ribbon is starting to curl.
I think it is simple, yet bright and fun. Below you’ll find a little sneak peek into the nursery. Jackson is mystified by all the goings on back there. As you can see we have rugs in place (that used to be in our bedroom) over the weird rent house carpet. There is only so much you can do in a rent house, but I hope to do all that I can to make it lovely. The fabric hanging over the crib is an eyelet crib skirt made for my bassinet (32 years ago) by my sweet grandmother. She died 6 years ago, so I love that I have a piece that she made in the nursery. Hopefully we will get it in place soon. One step at a time.
**UPDATE** Our Homemade Baby Book – With Free Printables

**Update** I’ve added a free printables tab to the top menu of the blog (under crafts/diy). Click there to find all the baby book pages to print for free in either PDF or Publisher (so you can edit) files! Enjoy. They are free for personal use only. I just ask that you share the love on Pinterest and follow my blog through Bloglovin’ or social media.
My quest for the perfect baby book began back in the fall when we first discovered that I was pregnant. I found so many cute ones for boys and for girls, but NOTHING cute for those of us who don’t find out the gender until the birth. I did find one gender neutral book at a boutique here in town, but it was $70. Are you kidding me? For a baby book? Come on now, people.
My Favorite Crafts of 2010
I started blogging in January and got semi-serious about it in March, with a few lapses along the way. I have so enjoyed getting to read so many great blogs and sharing my life and little projects with y’all. Along with everyone and their grandma I’ve decided to do a few best of 2010 posts. I’ll start with my favorite craft projects of the year. Check ’em out.
One of my goals for the new year is to take on more craft projects because they bring me so much joy. I have a huge crafty to do list inspired by our coming baby, other blogs, and our new rent house. What craft project is at the top of your to do list?