
We took back our yard last spring, fighting for control of the space against a formidible foe of Asian jasmine and ivy. Once we had established our dominance and set up an enjoyable outdoor room, it was time to bring in a table for the kids and some play structures. I’ve shared with you our DIY water table already, and today I’m showing our DIY wood table, stools, and play structure. We created them all from wood found in the neighborhood after a storm, for free, and will share how you can make them for your own family.
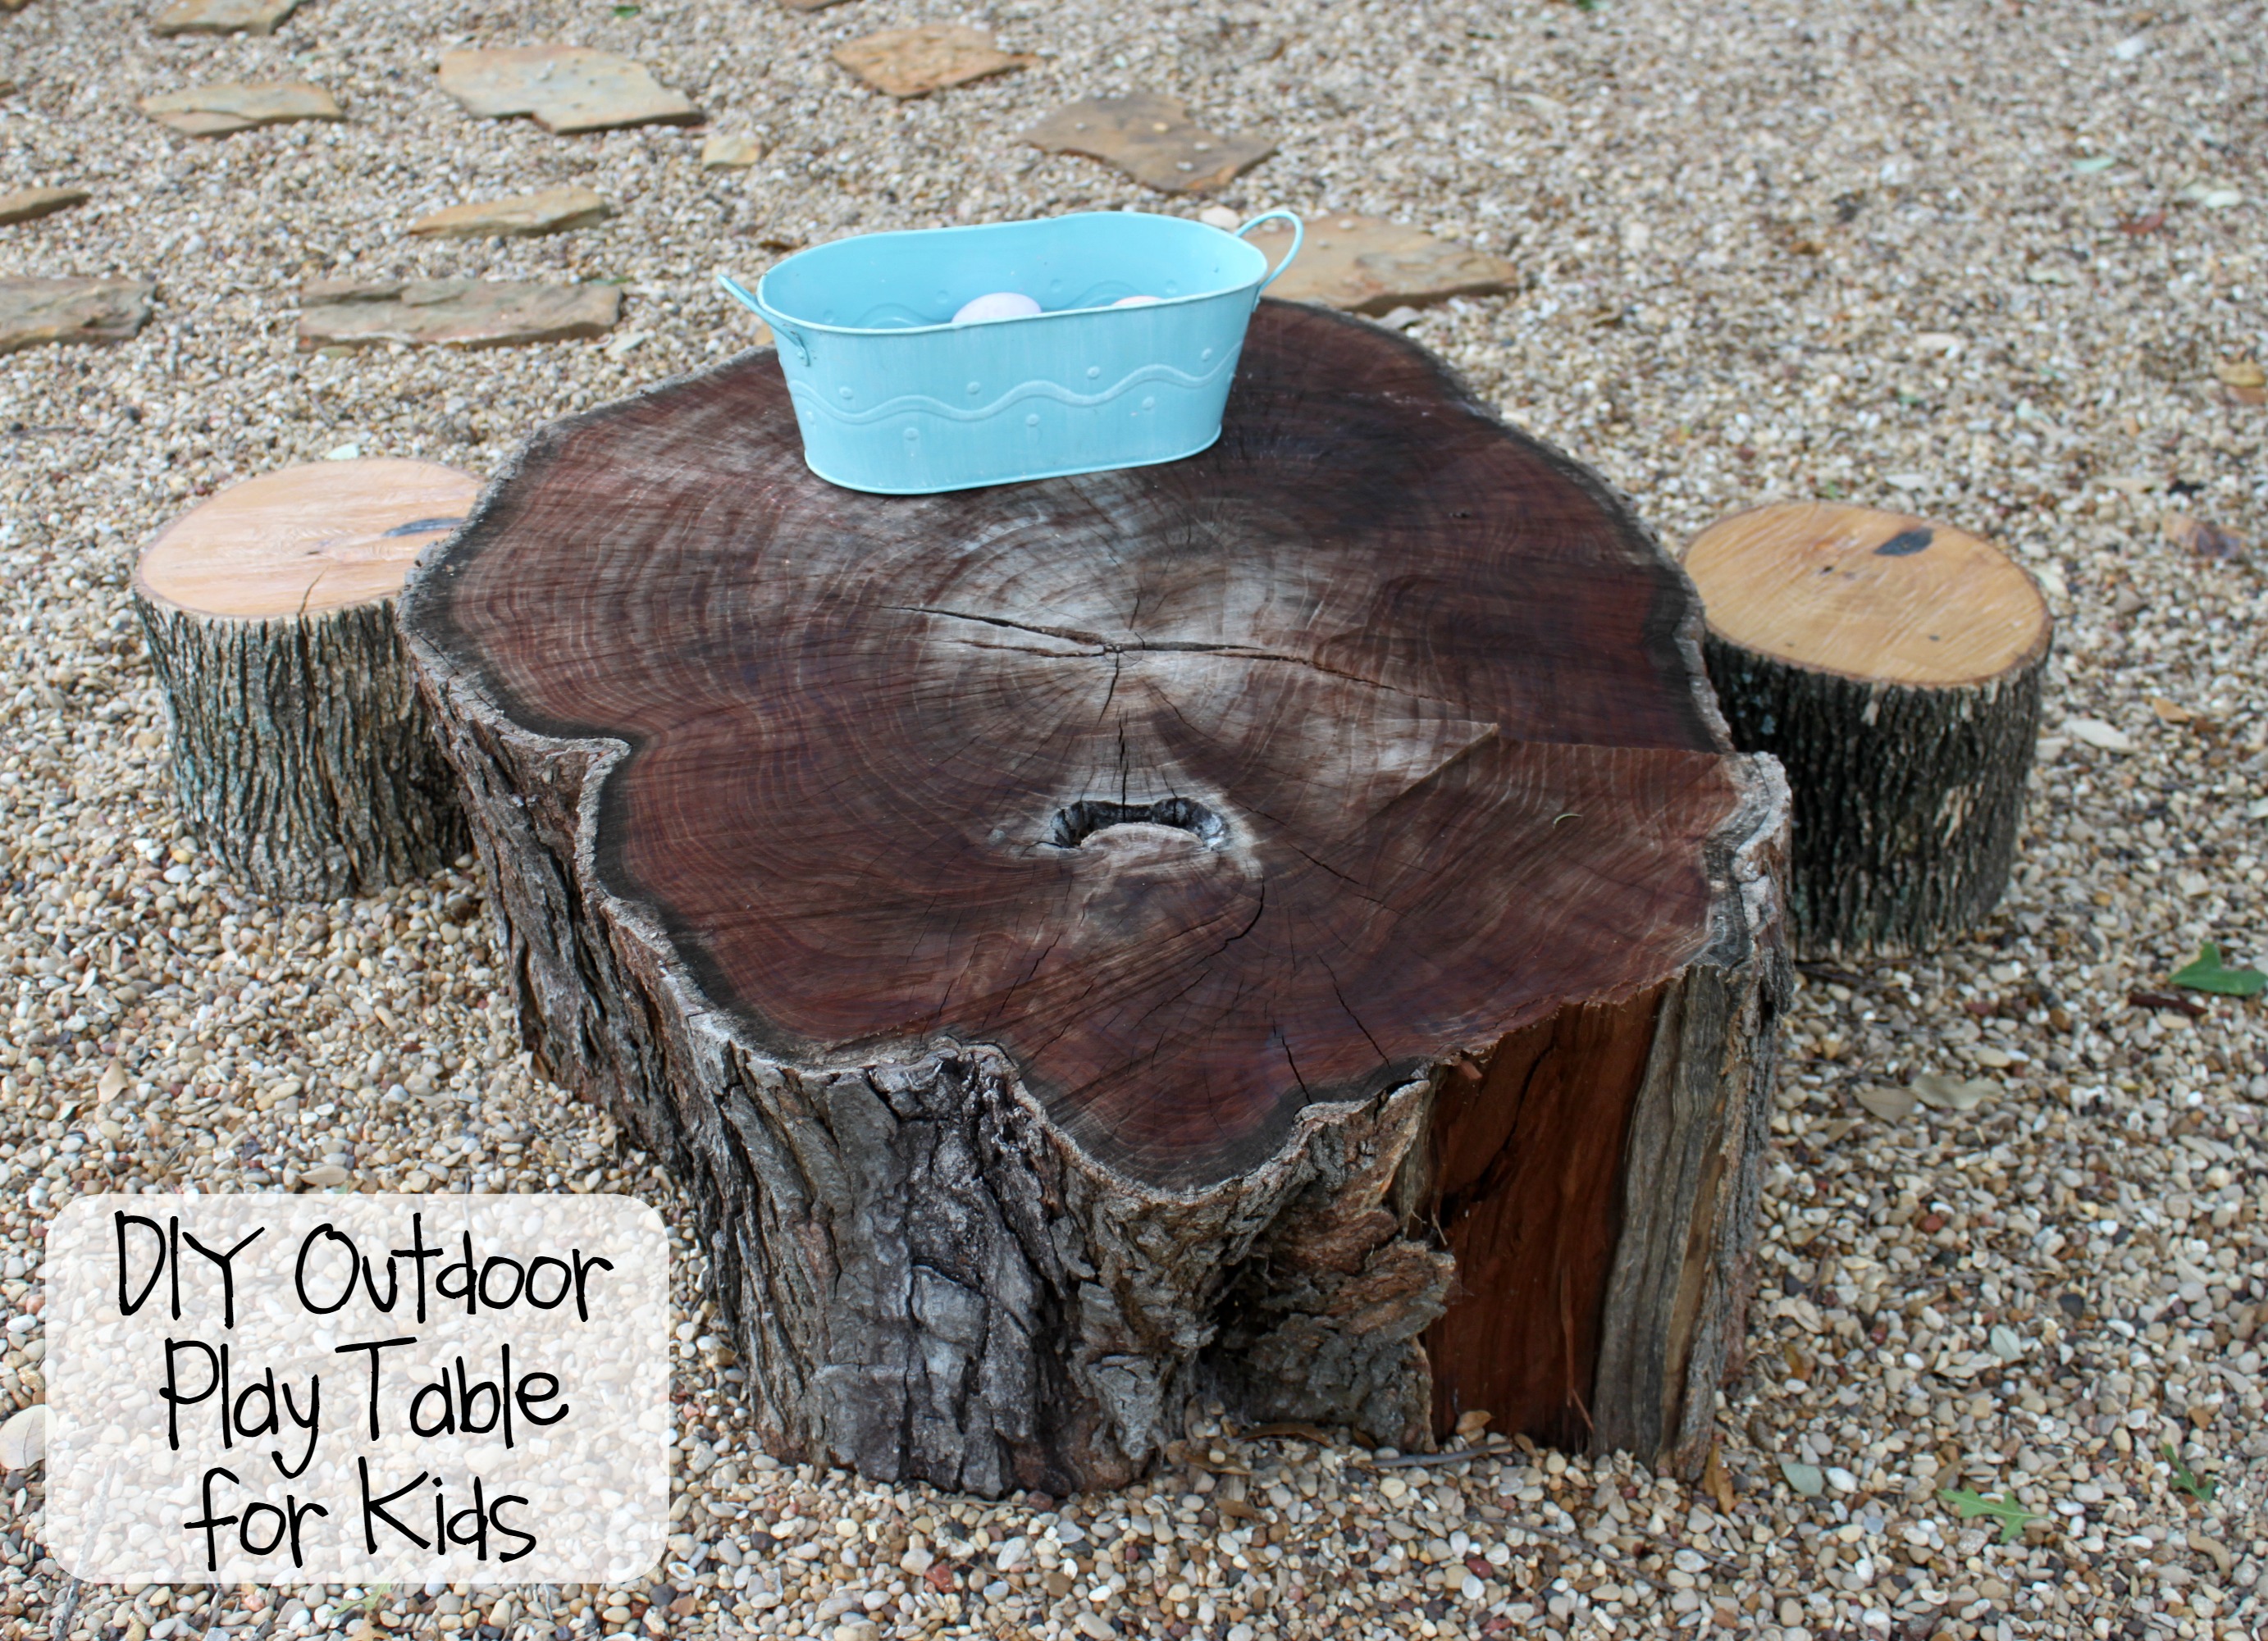
When I saw our neighbors chopping down a huge tree and leaving the pieces out by the curb, I knew it was just what I was looking for to create a play table. I wanted a table and stools to blend in to our landscape but still be fun and functional for the kids. Here’s how we did it.
1) Finding the wood. Creating the play table and structure is the easy part of this project. The challenge is finding the right pieces of wood. There are several avenues to pursue if you are hoping to create your own DIY outdoor play table for free. The first is your own property, or that of friends and family. Do you have any trees that need to be removed because of disease or storm damage? If so, they might be perfect candidates to donate to this project. The second is your neighborhood. On family walks, nature hikes, and drives, take a look around you. Who is having tree work done? About once a week someone in our neighborhood has a tree worked on, and the stumps and debris are piled high on the curb. We regularly pay attention to this and pick up what we can use for projects and firewood. The third option is Craigslist or free classifieds. If you’ve never looked you might be shocked to find out how many people are advertising free wood if you come to pick it up. They want it gone and you get free materials. Everybody wins. Look for pieces that have visual interest and are relatively flat and free of crazy knots. You can straighten them out with a saw and sander, but it will be easier on you if they look somewhat like what you are hoping for from the beginning.
2) Getting it home. Oh my goodness. When I told Jed I wanted two huge logs dragged to our front yard from several blocks away he looked at me like I was crazy. Your spouse may do the same. Our wood was only 3 blocks away, so Jed borrowed a furniture dolly and rolled those bad boys home. He looked like he was in a lumberjack competition, but got the job done. Find a friend with a truck and borrow a furniture dolly, because large pieces of wood are not light. Know where you want it to go before you get it home, because once it is placed it is very difficult to motivate your helpers to move it again.
3) Finishing off the pieces. Use a chainsaw to cut off any wayward pieces and flatten out your sides. We coated the stools with polyurethane to help protect them from wear and tear, but left the larger pieces uncoated. We simply hosed the big pieces down and set them out. Sand off any portions that might cause splinters or be hazardous. As with any play structure, be sure to check the wood regularly to make sure it is still safe to play on. Natural play structures change with weathering and erosion.
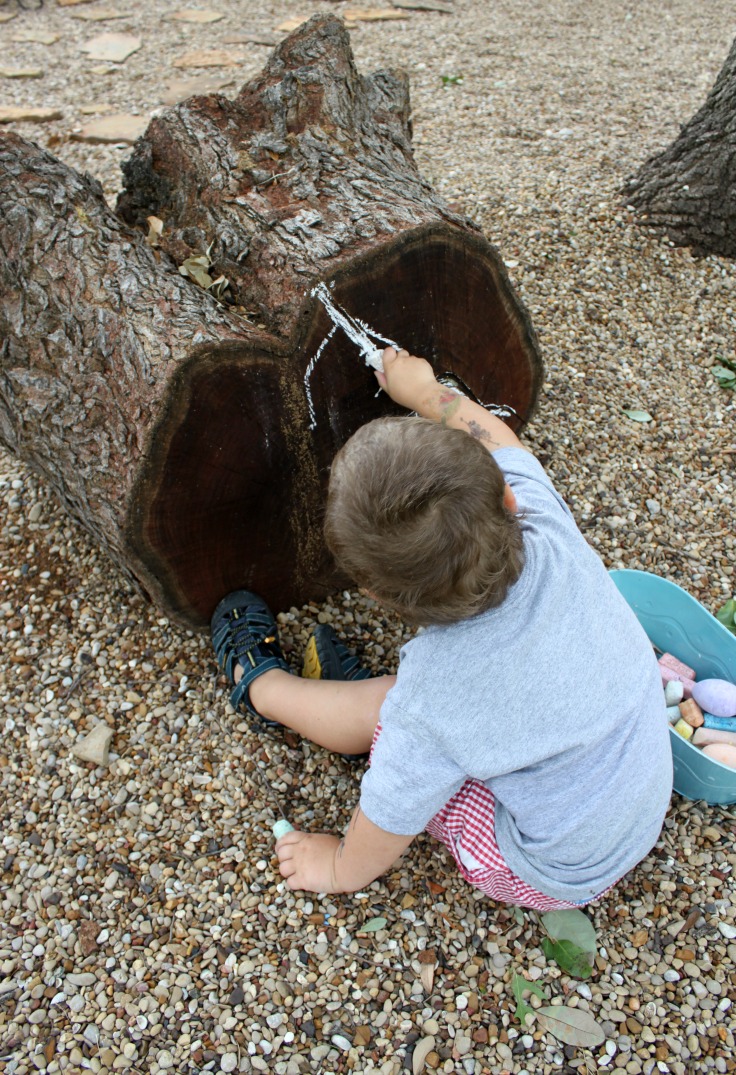
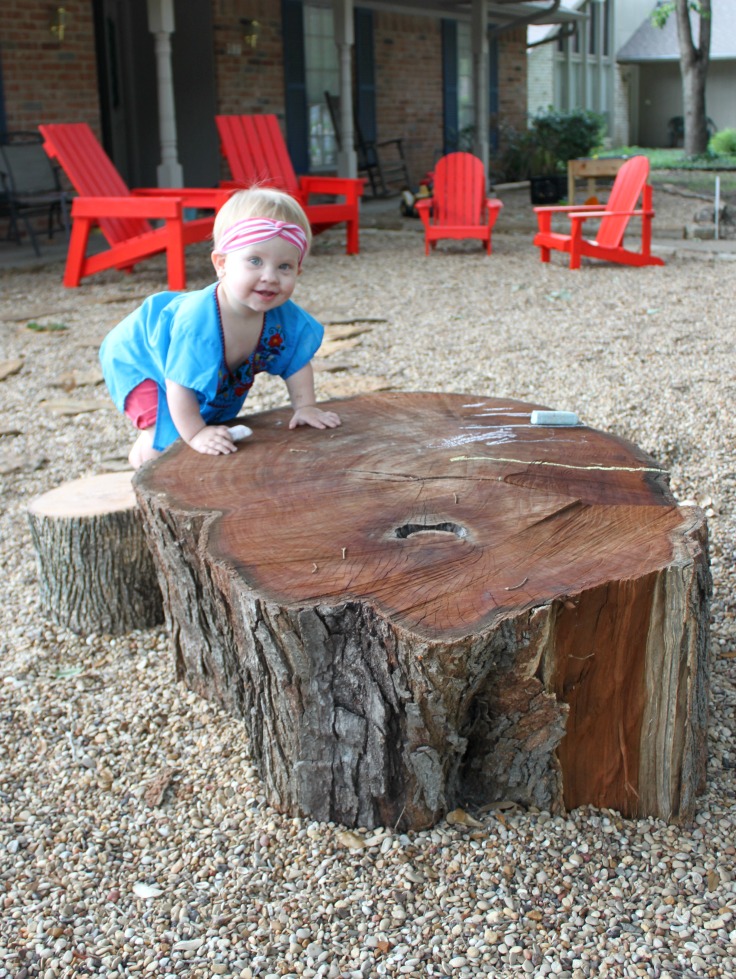
4) Let your kids explore and play. When we first introduced our kids to their new play table and play structure, they were so excited. They use it for so many things, drawing, climbing, having tea parties. The possibilities are endless, and cost us nothing but a little sweat.
Read more about our outdoor play ideas for babies here, and about hosting the ultimate play date here. Do you have natural play structures in your yard? Share them in the comments section or on my Facebook page to inspire other readers.
Visit Becca Eby ~ Bare Feet on the Dashboard’s profile on Pinterest.