Category: decorating

Real Home Inspiration: DIY Closet Bunkbed in Shared Bedroom and Playroom {Guest Post}

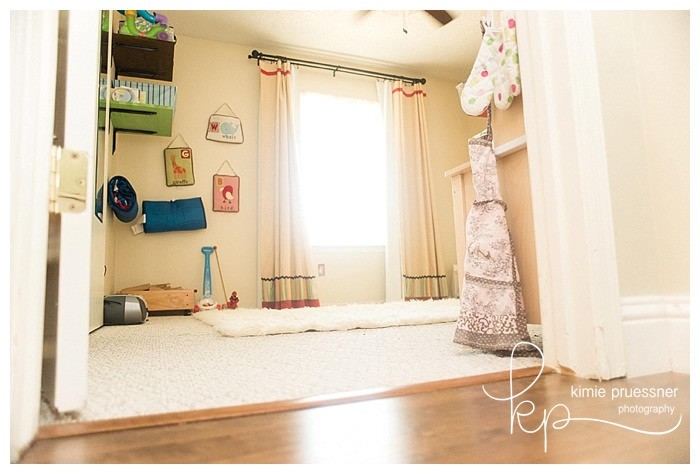
shared kids room and playroom​For the next installation in our Real Home Inspiration Series, my friend Kimie from Kimie Pruessner Photography is telling you all about her amazing shared kids’ room and playroom with a DIY closet bunkbed. When I first saw it, I thought it was the coolest and most practical space. She turned the closet in to a bunk bed, leaving all the floor space for play. This series is all about real homes and real people with creative and inspiring but lived in, unstaged spaces. I’ll turn it over to Kimie. Enjoy!

(more…)

Our Simple DIY Bathroom Update


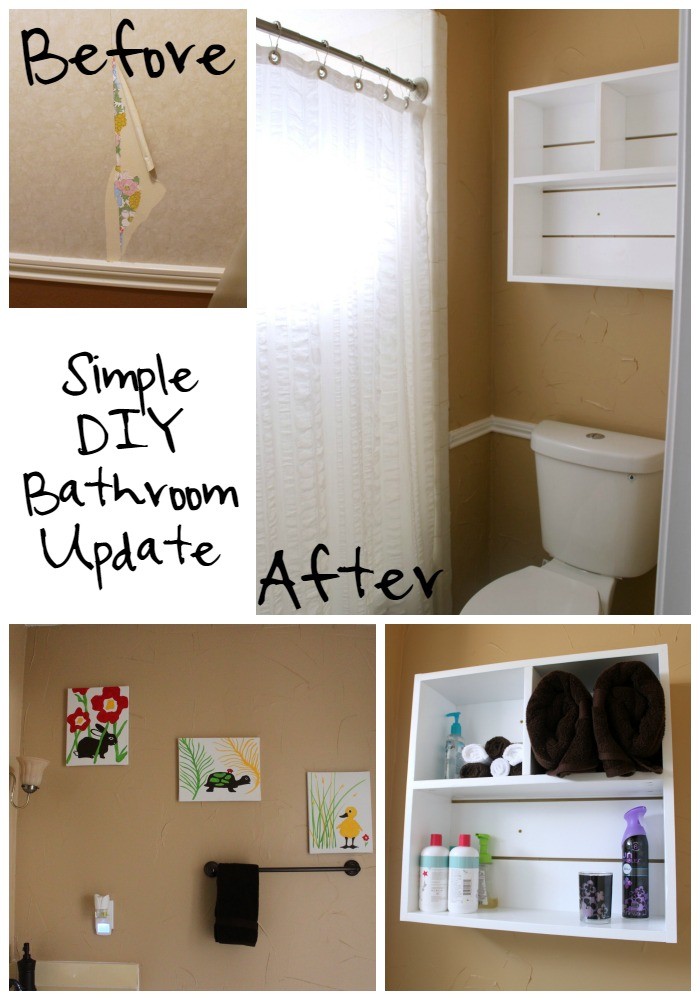
Simple DIY Bathroom Update  - removing wallpaper, texturing walls, painting, DIY Utility Box Shelf

Just before Christmas we began a very basic DIY bathroom update in our kids’ and guest bathroom. Layers of wallpaper were peeling off the walls, and it was time for an upgrade. We had a VERY small budget for this project so we kept it very simple. Today I’m sharing the basics of our upgrade from the paint to the scent decor, and I’ll share a tutorial on our DIY utility box shelf soon.

(more…)

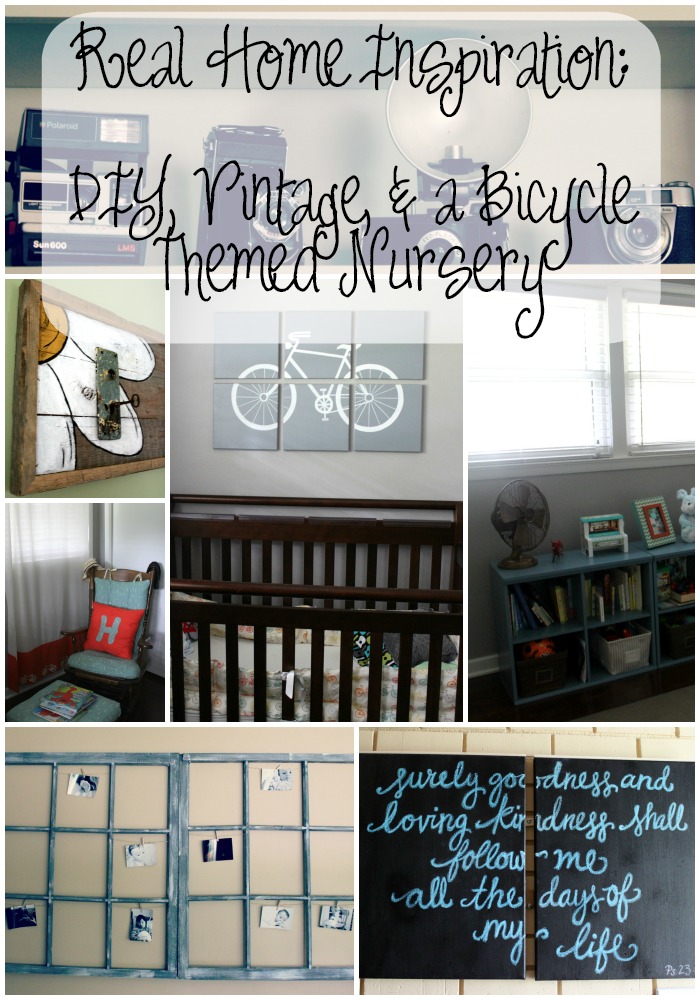
Real Home Inspiration: DIY + Vintage Finds + A Bicycle Themed Nursery at the Hansen Home

real home inspiration diy vintage bicycle themed nursery

This summer we traveled across the southern U.S. staying with friends and family along the way. At every home we visited I found something inspiring, as I often do visiting the homes of friends here in Dallas. I asked several of them if it would be ok to share a peek at their real homes and creative touches for a new series here at Bare Feet on the Dashboard. No staging, no faking it, I’ll just share real homes to inspire you. To kick off my Real Home Inspiration series, I’m bringing you the Hansen Family’s DIY touches, vintage finds, and super fun bicycle themed nursery. I hope you love it as much as I do. Thanks to the Hansens for sharing their home with us!

(more…)

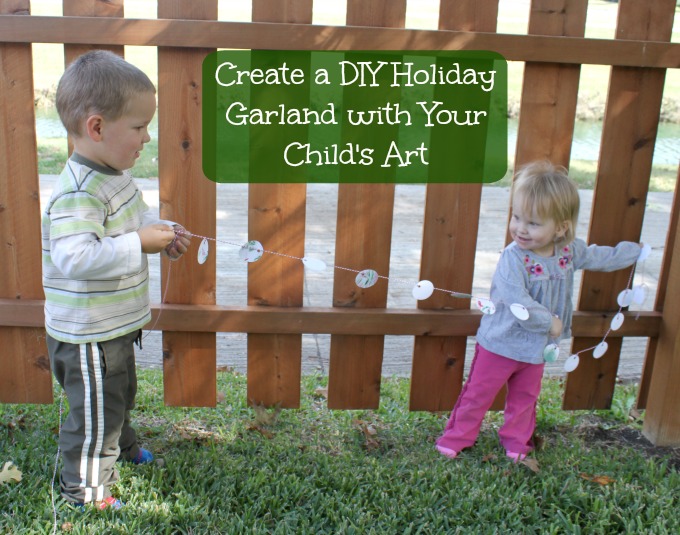
Create a DIY Holiday Garland with Your Child’s Art

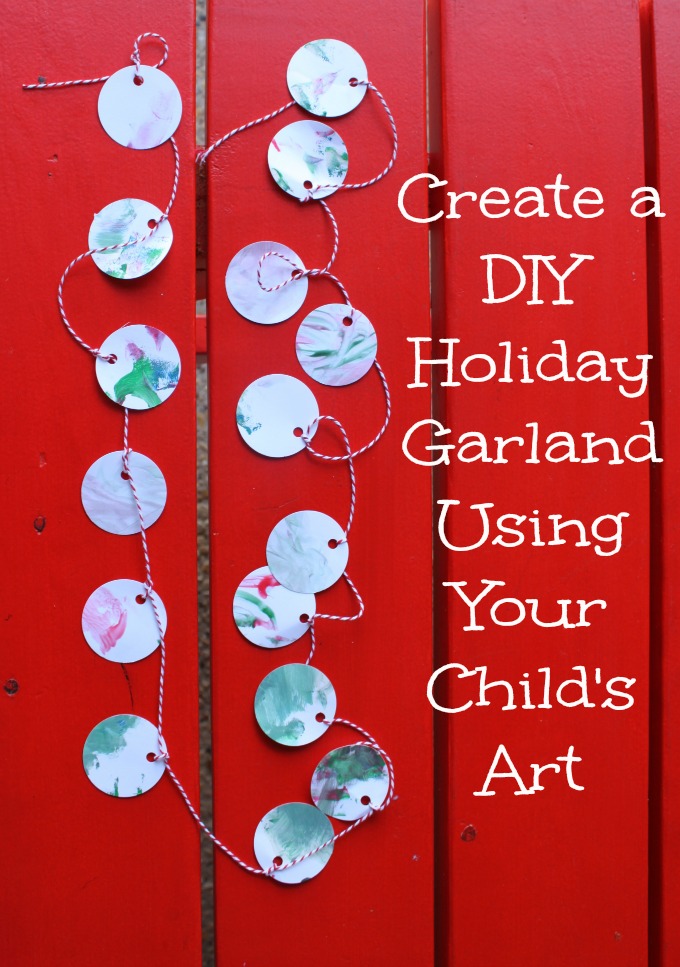
Create a DIY Holiday Garland Using your Child's Art

If a child lives in your home, the chances are good you have a collection of their art stashed in an ever growing pile. My kids love to color and paint and create, and their masterpieces start to really add up. I love their little creations, but I’m not trying to end up on Hoarders. You just can’t keep everything, right? I came up with a way to keep pieces of their paintings without hoarding and creating something lovely and decorative at the same time. I shared a garland we made for the Bear’s room here, and this time we decided to make a DIY holiday garland and love how it turned out. Read on to find out how to make one of your own.

DIY Holiday Garland Prep

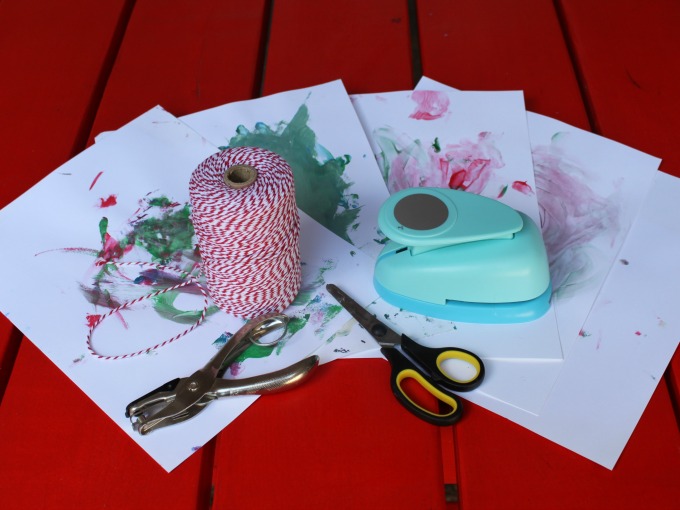
You’ll need a collection of drawings or paintings. This project works best with toddler and preschool art because it is typically a little more “abstract”. If letting your kids paint intimidates you, read about how we finger paint without stress here.

Materials:

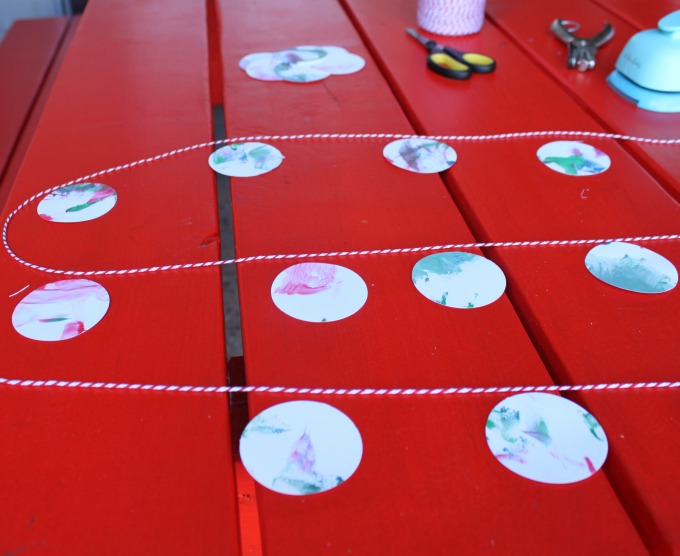
Measuring for a DIY Holiday Garland

Strategically punch out shapes from the paintings. You may have to cut pieces to get the look you want. I try to get a good mix of colors. After you get a pile punched, line them out how you want them to hang. I did mine about 4 inches apart. This will help you measure the string you need. I always leave a little extra when i cut the string in case I need more. Punch holes in the shapes and then let your child string them on your garland. This is great fine motor skill practice. If your child is older they can help with the punching as well.

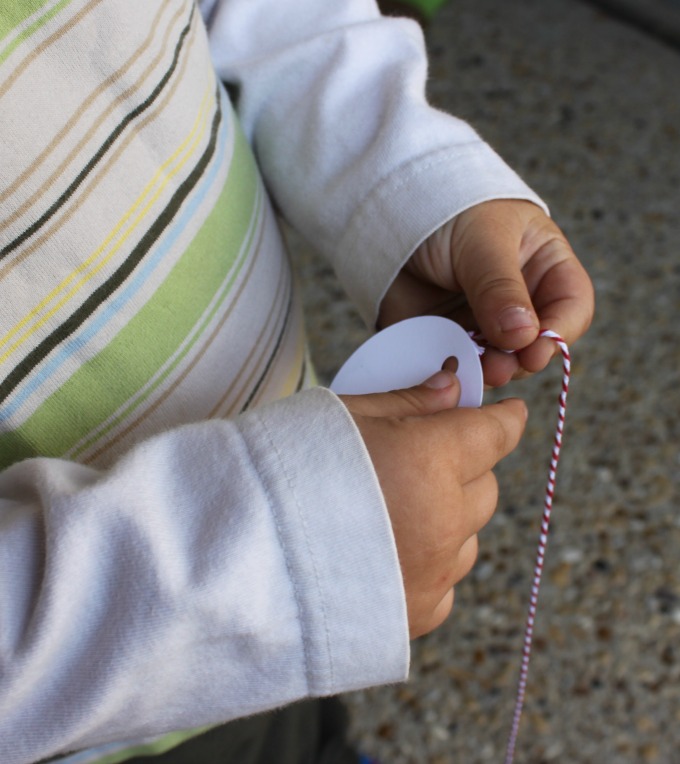
practicing fine motor skills threading the garland

Let them thread all of the shapes on to the string. We had a lot of fun with it. They were so excited to be making something with their artwork.

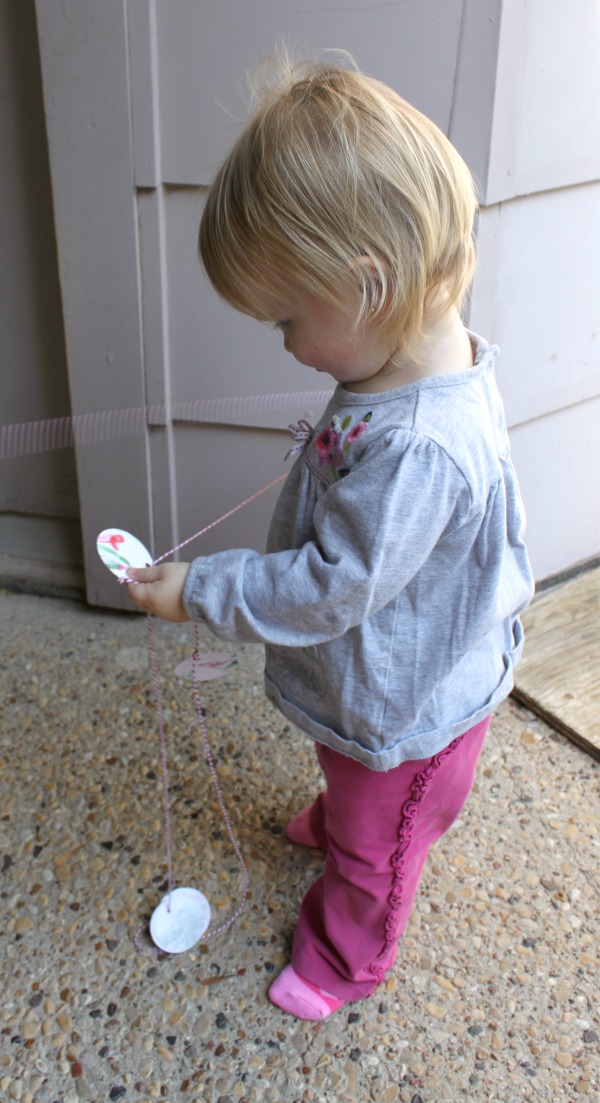
Creating a DIY Holiday Garland with Kids

After the kids were done stringing the shapes on to the twine, I went back and knotted each piece in to place. Now it is ready to hang and decorate our home for Christmas.

Create a DIY Holiday Garland with your Child's Art

Don’t forget to visit our Festive Family Holiday Gift Guide & Giveaway for prizes and more holiday fun. Read more about how we simplify the holiday season here. How do you make the holidays special for your kids?

Follow Becca Eby ~ Bare Feet on the Dashboard’s board Festive Family Holiday on Pinterest.

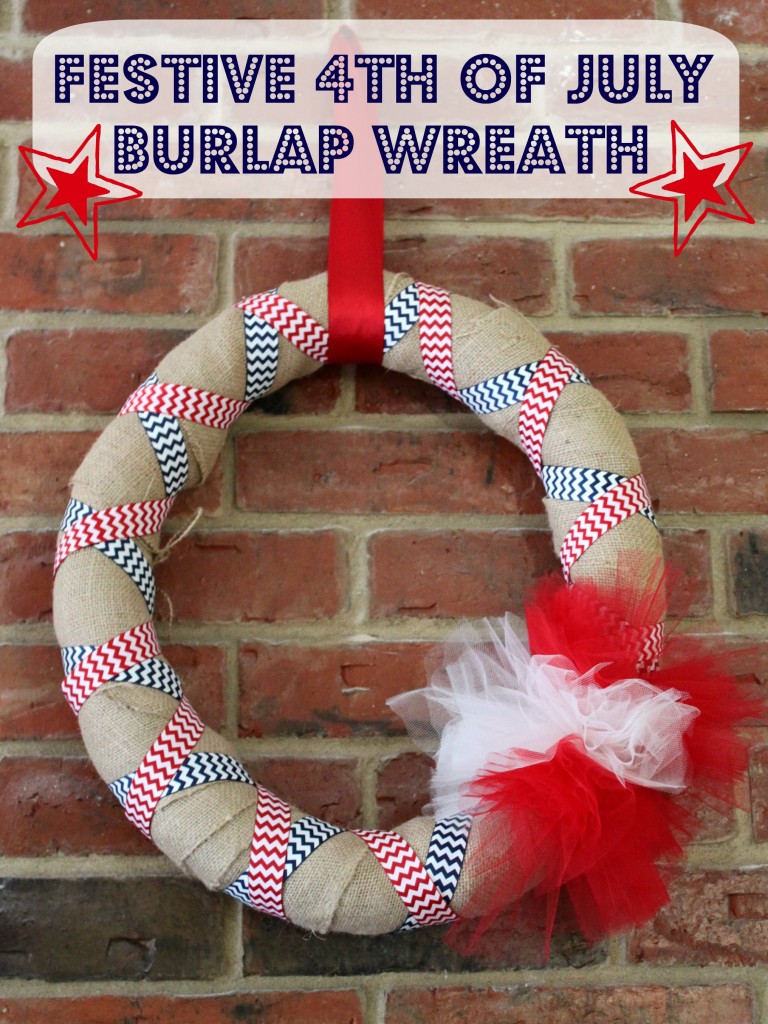
Festive Fourth of July Wreath ~ Burlap + Tulle + Chevron

festive4thofjulywreath

Summer is in full swing and Independence Day is right around the corner for those of us in the United States. I created this simple and festive Fourth of July wreath for the holiday using my interchangeable burlap wreath form, ribbon, and tulle. My design could easily be shifted for other holidays or national colors. It was so easy and only took about half an hour from start to finish, since I already had the burlap wreath form created. Read on to find out how to make one for yourself.

(more…)

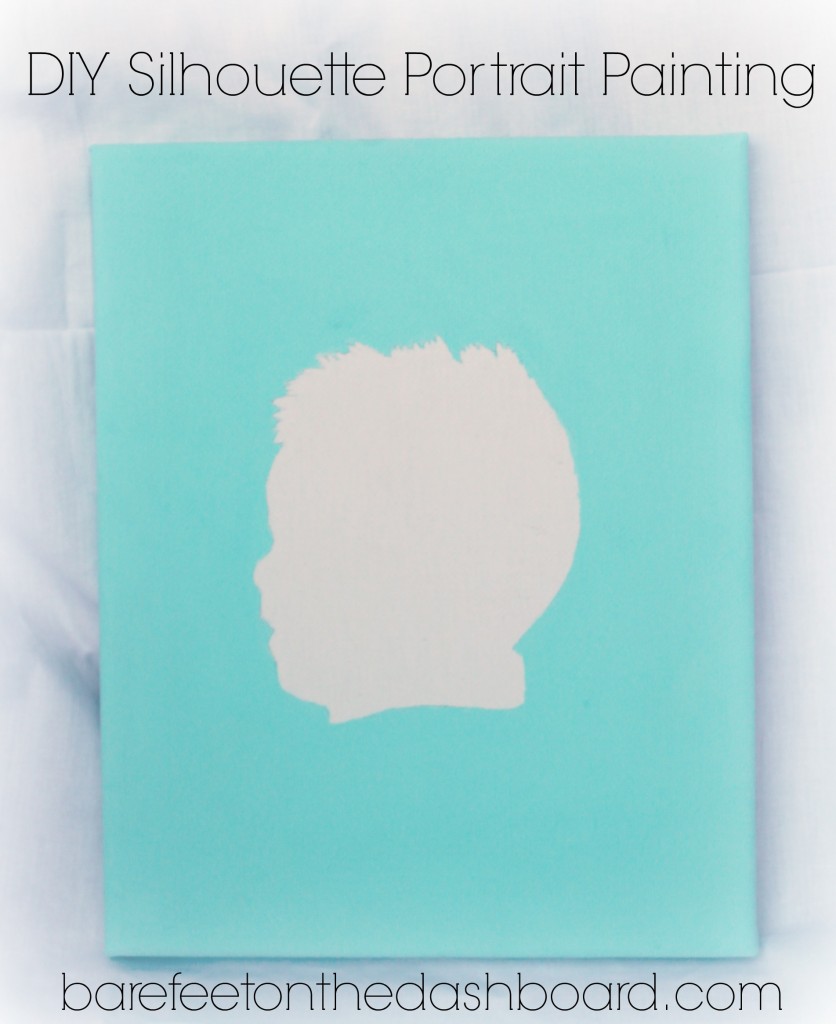
Create a DIY Silhouette Portrait Painting with Tutorial

diysilhouetteportrait

At a local high-end department store they feature a silhouette portrait artist a few days a week who will create a silhouette of your child while you shop. These darling portraits are outrageously expensive, but really cool. I decided to create one for our living of the Bear back when he was about a year old. I started it, then it sat in my craft closet for TWO YEARS while I had another baby, forgot about it, etc. I finally finished it and I love it. It was easy, though a bit intimidating. I’ll walk you through the process I used so you can make one of your own. I think it would be fun to do the whole family, pets included. It only cost about $5 to make, and would be cheaper if you made more.

(more…)

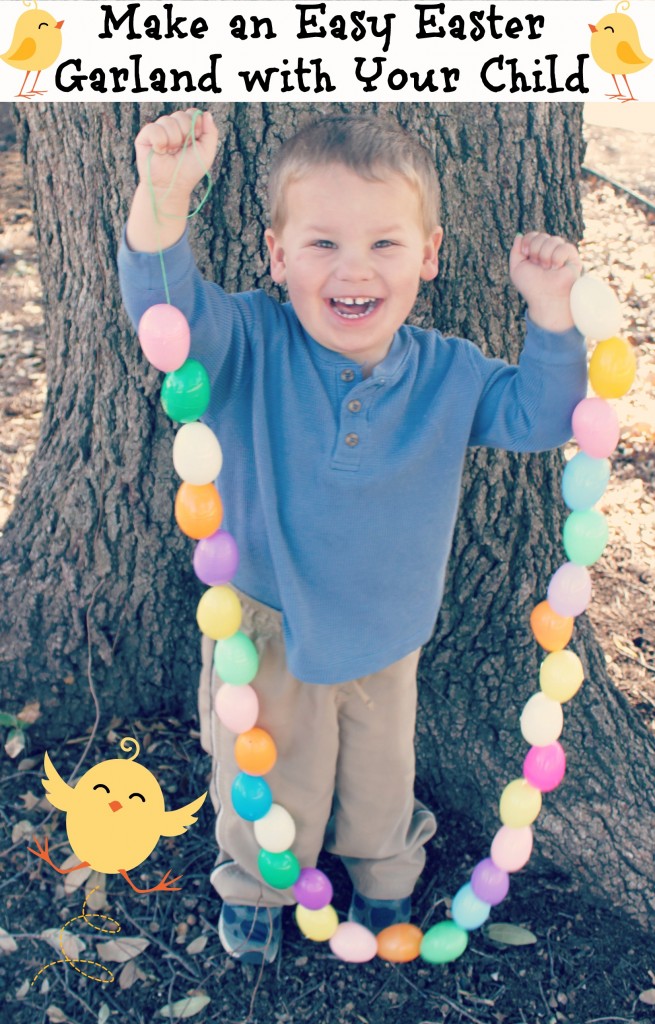
Toddler School: Make an Easy Easter Egg Garland with Your Child

easyeastergarland

The Bear and I love a good project. This little Easter Egg Garland was a really fun one to create with him, and gave him lots of great fine motor skill practice. Stringing objects is part of his upcoming skills check with our pediatrician’s ages and stages questionnaire, so we’ve been working on it together. I thought making an egg garland would be great practice and give us a festive decoration for our mantle at the same time. He is so proud of his creation, as you can see above. His two year old attention span couldn’t handle making the whole thing in one day, so we worked on it bit by bit over several days.

(more…)

Saving Kid Art {No Hoarding Required} ~ Make A Kid Art Mini Bunting

We have entered in to the classic parent dilemma.  What do we do with all of the treasures our wee ones create without ending up on the show Hoarders?  The Bear is quite the prolific painter, and can turn out 5-6 masterpieces in one sitting.  I know we don’t need to keep all of them, but my mama heart has a hard time parting with his first creative endeavors.  I’ve seen some great ideas out there I want to try, and came up with a few of my own.  I’ll share them all with y’all, starting with today’s mini bunting.  This project is super easy, taking less than one nap time.  Let’s be honest, that’s how we measure our free time.  

 To make the bunting you need a pile of your child’s paintings or drawings, a 2 inch circle craft punch, a hole punch, and a length of twine or hemp cord cut a little longer than the desired length of your bunting.

 Start punching circles out of the paintings.  Be strategic about your cuts and get the precious details: little finger and palm prints, great color mixing, etc.

Punch holes at the top of each of your tiny circle paintings, and string them on to your cord.  Tie a knot after each one to help them stay in place.  Leave extra room at one end of your bunting to add more later.  
Because I’m a tad bit ghetto fabulous, I used duct tape to secure my bunting to the back of the mirror in the Bear’s room.  It is hidden, so know one knows except the internet.  I can easily adjust the length and add or subtract as needed.  
This project could easily be one your child helps with, or a surprise gift for them.  I surprised the Bear with it, and he LOVES it.  He calls it his rainbow upside down.  Precious boy.  Below you can see a bit more of his room and how mini the bunting looks next to his gigantic wall art.  My plan is to add additional layers of bunting as he creates more art work.  
How do you save your child’s artwork? 

I love linking my ideas at these blog parties.  Click the links to check them out and find crafty inspiration.  If you’ve never visited a blog party, you will be blown away by the creativity shared and imaginative ideas.
Monday: CraftOManiacMad in CraftsSew Chatty,  Keeping It SimpleC.R.A.F.T.Boogie Board Cottage, and Sumo’s Sweet Stuff   
Tuesday:  Hope StudiosToday’s Creative BlogCoastal Charm, and New Nostalgia
Wednesday: The Trendy TreehousePolka Dots on ParadeLil Luna, and The Thrifty Home
Thursday: All Things with Purpose, Somewhat SimpleThe Shabby Creek CottageThe Girl Creative, and House of Hepworths
Friday: Sugar and SpiceKojo DesignsDiana Rambles Pin Me Party, and The Shabby Nest
Weekends: Sweet Tea Social @ Texas Women BloggersTatertots and Jello, Serenity NowButtercream Bakehouse, and Candace Creations

Duck Creek DIY: Antique Dining Room Chair Makeover {With Tutorial}

We have a beautiful dining set given to us by Jed’s dad.  It is 80-100 years old and has been passed down through several generations.  The seats have been recovered several times with some pretty unfortunate fabric.  The latest was a tan vinyl that has probably been there for 30+ years.  It was time for a change.  We love the color of the wood and the set is very well made.  The wood is in great shape, but the seats were struggling.  We have five chairs, a table, and a buffet.

Before = Struggling

This was our first time recovering chairs, so it took a little trial and error, a few Youtube videos, and quite a few Pinterest links to get through the adventure.  We’ll walk you through it, so you can learn from our mistakes and save yourself a little pain and suffering.  I highly recommend checking for coupons online before you buy your fabric and foam.  You can save a bundle with a 40% off coupon at Joann’s.  We originally bought a stripped linen home decor fabric, but it didn’t work out.  We went back and found an awesome Ikat outdoor fabric that will be perfect for the spills and thrills that come with small children using furniture.

Here’s what you need:
sheet of plywood
circular saw
foam (enough to cover your chairs + a little extra)
outdoor weight fabric (or another thick fabric, at least home decor weight)
staple gun
staples (We used 5/16 size.)
sharp fabric scissors
exacto knife or utility scissors

Make it happen:
1) Take your chairs apart.  Unscrew your seat from the chair and remove the padding and fabric.  If you can salvage the padding, go for it because it will save you about half the cost of this project.  If your seats are still in good condition, you can skip down to step three from here.

2) Create new seat bases from your plywood sheet.  Use the existing seat to cut out a new one using your circular saw.  Create your pattern by tracing the old seat, then cut out each new seat carefully.

3) Use the previous fabric seat cover to trace a pattern on your new fabric.  Make sure you check to see that all of your seat cover are the same size (end chairs are often larger).  Use fabric scissors so that the least amount of damage is done while cutting the fabric.

4) Cut out your foam if needed.  Again, salvage the old foam if you can.  We used a 1 1/2 inch thick green foam material because the density will help with wear and tear.  Use the seat as a template for cutting out your foam.  Don’t use your fabric scissors on the foam or they will no longer be sharp.  Use an exacto knife or utility scissors.

5) Assemble!  Place the foam on top of the wooden seat, then wrap the fabric tightly around it.  Starting in the back, pull the fabric tightly over to the bottom of the seat.  Staple that bad boy down.  This is where we ran into trouble with our first fabric choice.  The linen couldn’t handle being pulled tightly and started to run.  Disaster!  The outdoor weight fabric worked MUCH better.  After you staple down the back, move to the front and repeat on all four sides.  Do not be afraid to use a LOT of staples.  Seriously.  Get after it.

6) Reattach your seat to the chair.  Done!

I’m obsessed with this fabric, and I think the grey and green goes really well with our teal walls.  What do you think?

I love linking my ideas at these blog parties.  Click the links to check them out and find crafty inspiration.  If you’ve never visited a blog party, you will be blown away by the creativity shared and imaginative ideas.
Monday: CraftOManiacMad in CraftsSew Chatty,  Keeping It SimpleC.R.A.F.T.Boogie Board Cottage, and Sumo’s Sweet Stuff   
Tuesday:  Hope StudiosToday’s Creative BlogCoastal Charm, and New Nostalgia
Wednesday: The Trendy TreehousePolka Dots on ParadeLil Luna, and The Thrifty Home
Thursday: All Things with Purpose, Somewhat SimpleThe Shabby Creek CottageThe Girl Creative, and House of Hepworths
Friday: Sugar and SpiceKojo DesignsDiana Rambles Pin Me Party, and The Shabby Nest
Weekends: Sweet Tea Social @ Texas Women Bloggers, Tatertots and Jello, Serenity Now
Buttercream Bakehouseand Candace Creations